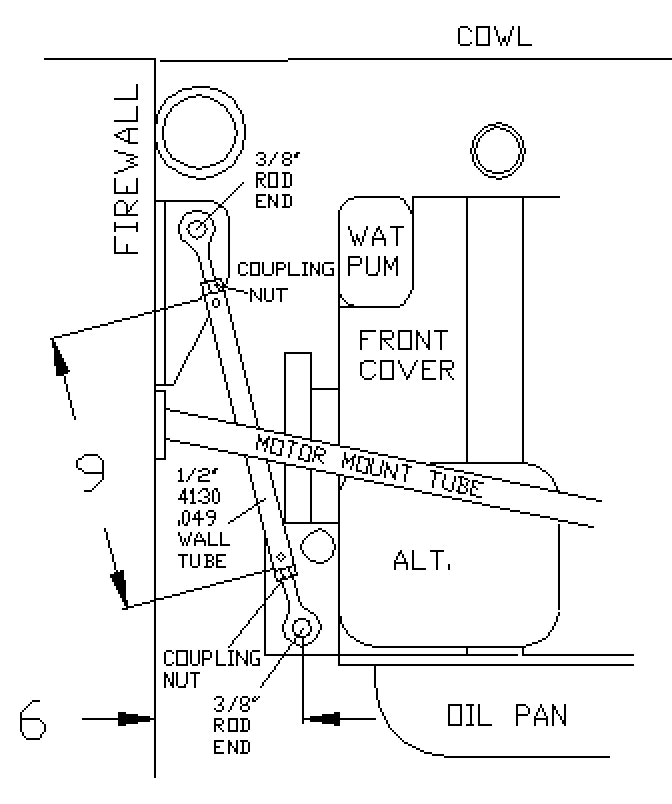
I got my tripod rear motor mount done and powdered coated.
Great! It did not fit for some strange reason. It fit when
I got done welding it but I had to move the engine up
an inch to fit the cowl so for some strange reason my tripod
rear mount no longer fit. It was about a 1/4 inch off.

Oh well back to the drawing board. This is near an exact
copy of the Questair rear mount and Dave Anders put
650 HP through it and went 350 MPH at Reno  so it should
be good for a piddling 250 HP turbo rotary. It is a lot
easier to fabricate anyway and it is adjustable for
thrust line alignment. I should have trusted Jim Griswold
right from the start on this.

A couple of fabrication tips. I used a 1" long coupling
nut from the hardware store as the strut end. McMaster Carr
also sells them if your local hardware store does not
carry them. This coupling nut idea is an old race car trick
for quickly making suspension links.

Drill out two thirds of the threads
as when you weld the nut into the 1/2" tube the threads will
be distorted. I learned this the hard way. It is near impossible
to tap them out. Use a rosette weld
technique and drill small holes in the end of the tubes so
you can weld through these. You will need to grind it a bit
along about 3/4" of its length so it fits in the 1/2 tube.

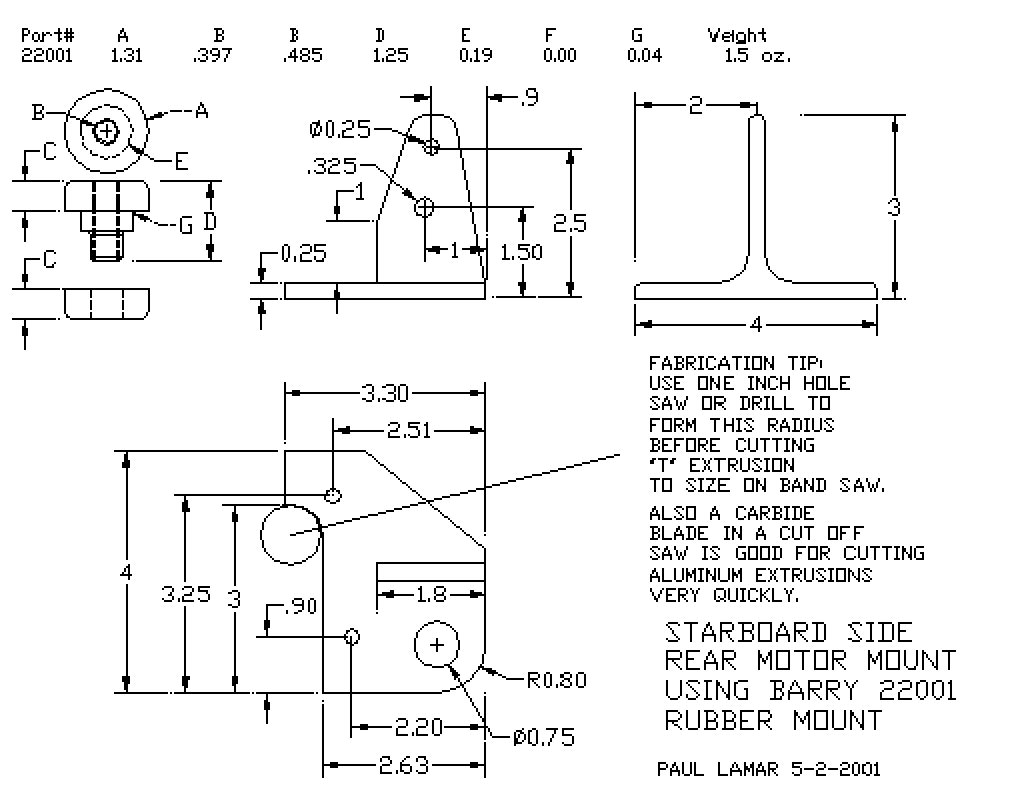
I used my T extrusion rear motor mount bracket to beef up
the Mazda 2nd gen front cover. You won't need the big hole for the
rubber bushing or the bushing itself for that matter.

Paul Lamar

The AirCraft Rotary Engine NewsLetter.              Powered by Linux.
ACRE NL web site.
http://home.earthlink.net/~rotaryeng/            http://www.linux.org