George Lendich wrote:

Paul,
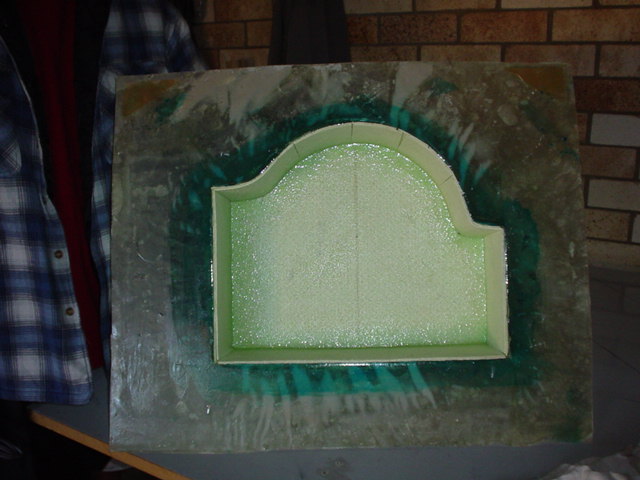
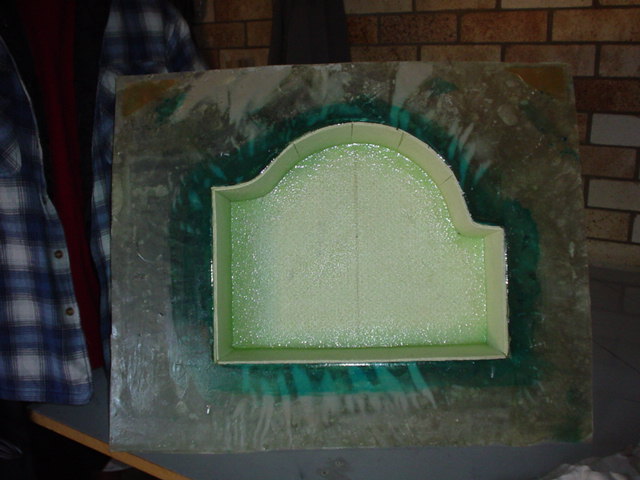
I just finished laying-up the 5mm housing pattern (still wet) - man that looks thin.
BTW all my talk on fitting the auto flywheel, it fits neatly in the thick wall pattern, so it's going to fit with room to spare
in this thinner wall housing.
That's the easy part done, not all the fiddley bits and filling and sanding.
George (down under)
.
Looks like we are getting there. Is that the big 13B auto tx flex plate?
Why so high on the left side?... since you are going to keep the starter
at 4 O'clock? Won't hurt.

That looks like a lot of draft. Won't hurt but you probably won't need
that much.

Not to worry on the thickness. A strip of cast T6 aluminum 5 mm thick
25 mm wide will take about 2,700 Kg of tension and compression.

In the english measuring system that is .2 by 1 times 30,000 psi
or about 6,000 pounds.

I think you have hit on a good way of making bell housing patterns.
At least I think this is the way you are doing it.

Make them out of balsa wood and cover them with fiberglass.
Taper the balsa  sheets before gluing them together for the required
draft where necessary. Use Bondo or dry micro  to form the inside radii.
Glue the fins on after you are done.

Probably a cheaper material to use is mahogany door skin plywood which
is rather thin. Fiberglass finishing mat would be better than cloth
as it would give a surface that is easier to sand. Then there is the every
useful dry micro.

Is this the way you are doing it or are you laying up over a plaster
female mold?


Paul Lamar

The AirCraft Rotary Engine NewsLetter.  Powered by Linux.
ACRE NL web site. http://home.earthlink.net/~rotaryeng/
Copyright 1998-2003 All world wide rights reserved.