Mark R. Supinski wrote:
Hi Paul-
Got the radiator & took it out to the hangar today. Installing it is
going to require major work / rework. First off, it is going to hang
down well below the cowling, no matter what I do. In a perfect world,
it will only require a 2" bump - but that is only if the bottom of the
rad is exactly flush with the bottom of the cowling. If there is
suppose to be airspace below the radiator before the cowl hole, then I'm
looking at an even deeper bump.
On the good news side, presuming I come to terms with the big bump down
there, it looks like the radiator has some mounting points I could use to
attach it to the engine mount. I jury rigged a rear mount as an
experiment at this link:
http://supinski.net:8080/IMG_2426.JPG
You can see that this mount location puts the inlet and outlet bungs at
a very workable location. Even better the front of the radiator now
aligns with the front of the SBeam:
http://supinski.net:8080/IMG_2427.JPG ,
http://supinski.net:8080/IMG_2434.JPG
Clearly, I can rig up something that would span the front of the
radiator and allow me to mount it to the SBeam. - Bearing in mind I must
leave the space above the width of the radiator front to allow a
diffuser to fit in there. (Yes, Tracy's plate must be milled flush with
the bottom of the SBeam. Perhaps I could blind-tap Tracy's plate & use
the taps as the points to hang the rad.)
All of this leaves out the problem of the oil pan -- clearly the stock
unit must go. It is way too deep & obstructs any sort of diffuser from
getting in there. At the front of the pan area there is this much space
to play with -- call it 4 inches at narrowest:
http://supinski.net:8080/IMG_2432.JPG ,
http://supinski.net:8080/IMG_2431.JPG
At the rear of the pan area there is this much space to play with --
call it 6 inches::
http://supinski.net:8080/IMG_2428.JPG
So based on the above, it becomes a trade-off game. My guess is the
minumum height for the diffuser would be 2" up front (leaving 2" for the
oil pan). At the back, if the diffuser was still 2", the the pan could
be up to 4". This means I am making a fiberglass box which is 13" wide
x 18" long x 2" deep.
Given this diffuser shape, the question is what does the front opening
look like? Is it 2" x 13" all the way across the front? Whatever the
shape, it will determine what the "shark's mouth" input will look like.
Another photo of the test-installs:
http://supinski.net:8080/IMG_2433.JPG
Mark
It is looking good Mark
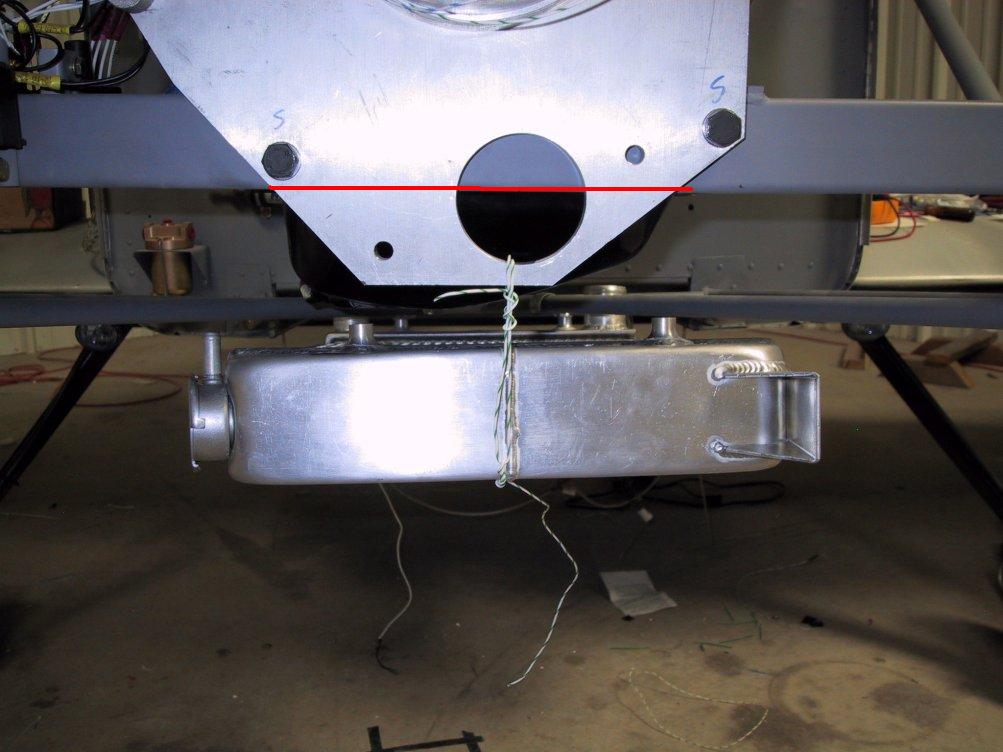
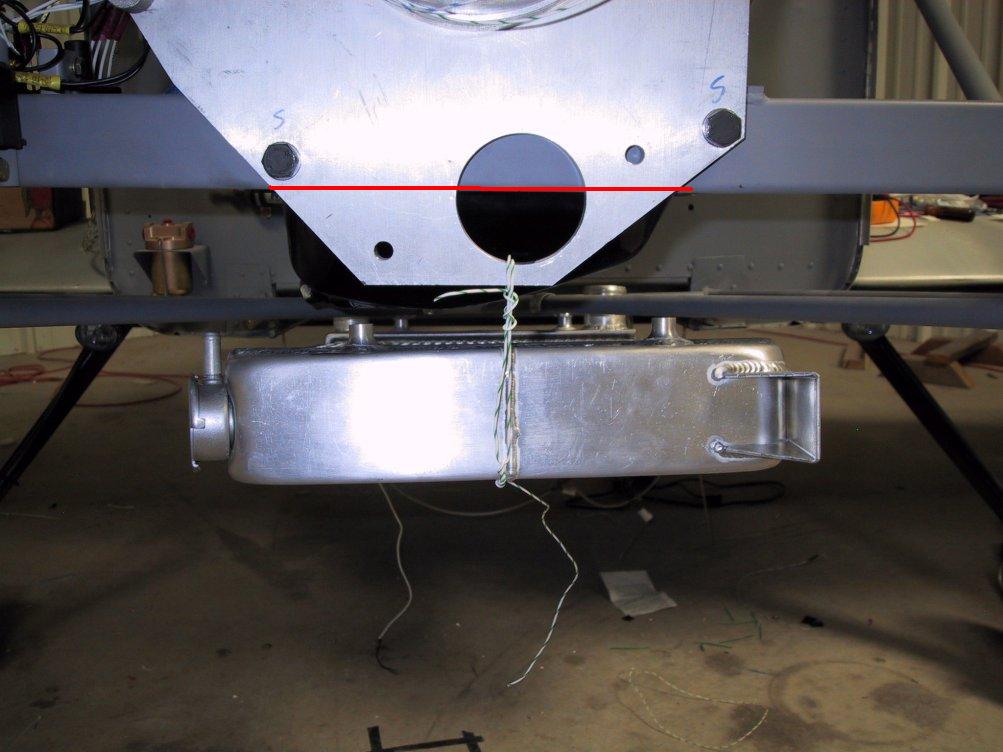
Drop the front of the rad down a couple of more inches
and cut Tracy plate off at the red line.
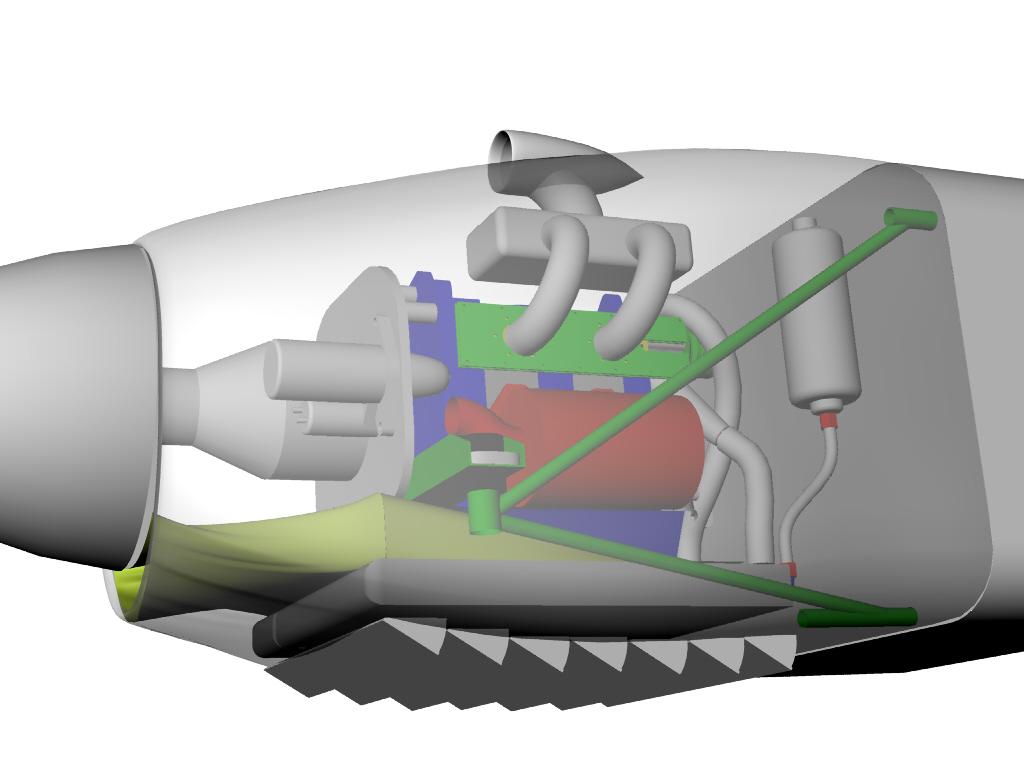
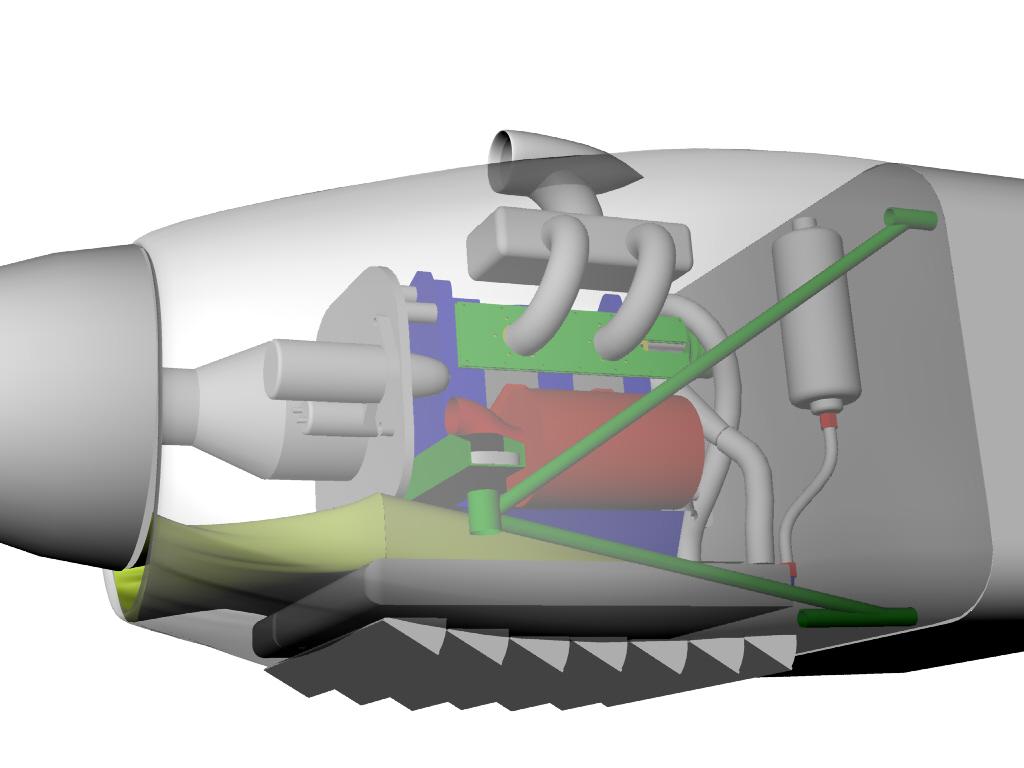
Slide the rad forward a few inches. That will raise the rear slightly.
This 3D is the general idea. You will need to do some cowling
work.
Take a long shot side view for me.
Paul
I can't really move the radiator much forward of it's pictured position
-- the cross braces of the engine mount interfere with the inlet and outlet pipes.
I can raise the back by getting the cross braces to exactly fit between the
two rad mount points. In the picture, the pipe clamps are sitting on the mount
points - this wastes almost 3/4 of an inch. My plan is to wrap the cross braces
in 3/4" PEX tubing (it can easily take the heat of the radiator water w/o
breaking down) and then snug the radiator so the mount points are in
contact with the PEX. I will add a 1/8" bushing on top of the mount
points & then attach a straight piece of AL between them -- thus sandwiching
the cross braces between the rad on the bottom and the piece of AL on the top.
The mount points will then function to trap the rad from moving forward.
The forward mount will prevent it from sliding backward.
So you really think the bottom of the rad has to have flaps, huh? Are
these small fixed flaps to generate a low pressure area along the bottom,
or full-blown movable flaps which I have no clue how to fab?
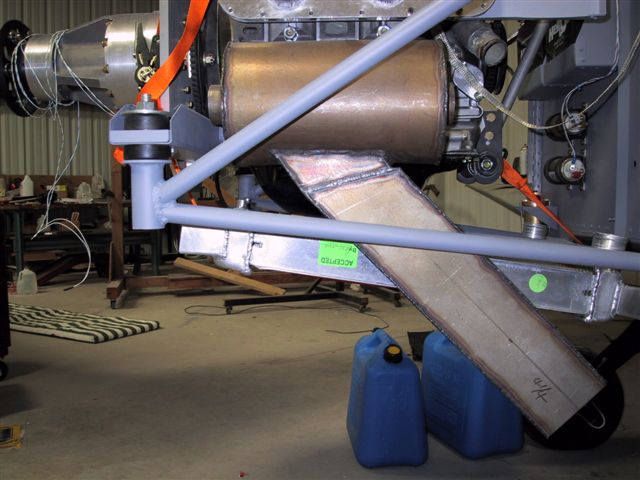
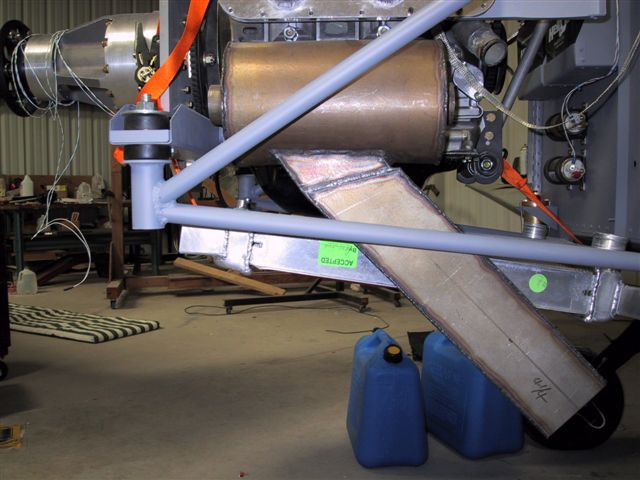
Here's a shot where the rad was too far aft, and tucked up to
the point where it was contacting the oil pan.
Mark Supinski
It don't take much just a couple of inches.
You can try it with out flaps. You will probably get
less drag and higher speed with flaps plus it
will keep the engine warm during cruise.
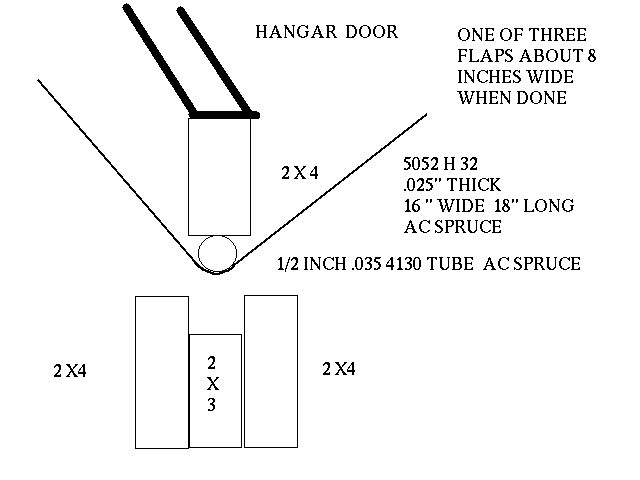
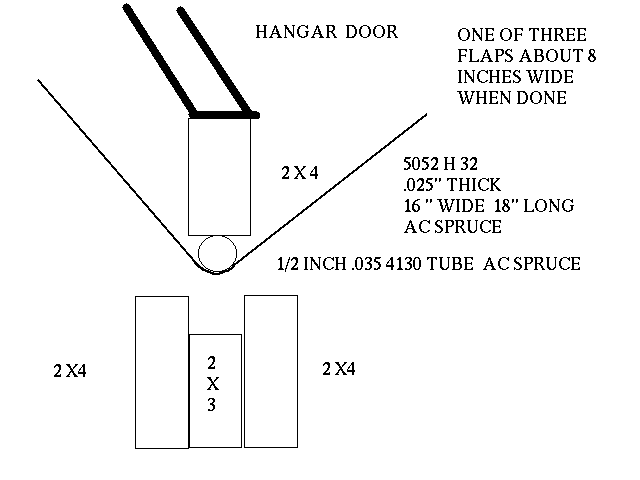
Jerry Hey can make flaps for you. Your hangar door makes a good press
brake if you want to make them your self. Here is a how to sketch.
Yes flaps generate low pressure.
Paul Lamar
The Rotary Engine NewsLetter. Powered by Linux.
ACRE NL web site.
http://www.rotaryeng.net
Copyright 1998-2005 All world wide rights reserved.