While showing off the pport today, I saw coolant dripping out of
the end
of the slide throttle.
"No $#@$% Way!" Says I.
20 minutes later, the throttle body has been pulled, and there stands
coolant in the intake manifold - mostly in rotor2, a bit in rotor1.
2 hours later, the engine is sitting on the floor. I connect the
water
pump intake & output to itself. I put a schrader valve in the vent
bung. I bring the engine up to 20psi. I stick my ear next the the #2
rotor intake port & listen to the sound of pressure whistling through
some sort of crack. I listen to rotor 2 exhaust port & hear
silence. I
listen to the #1 rotor & hear silence.
So.
The rebuild has accomplished nothing. I still have a water jacket
failure in the #1 rotor chamber. Less to be sure -- coolant is not
gushing. In fact I couldn't see evidence of coolant in the rotor
chamber itself (last time it was painfully obvious that the rotor was
swimming in coolant) and never got any to appear in the exhaust port,
nor in the plug hole. Its like the coolant magically appears in the
intake manifold for rotor 2. But it does correspond with the loss of
aprox 2 shot glasses of coolant over night. I had thought I was
simply
still purging air from nooks & crannies. It is clear now that this
was
coolant leaking via #2 rotor.
Mark Supinski
Which rotor housing is rotor number 2. The rotor I re potted
or the other one?
Does it depend on rotor position? Repeat the test with the e-shaft
in four positions.
Find a stick or a piece of welding rod four inches long.
Put a small short ribbon on the end. With the slide throttle off
and the engine pressurized place the stick in each intake
port in turn with the rotor as far away as possible. Is the
ribbon moving around when it gets near the wear surface?
The object here is to see if it is leaking around the end
of the intake tube.
Another way is use a small remote micro phone and connect it
to a recorder with a Vu meter.
If you don't mind I'll come over on Tuesday early morning
if that is convenient. This could be an O ring problem.
Paul Lamar ...No rotor no motor.
Paul, I assume you used the stepped bore for the p port. One thing
about this is the rather large opening left between the housing
face and the water passage that the insert does not cover that must
be FILLED with epoxy. Looking at it, this may not be easy to do since
no matter how the rotor is positioned the epoxy will sag and flow
away from the area you want to seal. In contrast, when the port is
bored 2" all the way through, the insert "seals" the passage by
itself with far less help from epoxy. I was able to pour the slow
acting very thin Duralco 4525 into the water jacket holes where it
where it sealed perfectly. The rotor housing was laying on its side
and gravity was assisting. After a 24 hour cure, the rotor was
flipped over and the opposite side filled. I don't know about the
performance of JB Weld. Honestly, I think it cures too fast. The
high strength, high temp epoxy I have knowledge of takes its time.
JB weld mixes 1:1. To me this means low strength. Racing Beat uses
Devcon 10110 for their p ports. Its ratio is 1:2.5, Duralco 4525 has
a mixing ratio is 100:1. It is good to 500 degrees and is
recommended for high performance bonding. It costs $50.00 for a
little can. But I don't mind paying dearly in this application. Jerry
--------------------------------------------------------
The water has a long way to go before it gets near that small hole
in the center of the rotor housing. With tape on the inside
we had no trouble filling the hole. When the tape was removed
there were no visible gaps in the JB weld filling the small hole.
All sorts of things could have happened. A water O-ring might have
slipped out of the groove. A spec of dirt could be trapped
between sealing surfaces on the rotor housing and/or end housings.
The end housing could be cracked near the inner water O-ring.
Many of them have. One tension bolt could be out of torque
spec. Perry Micks engine leaked internally with just one
broken tension bolt. It took Perry and I days to find that.
I tried some high buck high temp epoxy and it was a disaster.
100:1 is a hard ratio to measure accurately.
I think just about everybody uses JB Weld now a days.
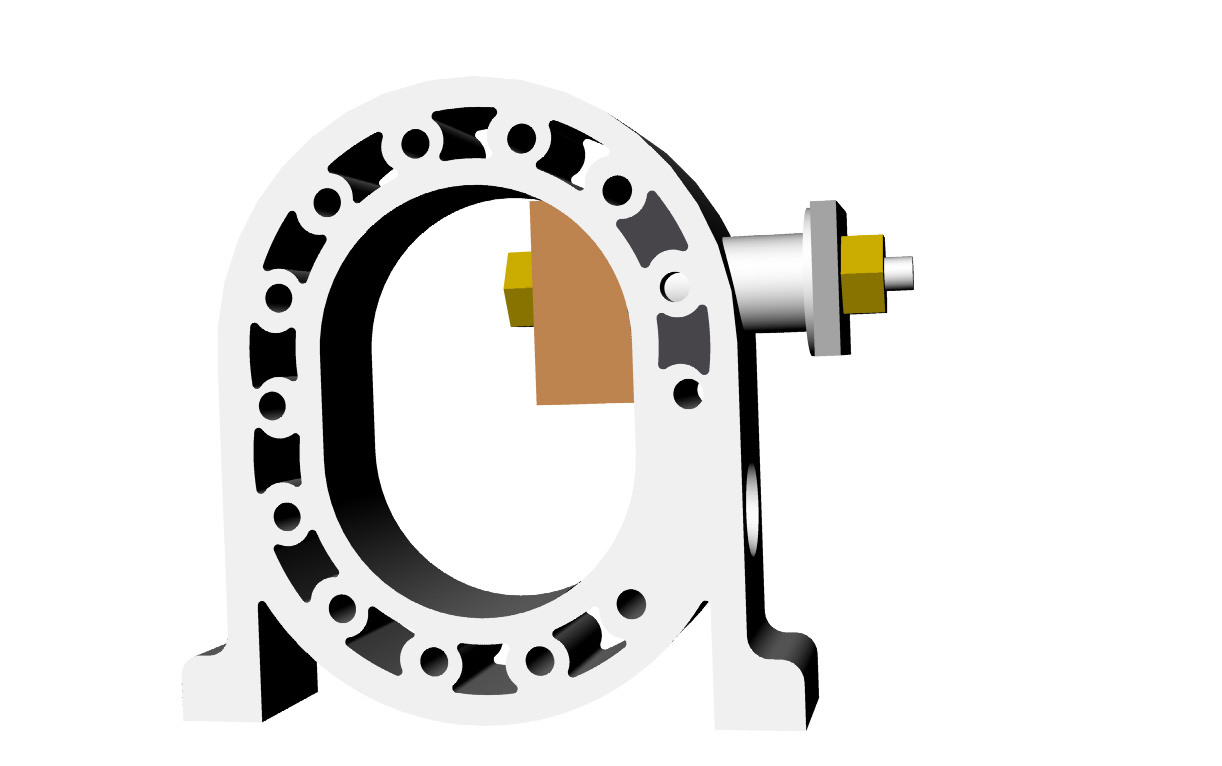
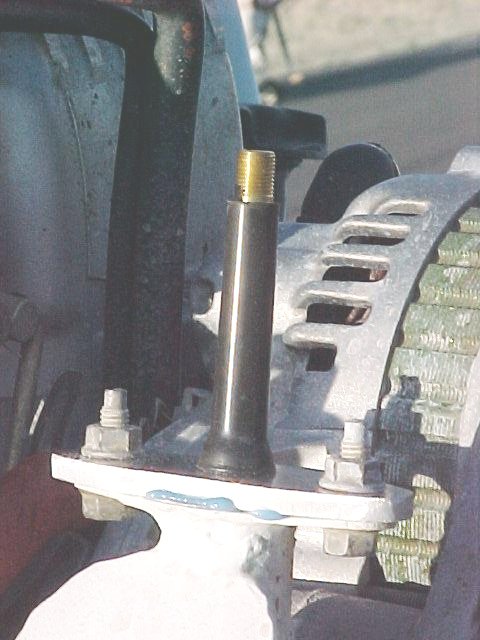
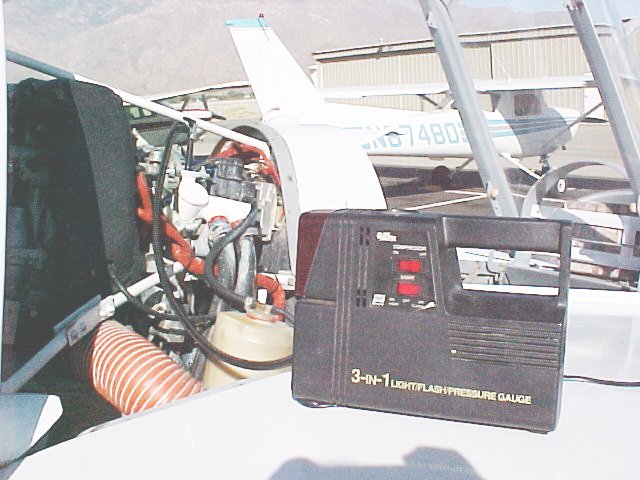
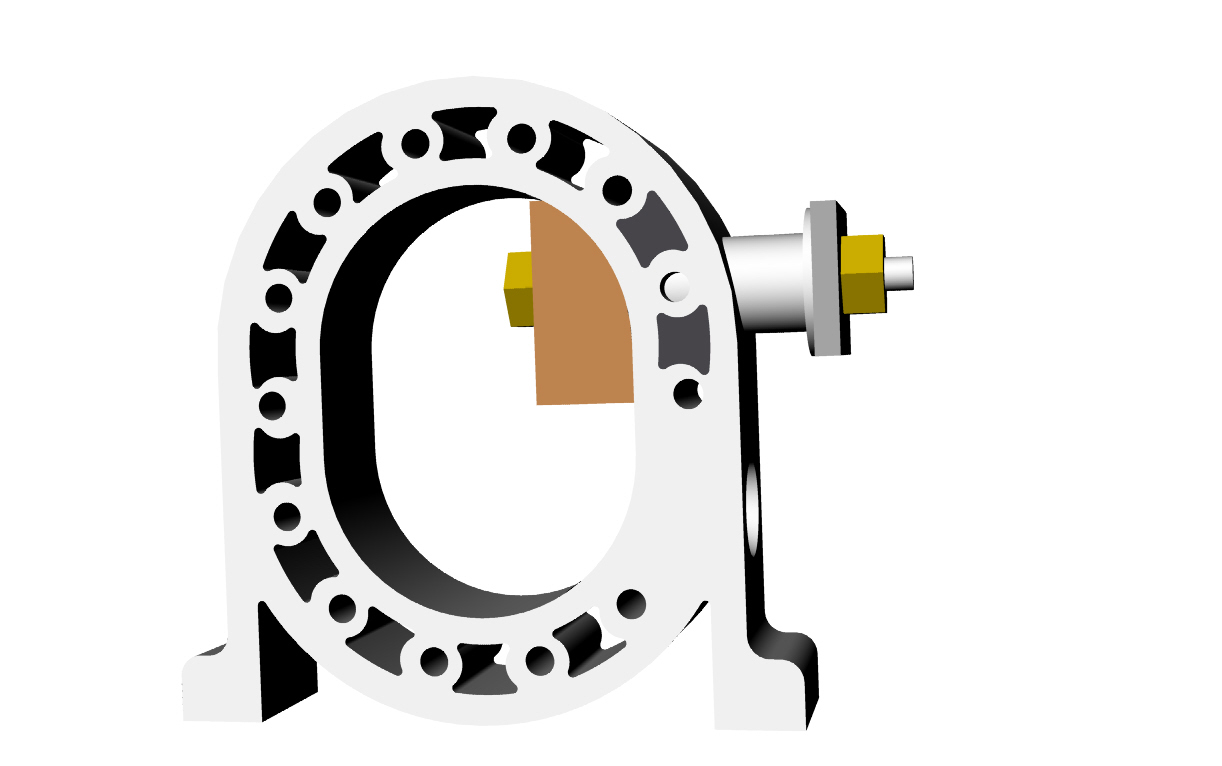
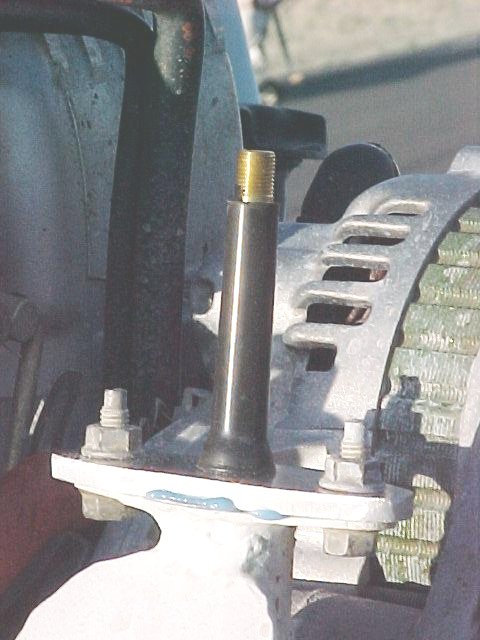
Here is a device for pressure checking the potting seal.
It is a good idea to pressure test the water jacket after
you build the engine but this device will pressure test
the P-port potting before you assemble the engine.
Pump it up to 50 psi. Use inner tube rubber to act as a sealing
gasket. You can use the manifold pressure tap or a tubeless
tire schrader valve to feed in air pressure.
BTW I'll be gone for a couple of days as I am picking up
the engine from Mark. We are meeting tomorrow half way between
LA and Denver in the wilds of Utah. Beaver. We WILL get to
the bottom of this problem.
Mazdatrix is building a 12A P-port engine as we speak
so we should have some dyno results on that soon.
Paul Lamar ...No rotor no motor.
The Rotary Engine NewsLetter. Powered by Linux.
ACRE NL web site.
http://www.rotaryeng.net
Copyright 1998-2006 All world wide rights reserved.