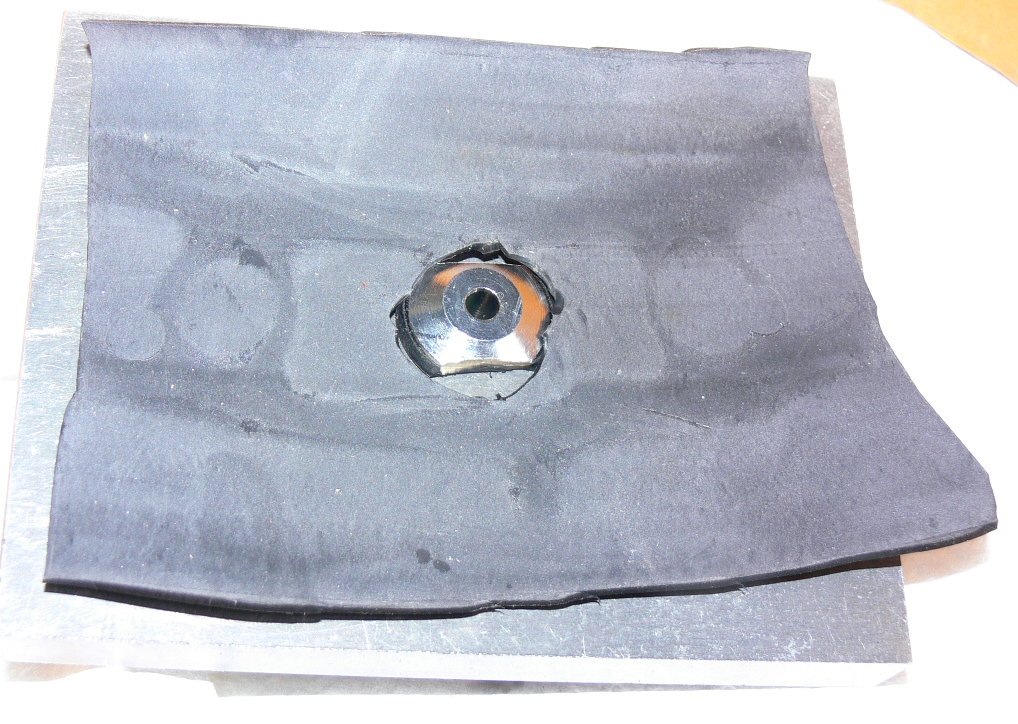
I just completed another p-port making and potting project.
Here are all the steps.
Bore the rotor housing on a mill to 2" ID using progressively larger
drills or milling cutters up to 1 7/8". Do the final 2" ID cut with a
boring head. You will need an angle plate from Rutland Tool
and Supply at least 12 inches high to hold the rotor housing
securely using T bolts and large C clamps.
If you have a robust drill press you might be able to
use a high quality deep cutting heavy duty bi metal hole saw
from McMaster Carr. About six bucks for the cutter not
counting the shank. Practice on junk rotor housings from
Mazdatrix for $35 each.
Make a a couple of intake tubes from 2" OD .065" wall 6061
T6 tubing about 5" long. Tig weld on the flanges and
bosses for pressure taps using 1/16th pipe thread. Paint
the tubes with Dykem bluing for the inside 3".
Position the tubes in the bored rotor housing about
2.25" out from the rotor housing. Mark the shape of
the trochoid using a pointed Exacto knife around the
circumference of the tube. Remove the tube and cut it
to near final shape with aircraft snips. Finish on
a narrow belt sander. Clean the Dykem off with acetone.
Make a pressure application device out of 1/2 inch
plate and a bicycle inner tube.
Cover all the wear surfaces of the trochoid with blue or
orange masking tape to protect them from JB Weld or scratches.
Prep all the aluminum surfaces to be bonded with
aluminum prep kit from a yacht supply store. VERY VERY
important.
Mix one tube set of JB Weld with half a teaspoon
of acetone per kit of JB Weld. The acetone will reduce
the viscosity and delay the curing of the JB Weld. Paint
all surfaces to be bonded with an acid brush
and the JB Weld.
Position the tubes in the housings and let cure
for 24 hours.
Fill the two small cavities on each side of two rotor
housings about half full with acetone thinned JB Weld.
Apply a pressure pulse using the pressure plate and a hand or
foot tire pump from Pep Boys to one side until the JB Weld starts
squishing out of any of the remaining open crevices. Take your
time doing this as it can be done as late as one or two hours after
you pour the JB Weld. Use four large C clamps to hold the pressure
application device. Back up the other side with 1/8" thick plate so
the C clamps don't damage the rotor housing sealing surface.
Remove the pressure plate and let cure for 24 hours.
Pressure test to 60 or 80 psi again.
If it holds pressure you are home free. If not immerse
the entire rotor housing in a large tub of water to see where
the leaks are.
Grind out the JB Weld area where it is leaking and add some
more thinned JB Weld and pressure pulse.
So far that has not been necessary. Do the same procedure
to the other two sides with the larger cavities. If all four
hold 60 psi your engine will not leak coolant into the
combustion chamber under any circumstances.
Carefully chamfer the inner edge of the aluminum tube so
none of the aluminum comes in contact with the apex seal.
You can use an Dremel tool for this job.
This can be easily done in about 10 hour labor the first time
not counting the cure time. The second time or after that
about 3 hours labor time. If you use the same mill set
up boring the housing takes less than half hour each.
You are done. Assemble your engine and enjoy 50 more HP
at 7500 RPM than is possible with well ported side ports.
Paul Lamar ...No rotor no motor.
The Rotary Engine NewsLetter. Powered by Linux.
ACRE NL web site.
http://www.rotaryeng.net
Copyright 1998-2006 All world wide rights reserved.