Hello all-
I went with the helicoils. The timeserts do look better, but there
was
no way I was going to try to both tap and counterbore. Given my track
record with tapping, I figured it was going to be challenging enough.
I did have a passing thought about trying to do it with the pan in
place. But thought better of it (thank goodness) since all that could
do was to make it harder. Perhaps if I were an experienced wrench
turner, with lots of similar projects under my belt I would have felt
differently. Since my new partner had cunningly snapped off a pan
bolt
head in one of the steel pieces, I had no choice but to remove the pan
anyway so I could extract the body.
It is frue that my install allows the pan to be removed without
unmounting the engine. But the gotcha is that the radiator + diffuser
immediately under the engine completely negates the advantage of the
removable pan. Just because it CAN be removed does not mean any
useful
work could be done on it or the engine. Oh -- and BTW it can only be
removed if there is no windage tray. Since my pan has an integrated
windage tray at the top, I must maneuver it through several
interesting
contortions during removal -- no way to do that with the rad in
place! Even if I did remove the rad, by that point I would already
have had to drain all the coolant, drain all the oil, work upside
down,
yada yada yada. So I am officially leaving the camp which poo-
poo's the
latest SBeam design because of the captured pan issue -- the
reality is
the thing is not easily accessible period with undermounted rads,
so who
cares about not being able to remove it. And moving the the SBeam
mounting pads aft will only help it fit better in a cowling. There
you
go Jerry and Paul -- I surrender...
To make life simpler, I decided to go the other way, and pulled the
entire engine + SBeam + redrive off the top as one complete unit. The
only gotcha to this approach was the slide throttle -- it had to be
completely disassembled (again) because there is no way to detach it
from the throttle cable to free the captured slide. I have run into
this issue at least 3 times now, and it is the biggest PITA to the
whole
design. Butttt... since I used the wrong gasket material on it last
time & have to rebuild it anyway... I decided to go ahead and tear it
down. (Now if one of you pipes up with some simple way to detach the
threaded slides from the end of the throttle cable I will scream).
Anyway - I hoisted the whole shebang off the airplane & let it dangle.
The weight of the redrive + prop kept it tilted at a nice 45-degree
angle, making it quite simple to work on. After removing the pan,
I got
mega-anal and measured the depth of each pan bolt hole. I then
subtracted 1/10" from the minimum measure & etched a mark on each
drill
flute at that point using a rotary cutter. I drilled out every AL
bolt
hole to slightly before the mark (much easier to see the etched
marks on
the bit than a pen mark btw). Then I used some WD 40 to flush out any
chips & checked each hole with a dental pick. I found several with
gasket sealant in them still & dug this out. Next was to mark the tap
with the appropriate point to stop tapping. I got a scrap of 3/4"
square tube stock and drill-pressed a hole through one end just as
wide
as the tap. I used this as a guide to get the taps started square.
After I got a few threads into it, I backed out the tap & cleaned
it in
kerosene, and removed the guide bar. I also squirted wd40 liberally in
the holes to flush out chips. To make a long story (somewhat)
shorter,
I tapped all 10 bolt holes with very little difficulty. Frequent chip
breaking, and frequent tap removal and chip flushing made the whole
thing pretty trivial. I puzzled over the wierd helicoil inserter tool
for a bit. I killed one helicoil figuring out how to use it, but
after
that had no difficulty running the inserts into the engine. FYI,
helicoil installation kits (appx $40 at your local Napa Auto) come
with
12 inserts. Enough to do the job + kill one or two while learning.
So - other than taking an entire day, it was not a very difficult
project. I *strongly* recommend that anyone getting ready to build
up a
13b just save some inevitable heartache and do this while the
engine is
in pieces (and thus easier to work on). It should be one of the
aviation conversion steps as far as I am concerned,
Thanks everyone for your help!
Mark (Rocky Mtn High)
Your tapping is OK Mark. You just chose the wrong tap the first time.
At this point I would say your tapping is better than most.
--
Paul Lamar ...No rotor no motor.
Good account Mark. From this point forward there is no reason anyone
should NOT use thread inserts in all the aluminum parts. They are
not expensive or difficult to do. Did you take any pictures? I might
be able to use them on my new (not yet uploaded) web site. Jerry
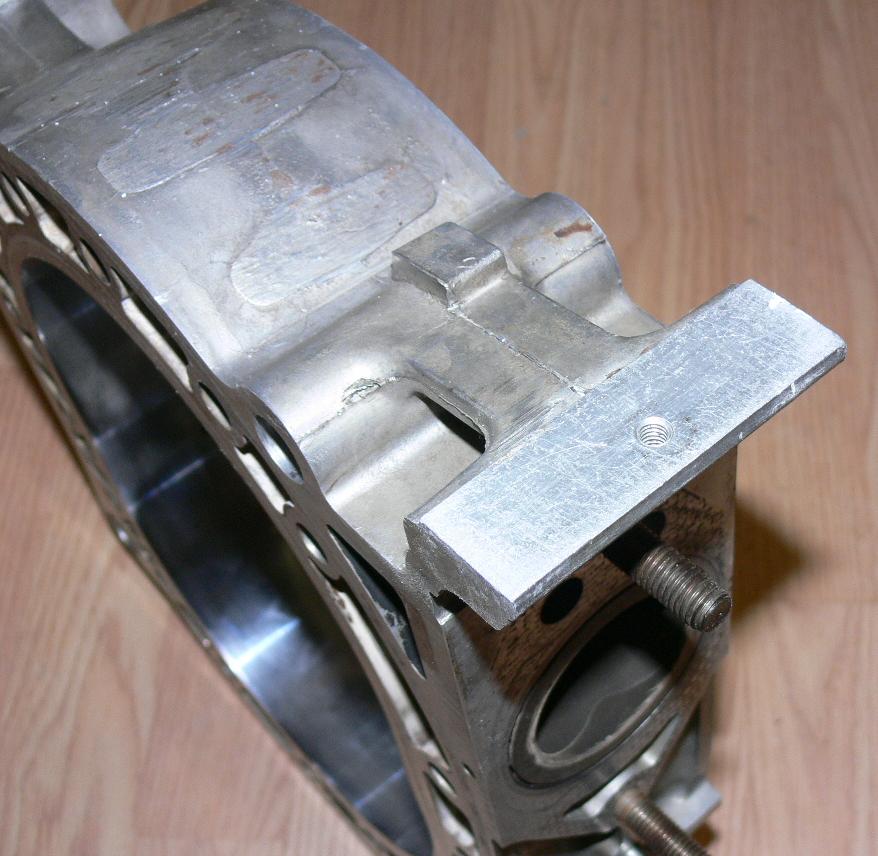
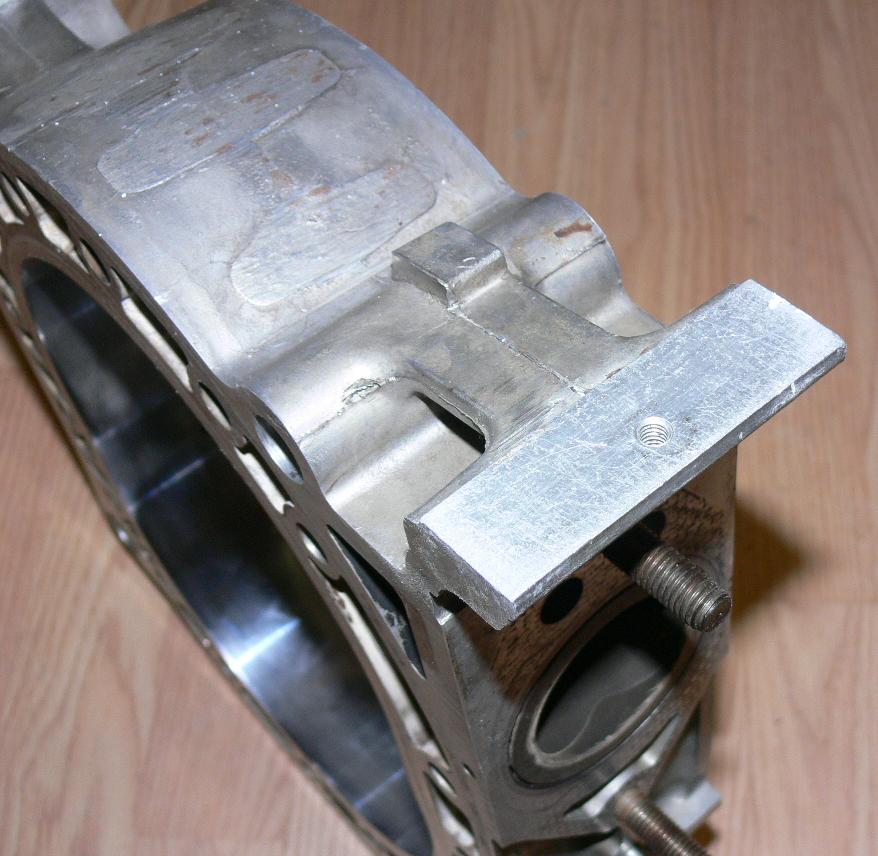
Here is one you can have Jerry.
Paul Lamar
The Rotary Engine NewsLetter. Powered by Linux.
ACRE NL web site.
http://www.rotaryeng.net
Copyright 1998-2006 All world wide rights reserved.