Paul,
Have been all over my RX8 to see where I can attach the top
engine mount to the motor. All your drawings from what I can see seem to
have a few large studs that attach to the center casting. MIne seems to
only
have three 6mm holes off to the one side which does not seem beefy enough.
How do I attach the mount??
Neil.
First thing is figure out what rod end joint you will use.
Can you order stuff from McMaster Carr in Oz?
Here is what I recommend. The 1/2 inch rubber male.
Can you buy US nuts and bolts in OZ. If not we will
need a sleeve.
We can probably drill and tap those 3 holes to 8 mm on top of
the RX8 center housing. I'll do a 3D.
Paul Lamar
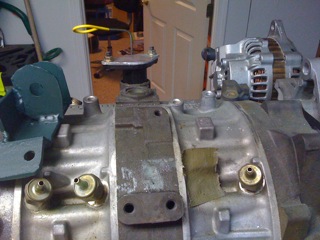
I built a mounting plate using those 3 holes--- I think they're actually
8mm
already. Getting everything aligned is tricky as they are off-center and
tilted. I did not modify the center section in any way.
--Kenny A.
http://websites.expercraft.com/kennya/
Thanks Kenny. I checked the web site but no pictures.
Please send us a picture when you get around to it.
The top center mount is not easy on a lot of airplanes
as they don't have the firewall hard point necessary.
Mostly RV's.
So here is another possibility for all you people with
a top center firewall hard point and an RX8 engine.
If you already have one of Jeff's motor plates for
an RX8 engine it came with a top spacer that looks
like this. If you saw out a 3/4 thick 6061 T6 plate
that looks like this and tig weld it in you can
use that as a top center mount. Requires a somewhat
longer strut. The small holes around the edges of
the plate reduce the amps or heat required to tig
weld it in. It is a trick that works when tig
welding thick plate when ever it is possible
due to a low stress area.
It is probably stronger than the center housing
mount as those are two 10 mm bolts holding
everything together. Also the load path is going
directly into the gear box.
BTW the strut does not have to be straight. Off sets
of a couple of inches either way will not hurt.
Use the rubber rod end ball joint itself as an alignment
jig for drilling and taping the 1/2 inch rod end
bolt. Then counter bore slightly to get a flat surface
around the bolt hole to seat the rod end.
Don't forget to drill the head and safety wire it.
Paul Lamar
Paul,
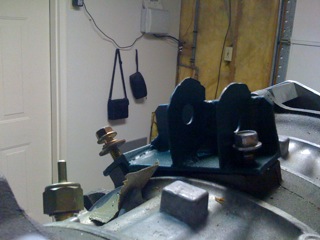
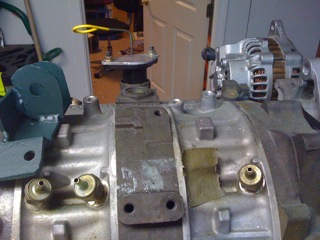
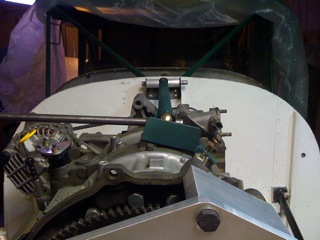
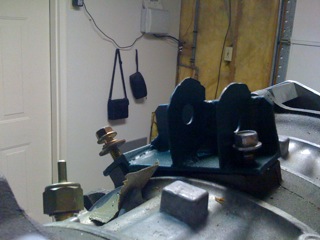
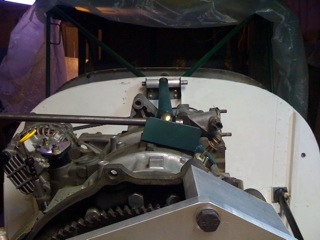
I don't recall adding these to the web site. The first picture is a closeup
of the center section bolt pattern, with the bracket sitting off to the
left. The second picture is a rear-view of the bracket in position w/o the
arm installed. The last picture is a front-view with everything assembled.
The RWS PSRU did not have anywhere to connect the arm, or even to attach a
bracket. I agree that if available a PSRU mount point is a better choice
than this center section setup.
--Kenny A.
http://websites.expercraft.com/kennya/
Thanks Kenny.
Paul Lamar
--
The Rotary Engine NewsLetter. Powered by Linux.
ACRE NL web site.
http://www.rotaryeng.net
Youtube key word PaulLamar2
Copyright 1998-2009 All world wide rights reserved.