Started all over.
Ground off all of the JB weld outside
Ground off the JB weld inside around the bolt penetrations
Drilled and tapped for 1/4-28
Drilled sealplate for 1/4" bolts
Wrapped sealplae in packing tape
Alodined the aluminum using aluminum prep from auto body supplier
It actually was a golden brown after the alodine was applied and rinsed
Applied JB weld outside all around the SS tube in the area previously
alodined.
Applied vasoline to the threaded surfaces
Mounted sealplate and torqued fasteners
Wiped excess JB weld off of housing
Let cure
-----------------------------------------------
Phase 2
Removed 1/4" bolts and cleaned threads with lacquer thinner
Removed sealplate
Cleaned and alodined
Cleaned threaded holes and cavities below with lacquer thinner
Loaded the surface up with red RTV
Installed new O ring in sealplate
Mounted sealplate
Coated threads on bolts with red RTV and installed
Torqued bolts and cleaned off excess RTV
Phase 3
Coated edges of rotor housing with RTV and bolted test side plates on and
let cure over night
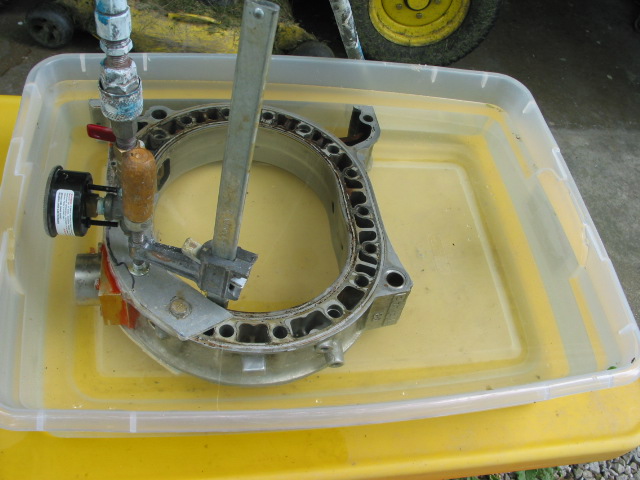
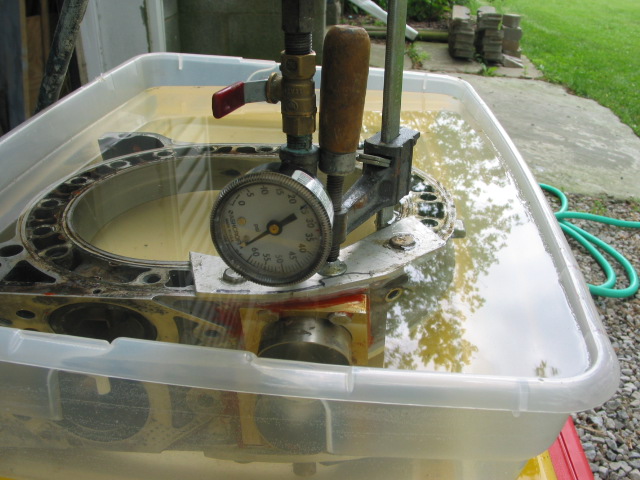
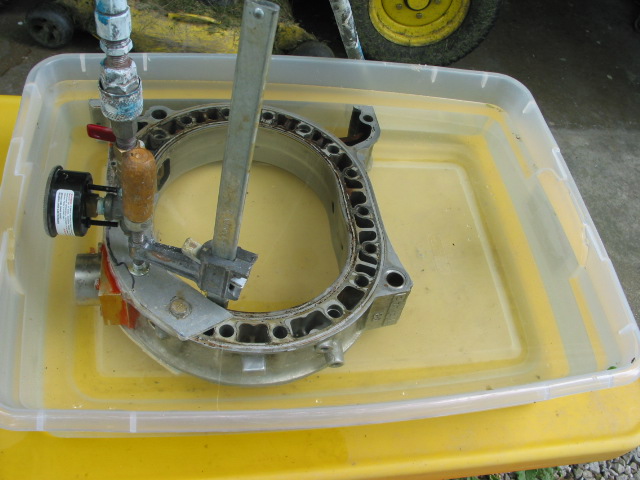
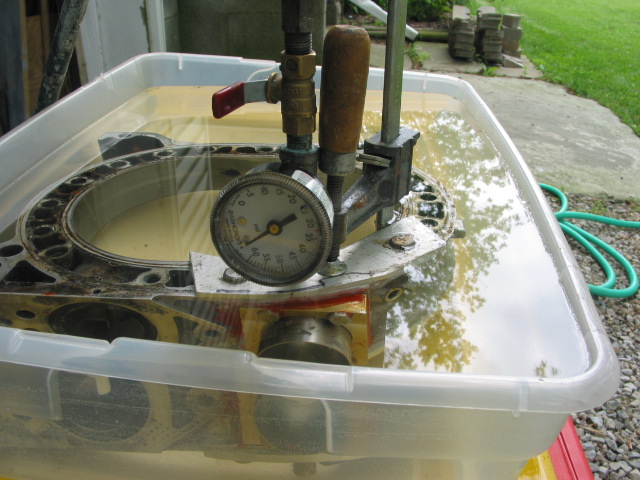
Immersed entire housing in water and pressurize with air 60psi +
It was necessary to install a C clamp in the middle as the 3/8" Al would not
hold a seal
It has been holding 60psi for a couple of hours.
Saw some small bubbles, not a stream, emerging from the tube to seal plate
which maybe trapped air occurring during assembly.
I will report any anomalies but as you can see here follow Pauls
directions to the letter to seal the P Port side plates
The immersion test is a great way to detect leaks. I found that the leaks
can come from the test apparatus and side plates.
Joe Berki
Limo EZ
That includes using half inch thick side plates, inner tube
rubber and ONLY C-clamps :)
Paul Lamar
--
The Rotary Engine NewsLetter. Powered by Linux.
ACRE NL web site.
http://www.rotaryeng.net
Youtube key word PaulLamar2
Copyright 1998-2010 All world wide rights reserved.