Paul
I've been thinking about building a 3 rotor P-port, and some of the
sealing
techniques used around the
intake tube. I know you have suggested epoxys in the past but what
about using
lead or tin?
fairly easy to melt and will easily handle the heat. My thought was
to clamp a
steel plate to one side of the rotor housing
fill the water jacket up with lead or tin then mill the hole in the
rotor
housing for the P-port. Has anyone suggested that yet?
I think body shops have been doing that for years to fix panels on
cars.
Tony
It is worth a try. I think it will cool when you pour it into
the water jackets and not bond. However heating the rotor housing
to 1100 F in an oven and then poring the liquid brazing
stuff might work. You will have to clean out the water jacket
with a die grinder to get rid of the oxide and coolant deposits.
We don't mess with any of that in the welded p-port version.
Paul Lamar
We finally have a reliable system that works and easily repaired after
a couple of years of trial and error AKA R&D :)
We don't really use epoxy anymore. We tig weld a SS tube to
the steel rotor liner. Pin hole leaks are sealed with liquid
silicone rubber.
http://www.rotaryeng.net/Welded-steel-p-port.html
We also have a youtube video or two on the subject.
See the attached pdf for a list.
There is no reason for the tin or lead to bond to the aluminum
so you would probably wind up with leaks.
Paul Lamar
There are alloys used to sweat dissimilar metals together, along with
fluxes to clear oxides from the surfaces. Temps range between 350 to
1200f depending on metal types to be joined. --
http://www.muggyweld.com/index2.html
I am going to try this method when I do my P ports, both with the
stainless tube, and aluminum tube. A benefit may be eliminating any
silicone sealants required.
Although I can tig the stainless tube to the housing myself, I am not
certain it will be successful after the hard chrome gets melted and
mixed with the stainless on the liner, as I am not sure what the
outcome
has been with this phase of the project.
Ed Carver
Mark Steitle has been flying for awhile with welded p-ports.
We have 4,400 hits around the world for almost a year
and no nay sayers yet :)
http://www.youtube.com/watch?v=NKJ00JsnS8A
Hard to guess how many have been built.
We only resort to the silicone if you find a leak
after the engine is assembled. It is rather
easy to check for leakage if you do this.
I have probably close to several hundred hours fooling
around trying to bond in p-ports. One engine developed leaks
after it ran and I had to drive half way to Denver to pick it up,
take it home, disassemble it and start over.
It can be done if you do everything exactly right and use just the
right procedures and materials. Aluminum is hard to bond to
as it develops an oxide coating that epoxy does not stick to
rather quickly when exposed to air. We discovered this
back in the 1960's when we tried to build bonded aluminum
monocoque race car chassis's at Chaparral.
Here is an eye opening little test.
Take four small strips of aluminum. Bond two to together with
epoxy. Treat the next two with an aluminum prep kit and
bond them together. Now try to bend them both after cure.
Paul Lamar
Paul
Thats certainly one way of doing it, The nice thing about using the
HTS-2000 rod
is there is no welding
you would be drilling a hole in essentialy a solid block of aluminum
straight
thru to the rotor housing
that's it no grinding cleanup nothing, if done correctly no leaks
either. You
should realy watch the videos on their website it's pretty
impressive stuff.
http://www.aluminumrepair.com/index.asp
Tony
As I said above it won't bond to the aluminum in the rotor
housing unless you get rid of the oxide first and then by heating
the rotor housing to 1100 F. If you don't do that as the mixture
cools it will shrink moving away from the inner and outer walls
in the rotor housing water jacket.
Furthermore you could destroy the existing heat treat on the
rotor housing. Try the tig welding trick. You will like it as
it only takes 5 minutes. It does not distort the aluminum housing.
The video has nothing to do with what you are suggesting.
Notice they are heating what they are bonding parts to.
Notice also that they are filing the old part to remove
the aluminum oxide coating. You will have to go into
the water jacket and grind out the entire interior
surface with a burr inserted into a die grinder.
Also good luck finding a low cost oven large
enough to heat the entire rotor housing to at least 500 F
and maybe 1100 F.
However you are welcome to try it if you wish.
Make sure you build up the p-port engine and run it
full power as we have. Pressurize the cooling system to
50 psi to be certain there are no leaks.
If it fails make sure you let us know :) I always let
people know when something I try does not work no matter
how embarrassing. We learn more from what does not work
than we do from what does work. Document each step, as
we have, by taking a lot of pictures.
Paul Lamar
Paul,
I filled the water jackets around the p-ports with Ultra-Grey RTV.
Bonded to the aluminum just fine and stuck like glue. It didn't leak
either.
Mark
For the new people Mark is using the SS tubes welded to the steel
rotor housing liner.
Silicone sticks to anything as far as I can tell. It even sticks
to glass. The beauty is it is flexible so it can expand and contract
unlike epoxy to follow the shape of the water jacket as it heats
up and cools off. I take it you are still using the O-rings inside
the sealing blocks.
Just silicone alone might work. Would be an interesting experiment.
Be great if you could get it in liquid form. No worries then about
voids. Easy to remove and start over. Epoxy is a pain to grind out
and start over. Ask me how I know :)
Paul Lamar
Easy to see the successes with the silicone and the properly treated
epoxy joints. It just appears really easy to insert a 2"id alum tube
into the bore and then use one of these specialty rods with the
appropriate flux to sweat it all together.
For me, if it fails, I just bore out the alum tube and install the
stainless in it's place. If I had'nt brazed and soldered a lot of
fittings in my life, I probably would not consider it.
Ed Carver
I think that is more likely to work than filling up
the whole water jacket.
There are some complication inside that you will have
to work around.
What I would like about it if it works it is potentially
the best way to seal the outer wall.
Do you have a mill to bore the hole Ed?
You can get a junk rotor housings from Mazdatrix for $30
to test it on. I think I am all out of junk rotor housings.
I'll take a look and see if I have one left. I have some 2 inch
OD .065 wall 6061T6 tube lying around you can use I think.
Paul Lamar
Right now I am avoiding the intense rain here and am researching engine
stuff indoors.
I can easily mill the hole when I get ready, I have a couple expendable
housings that will work if the sweat is successful. IMS is down the
street if I need materials and I have a lot of that already. It's a
month or so down the road before I get into this particular project.
On a different note, I am learning how to do aluminum castings. I am
looking for the best casting material for center and end housings,
possibly one to the ceramic metal matrix hyper alloys and beralcast 363
for rotor material. It appears to be the only beryllium alloy on the
market and can be investment cast to near net. Do you have any knowledge
on this stuff? I've been reading about it for about a day, and looking
for a supplier.
Ed Carver
I have heard of aluminum/beryllium alloys .70% the density of aluminum.
Makes great rotors. What is the density of beralcast 363?
Paul Lamar
Ed Carver,the 363 sounds like a good rotor material depending on
it' coefficient of expansion. It might require pressure assist or vaccum
casting. For vaccum assist you can fill a 12" diameter 25 ft tall pipe
with water, tap off the top header for the vaccum and open a 90 degree
plate valve at the bottom with the valve submerged in the capture tank
water. We used this system to raise liquid steel for vaccum degassing
and bubbled argon in one side to make it circulate. Three passes of
a 424 ton heat in 7 minutes. The tower was 150 feet high.I was thinking of 390
aluminum for end housings.
That is what
the Briggs and Stratton and chevrolet vega blocks are made from. No wear
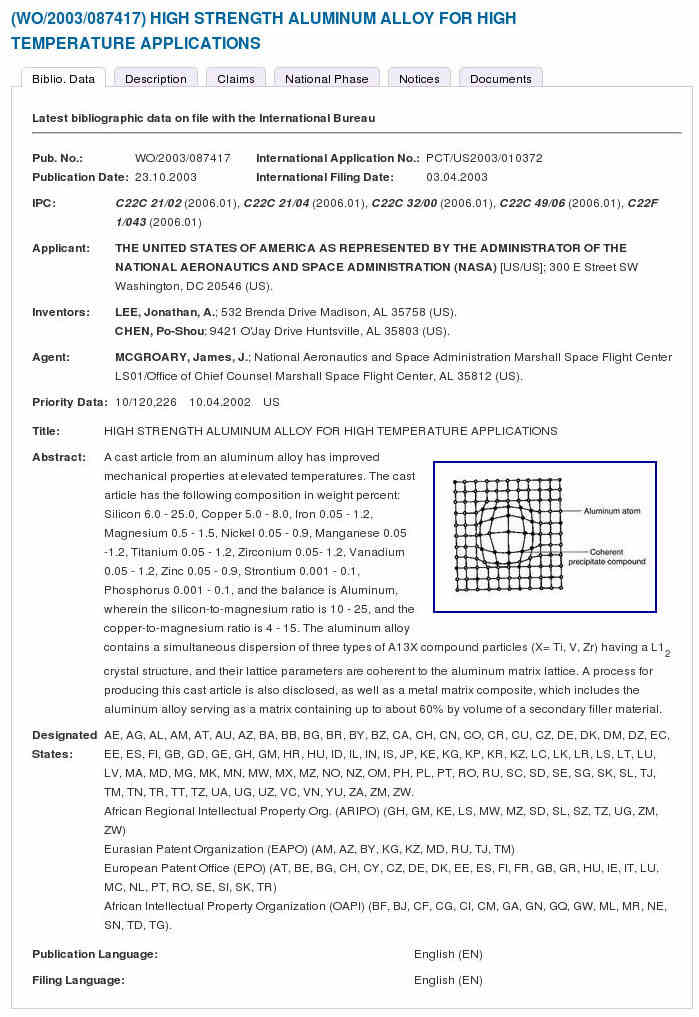
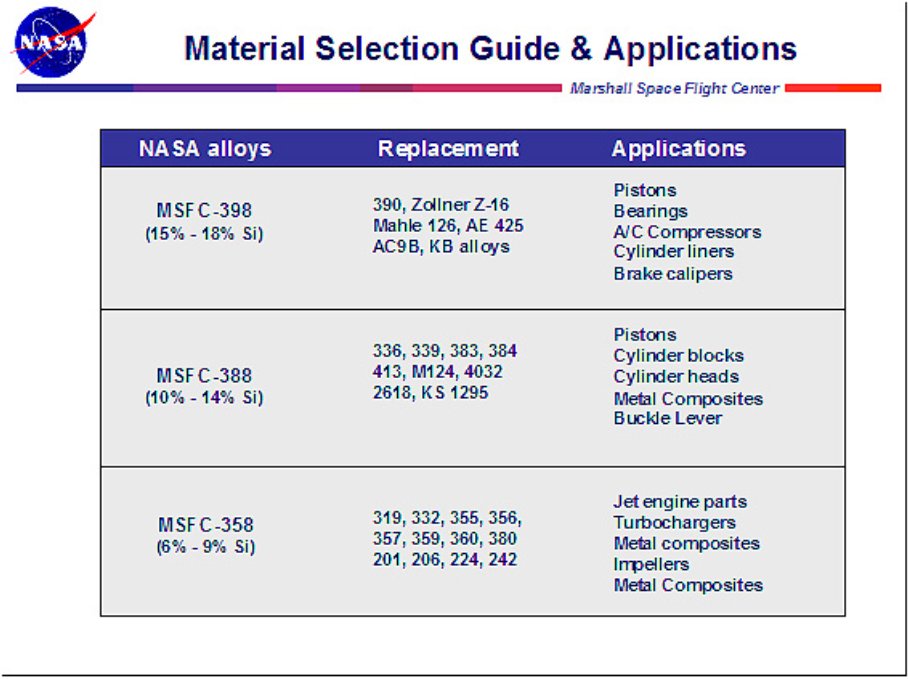
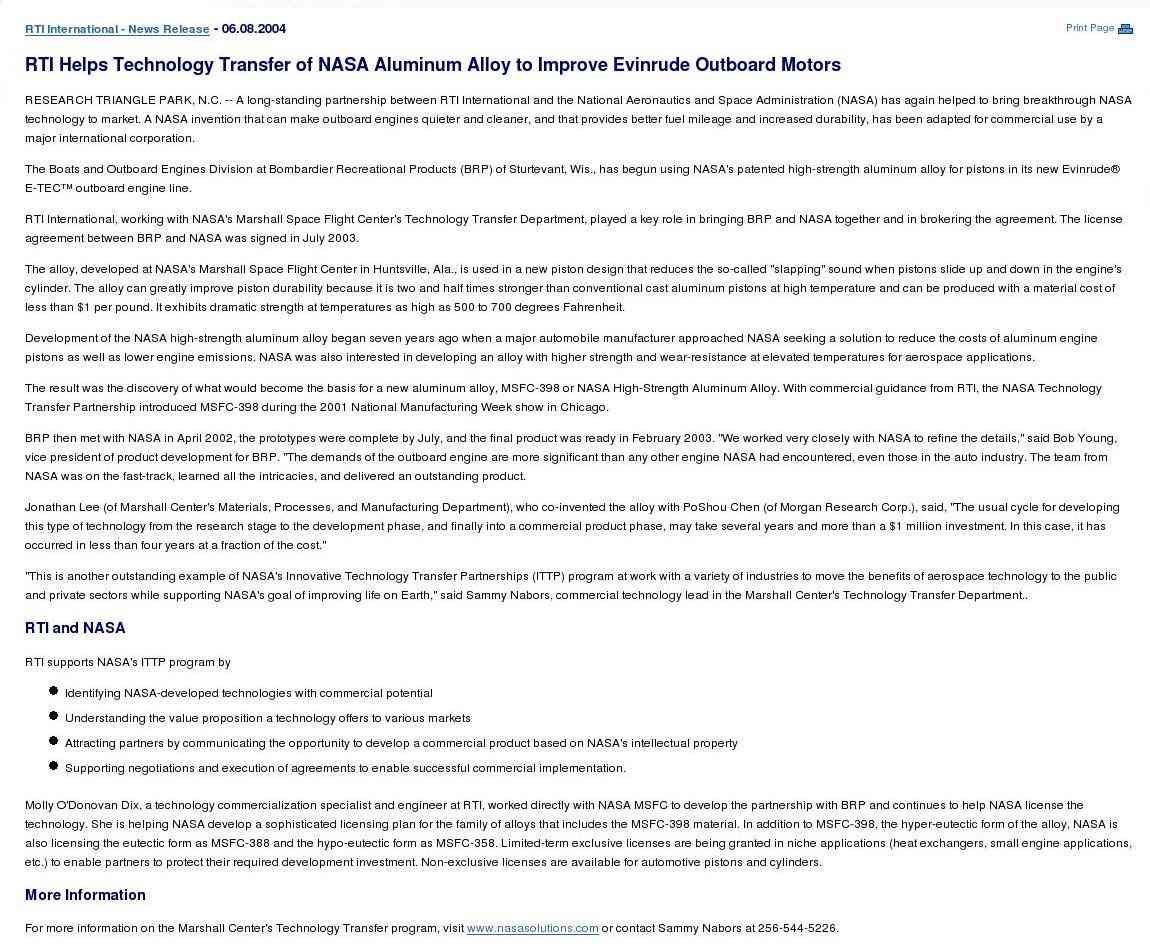
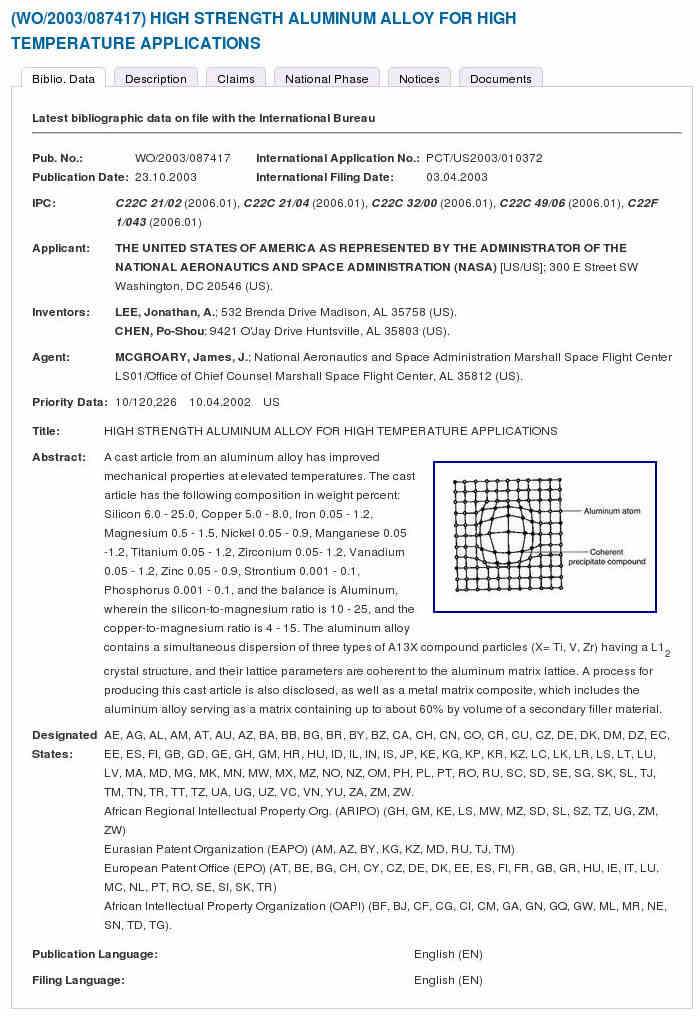
coating is required since the silicon carbide is in the alloy. I am
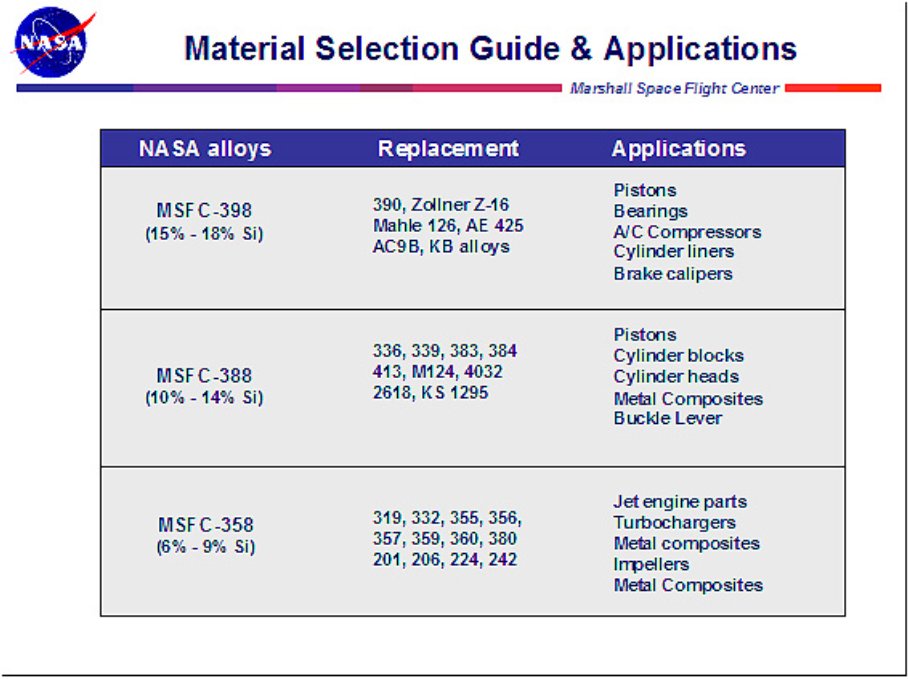
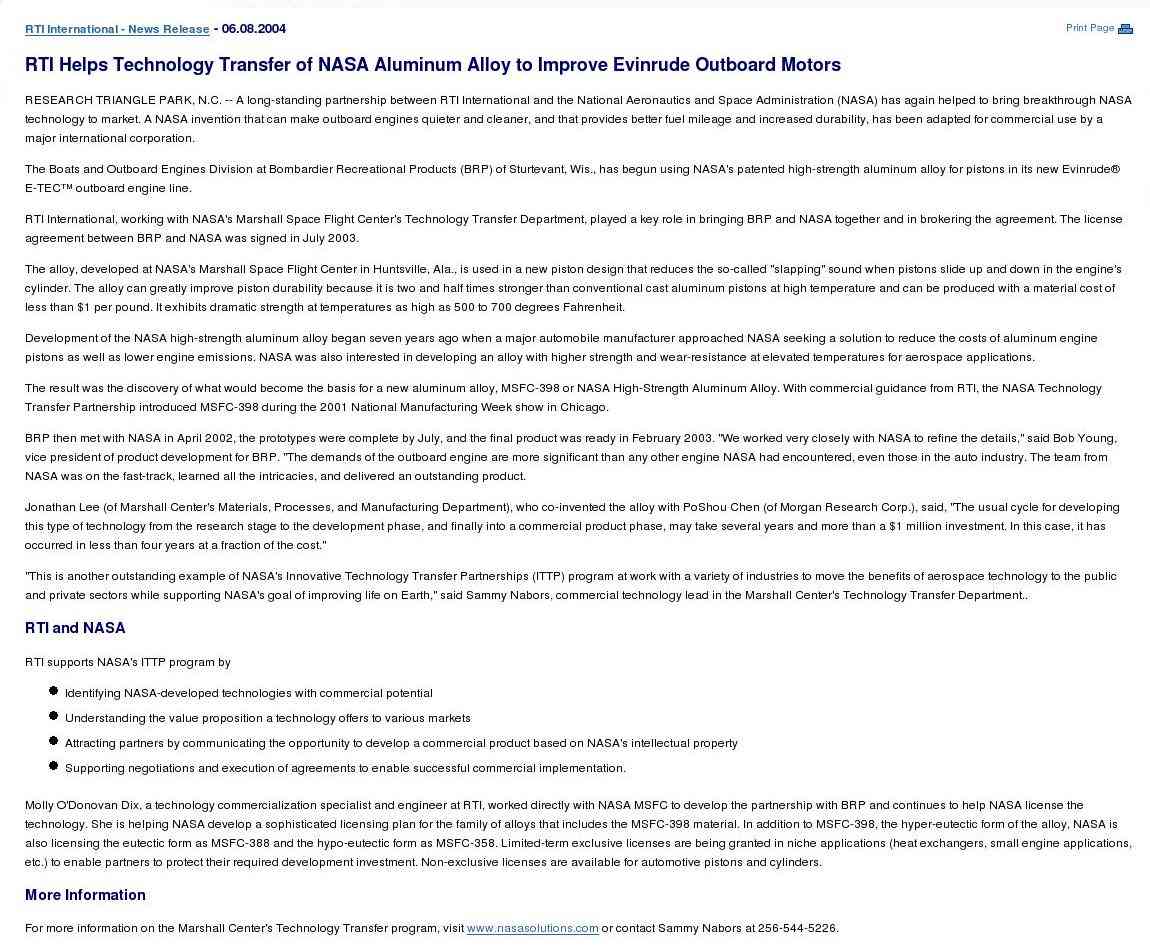
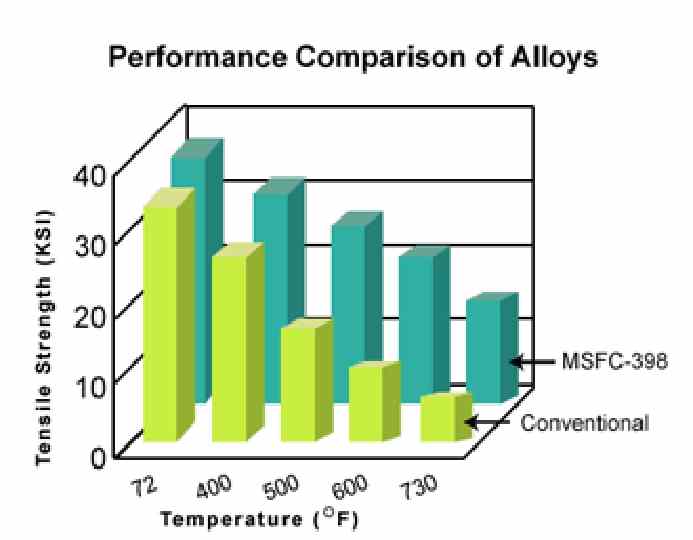
currently looking int to NASA alloy designated 398 which has much
higher strength than 356 and other commonly used alloys and also needs
no wear coating. It will work with gravity assist which is just a
standpipe at the pouring sprue. No rocket science. I haven't run my
patterns on the gantry router yet but the design is finally frozen and G
code files are done.
george grimes
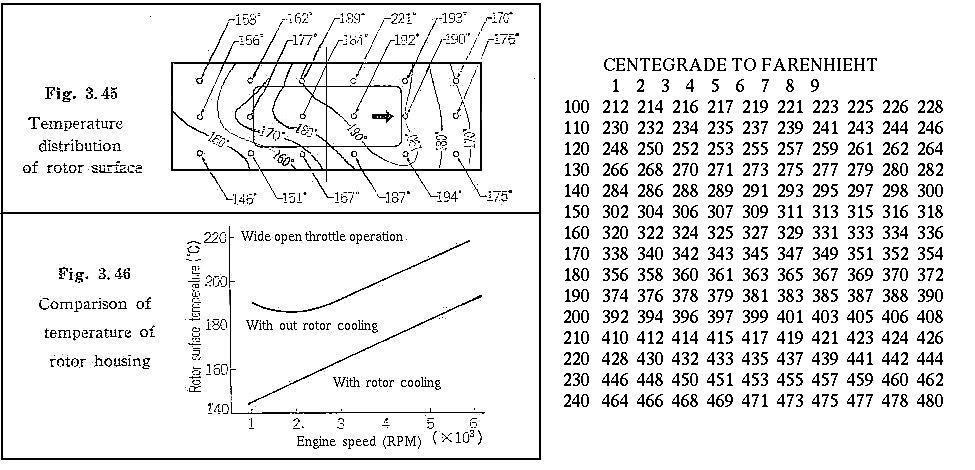
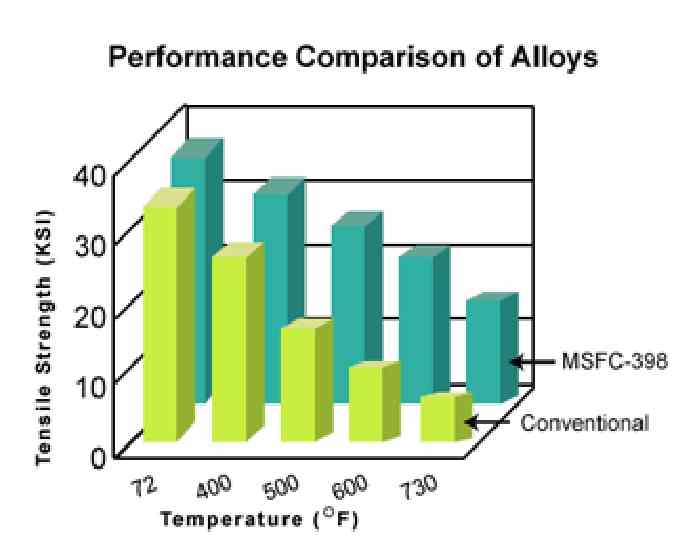
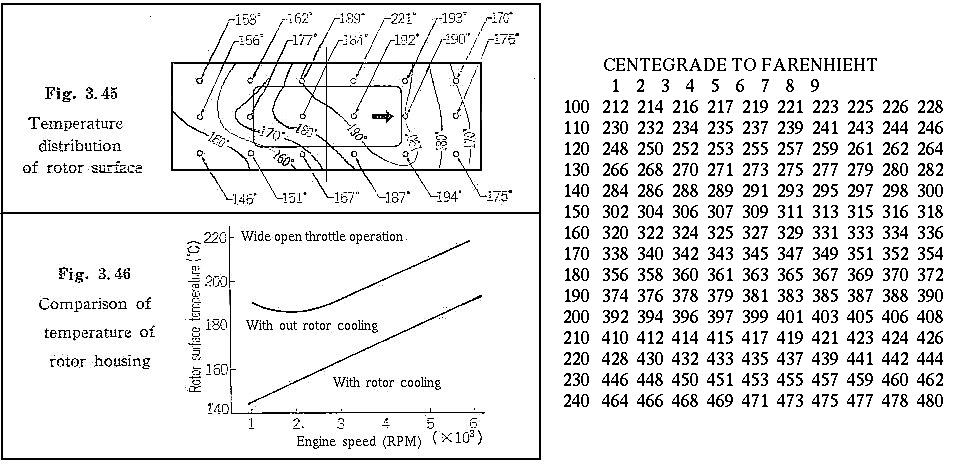
The rotor runs too hot for 363. Be/Al has higher strength at 500 F.
Aluminum loses over half it's strength at 500 F.
http://www.suppliersonline.com/propertypages/6063.asp#Spec
Paul Lamar
The Rotary Engine NewsLetter. Powered by Linux.
ACRE NL web site.
http://www.rotaryeng.net
Youtube key word PaulLamar2
Copyright 1998-2010 All world wide rights reserved.