Cleared the ground for a brief period today. As far as the airplane
is concerned, everything is good. CG seems to be right on the spot.
Much better as it was 12 years ago at the first flight with the SOOB.
Here is the reason why it was not a flight. A few days ago when I started
high speed
taxi, as soon as it picked up air speed, the engine started to
sputter and almost cut out totally. This was at the same RPM as at a
run up, where it does not do that.
With a wiggly tail dragger as the Avid is, there was no way reading enough
instrument
for making a preliminary analysis. I recorded the instrument panel
with a GoPro at 2sec intervals.
Looking at the first pictures, the answer came up right away, increasing
pressure
under the cowl where the intake for the engine is located. Like the EGT
shot up over
1600 just before the sputtering started. Since my radiator air is
going to the outside of the cowling, there was no impact on cooling.
Btw cooling is really good. At an OAT of 95F, oil and water stayed
at around 170F no matter what I did.
For todays runs, I taped the inlet around the prop hub shut. Sure
enough, the sputtering occurred at higher airspeed, and was not as
total, however, EGT was still going to around 1600.
The conclusion is, I have to open the cowling exits a lot.
Richard Sohn
N2071U
http://www.fairpoint.net/~res12/home.html
Congratulations Richard.
Do you have a ram air scoop or cold air box on it?
No pictures came with the message.
I would put a water manometer tap under the cowl to check the intake
pressure for
sure. That carb should not be affected by small changes in ambient
air pressure unless the vent to the float bowl is plugged. Is there
a fuel pressure regulator in the system? Tie the tail up in takeoff
position and run it up. I assume the tanks are in the wings.
1600 EGT is normal at high power. How far is the EGT probe from the port?
I'll be down that way about Oct 1st.
Paul Lamar
Richard, I don't seem to have a picture of the left side of your
installation but the side view in this post doesn't show an exhaust stack
outside the cowl. It might be that during a static run up the prop blast
vents the exhaust gases but in the dynamics of flight there may be a
reversion back through the cowl to the opening around the spinner
backplate. I assume that at some point you will have a ram air intake
through a heat muff for carb icing which will possibly cure this condition.
Also congratulations on building your own engine and the
airplane as well.
George grimes
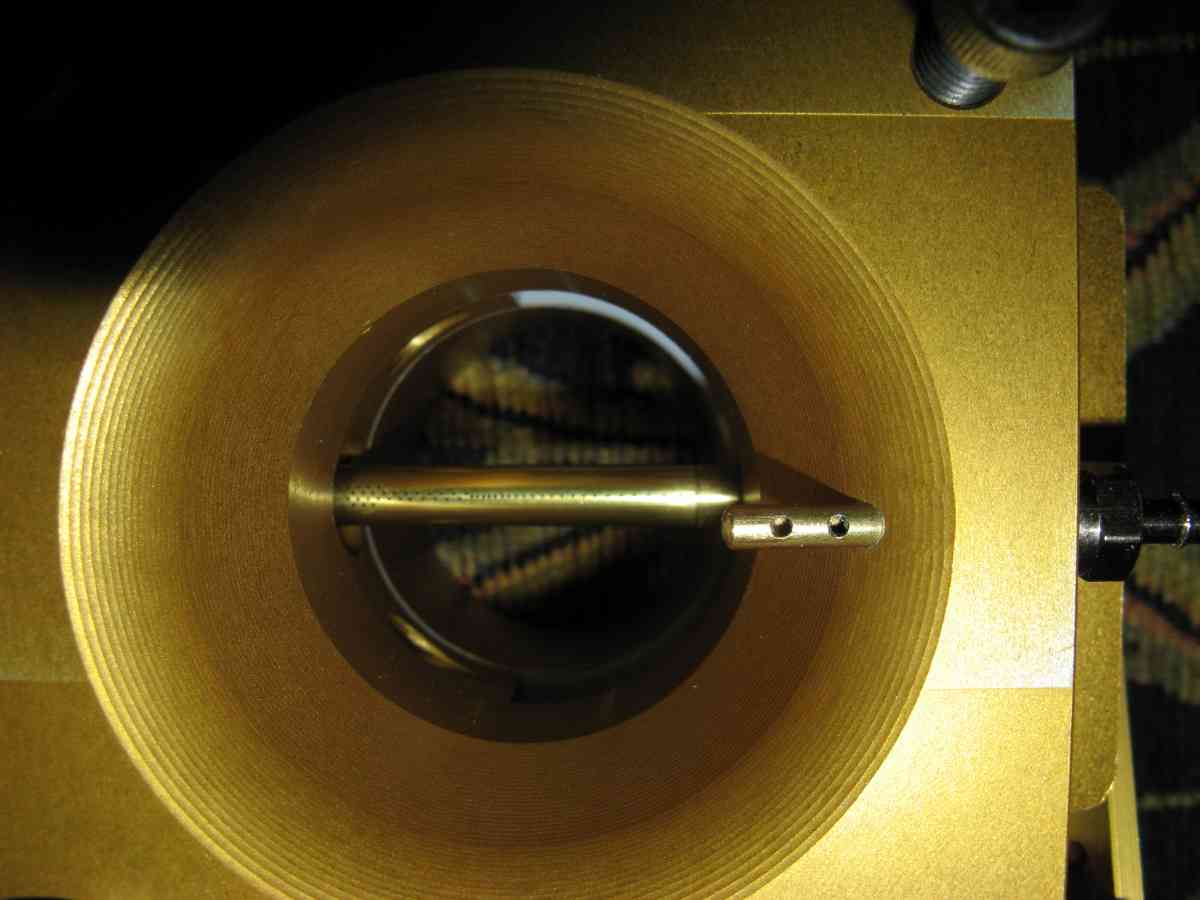
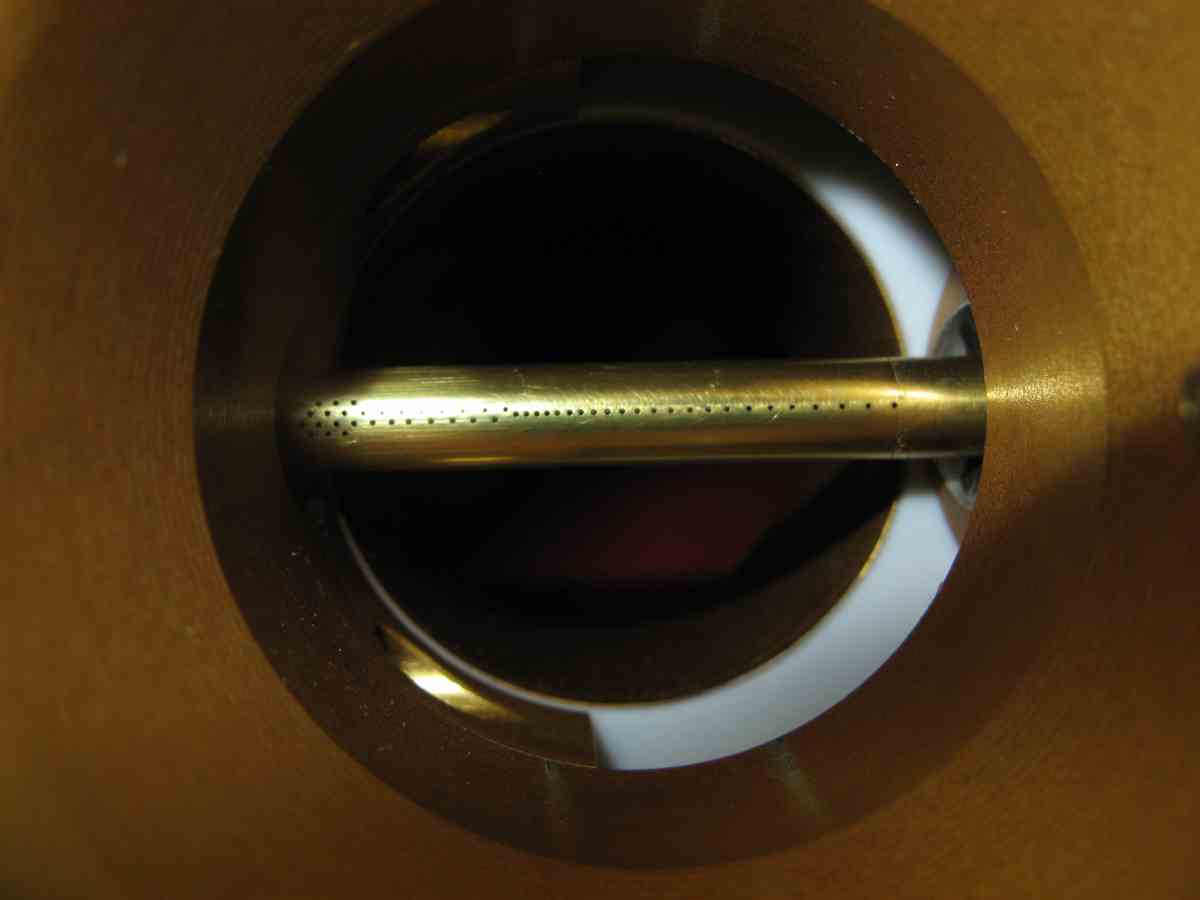
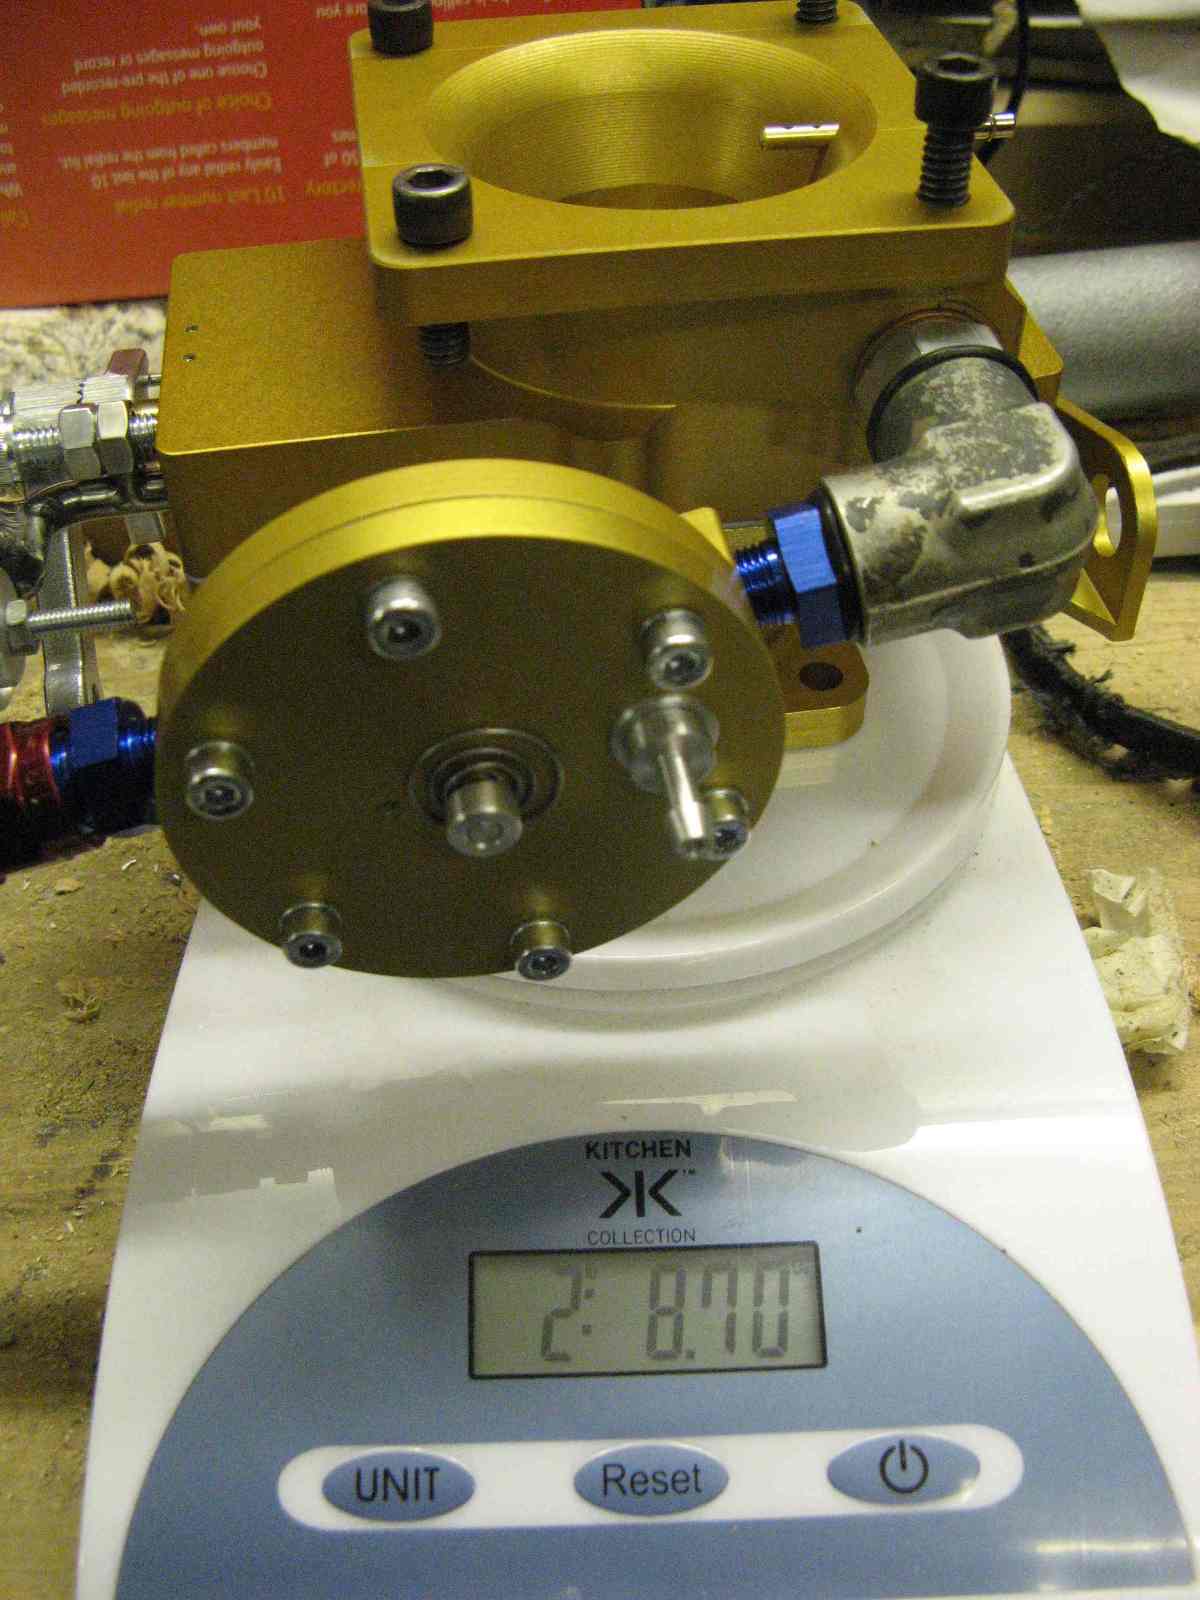
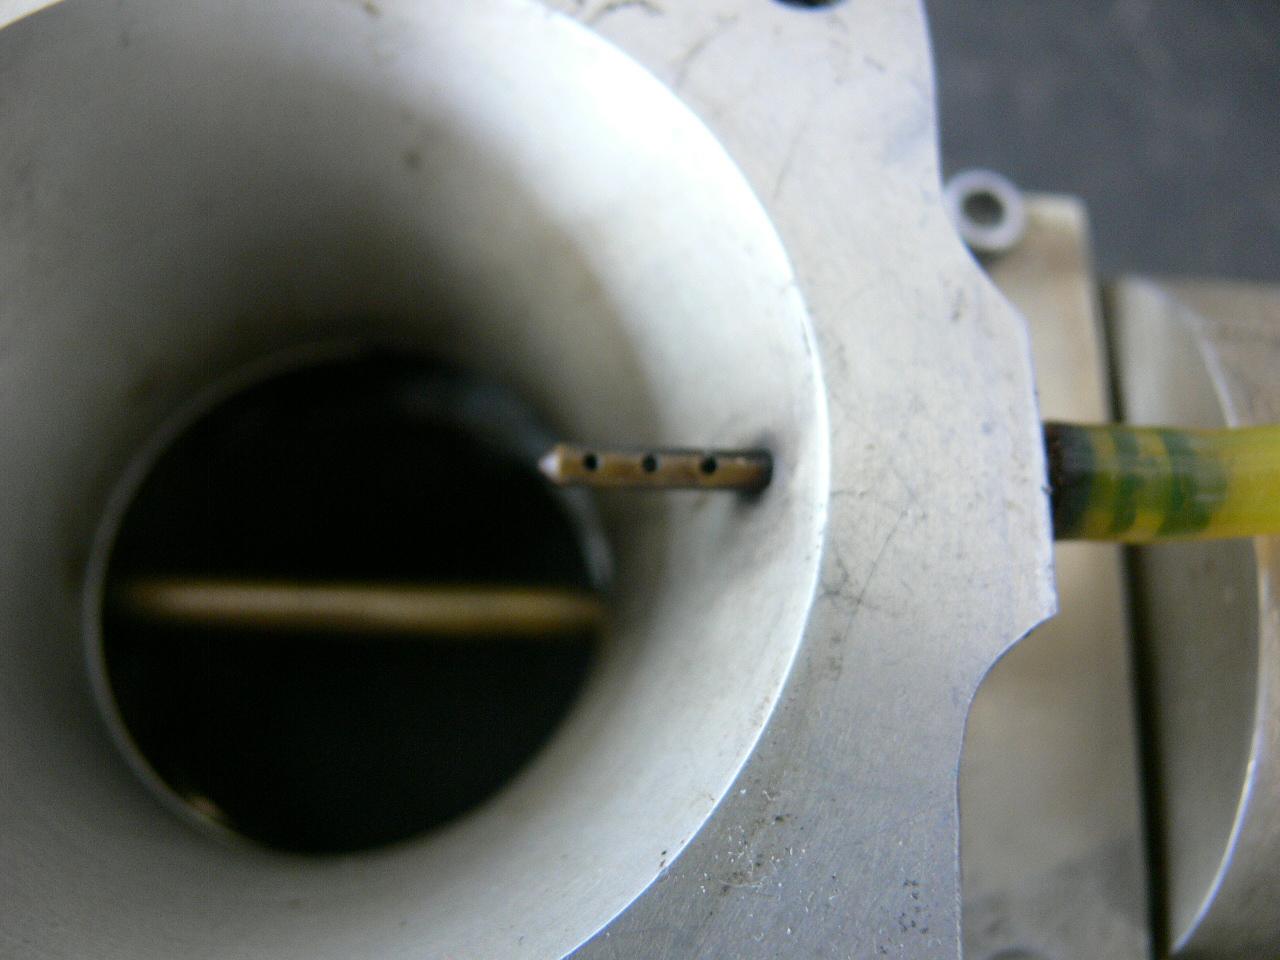
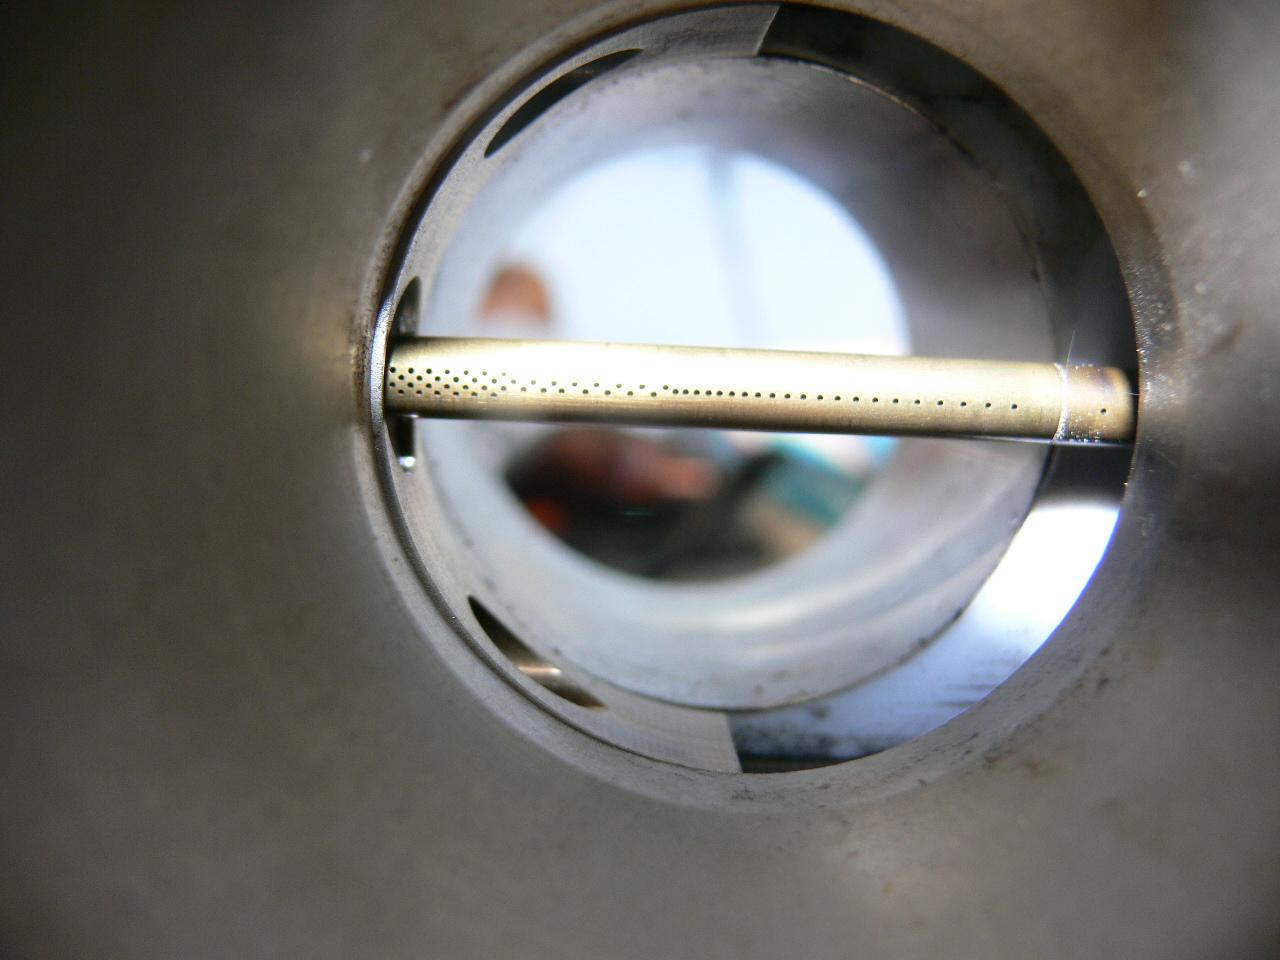
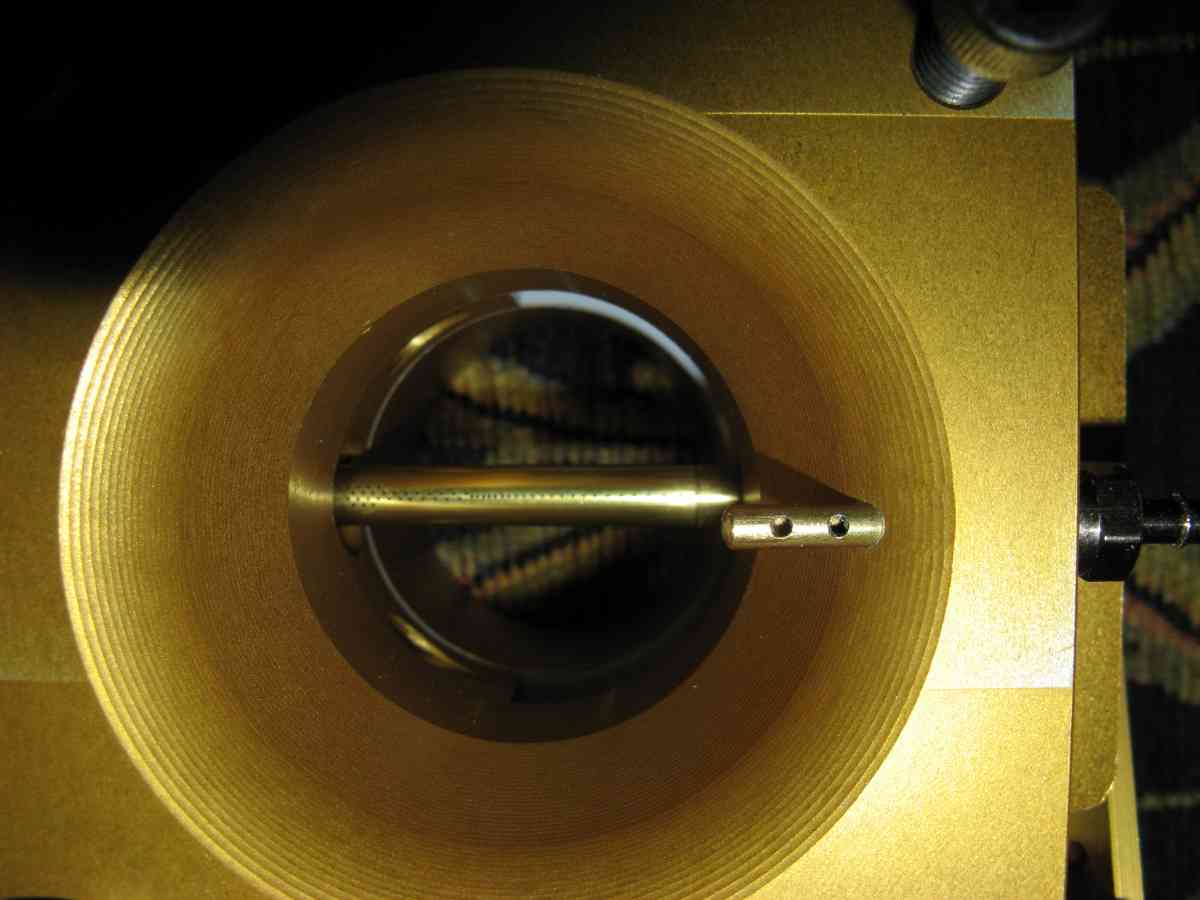
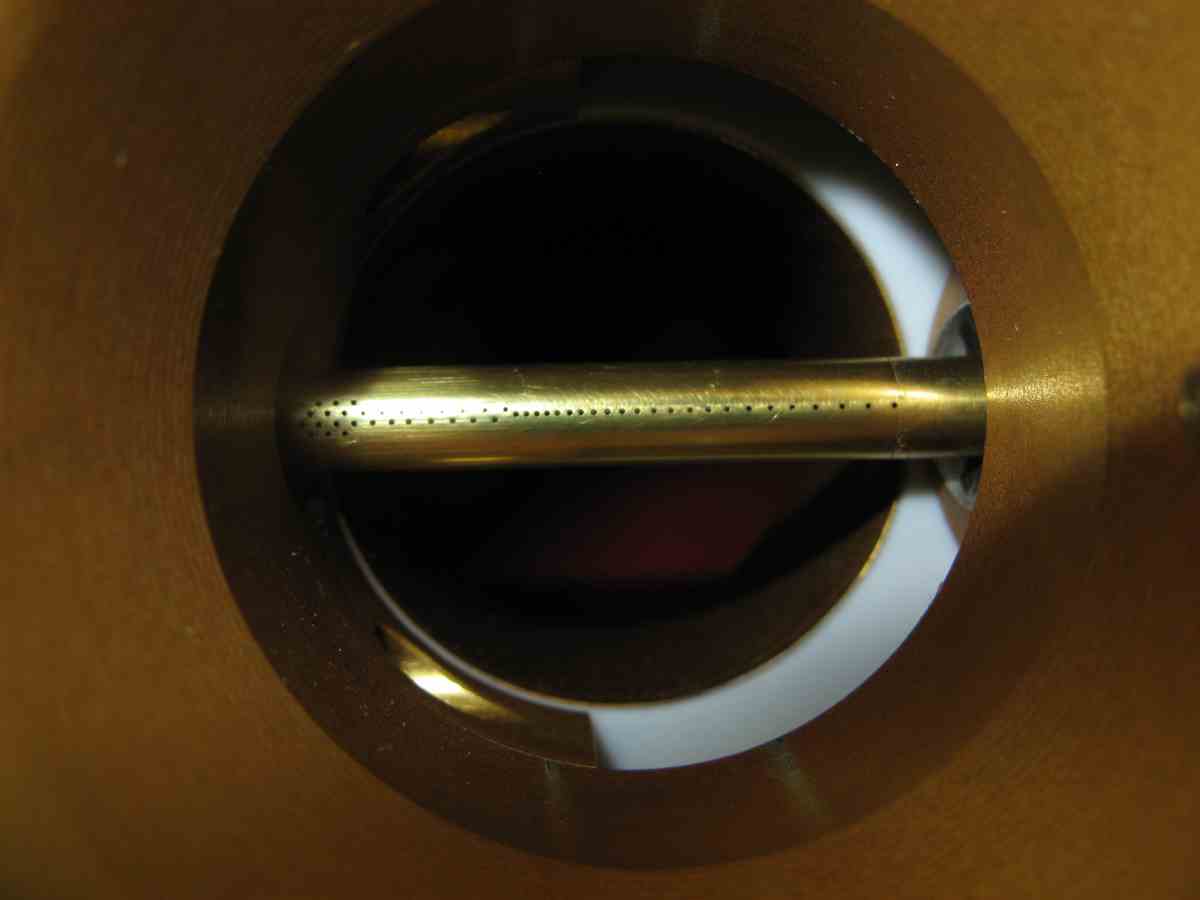
Here is a picture of my intake. No float, but a pressure regulator.
The prop is on the left.
Richard Sohn
N2071U
What brand is that carb? Many of those low pressure carbs have
problems with fuel in high wing tanks. The fuel pressure changes too
much with angle of attack. Tie the tail in the pick up bed and run
up the engine to full static RPM.
Paul Lamar
http://www.greatplainsas.com/
Great Plains Logo & Address
HOW TO ADUST POSA STYLE CARBURETORS
IF AFTER FOLLOWING MANUFACTURERS DIRECTIONS, THE ENGINE STILL DOES
NOT RUN CORRECTLY.
POSA Style carburetors trace their history back to the late 60's and
early 70's. One of the first carburetors of this style was the Lake
Injector. Don't confuse the word "injector" with fuel injection, as
these series of carburetors are not a fuel injector or fuel injector
body. During this same time period the POSA carburetors were
introduced. As the POSA is a casting and the Lakes was a machined
product, the Lake soon disappeared as the POSA was less expensive,
buy a large margin.
The POSA was originally sold for aircraft use by HAPI, Revmaster and
Monnett Experimental Aircraft. A little later in history, Revmaster
introduced the Revflow Carburetor which is a similar type carburetor
also. It looks like it might be a modified Lectron Carburetor body,
with their own casting on one side of it with mixture control built
into it.----
The newest version of the POSA is the Aero Carb. Where as the POSA
was a casting, the Aero Carb is machined from a billet of aluminum.
The operational principals of all 4 carbs (Lake, POSA, Revflow and
Aero Carb) are identical with variations in mixture control and
needle adjustments for setting the mixture
All of these carbs have different needles that are round but have a
flat ground on one side that is also tapered. As the throttle is
opened, the needle is pulled out of a fuel orifice with the slide,
allowing more fuel to be pulled into the carburetor throat. It is
imperative that the flat part of the needle always face into the
back of the carburetor.
If the needle were allowed to rotate, the draw across the needle
changes and less fuel is induced into the engine, causing an engine
to run lean. Most manufacturers of this style carburetor send a
number of different needles along with the carburetor. The needles
have different flats ground along the taper, allowing more or less fuel
to be induced to the engine.
This POSA carburetor was originally used on motorcycles. The fuel
tank on a motorcycle has a maximum of about 6" drop from the tank to
the carb. On most VW powered aircraft with a full tank of fuel,
there is about 12" maximum fuel drop. The point being that these
styles of carburetors were designed to be operated on gravity fuel
pressure only, and not much at that. I have seen fancy designs for
fuel pressure regulators to be used with return lines etc, but have
yet in 30 years seen a successful installation of a POSA style carb
that ran correctly with a pressure regulator.
A few facts to consider
1" of fuel head is equal to .022 psi
46.17" inches of vertical fuel column is equal to 1 psi
Fuel boils at 170 degrees F
An average engine will consume between .435 and .450 lb. of fuel per
hp per hour
Cowling air typically runs 60 F warmer than outside ambient air
temperature, with isolated hotter spots.
A fuel system must have an adequate fuel vent.
Types of carb are float bowl, diaphragm, and floatless
Aircraft carbs, Zenith, Bing, Weber, Solex are examples of float
bowl carbs. These carbs can operate on gravity feed or usually up to
4 psi of fuel pressure. Most of these have a float bowl well vent to
prevent vapor lock.
Tillitson, Ellison, Zama, are types of diaphragm carburetors. These
carbs usually require some fuel pressure to operate correctly.
POSA, Lake Injector, Revflow and Aero Carb are floatless, diaphragm
less carburetors. These carbs do not operate well on more than .5
lbs of fuel pressure; yes that is less than pound of fuel pressure.
These carbs do not vent any fuel vapor that may form in the body to
the venturi as there is not float bowl well or diaphragm vent.
If a vapor lock forms in the body of the carb or the fuel line
preceding the carb, the engine will start to surge and eventually
quit if the vapor lock cannot be moved through the carb. It requires
the absence of heat to remove the vapor lock from POSA style carbs
as fuel pumps are not used.
How to adjust the carb for all throttle positions
Tools needed:
Screwdriver
#16 nail sharpened
Small jar
Syringe or breaker graduated in cc's or ounces
Gloves
Small wood throttle blocks (you'll make these)
Fire extinguisher rated for fuel
Instruments needed
Manifold pressure gauge
EGT gauge or air/fuel ratio gauge
So you have followed the manufacturer's directions to adjust your
POSA style carburetor but find that you still have rich or lean
spots across the range of throttle and you're frustrated. The first
thing you need to do is acquire some patience, because to set the
carb correctly takes about 4 hours of measuring and tuning.
1. The fuel in the tank should be full. This is because a full tank
of fuel will make the carb run richer and an almost empty tank will
run leaner. Remember that you are operating on .022 pound of
pressure per inch of vertical fuel column. So if you have 12" of
vertical fuel drop, (this is from the top of the tank to the carb,
not from the top of the tank to the bottom of the tank) with a full
tank this is .022 x 12 = .265 psi or a little over " lb of fuel
pressure. For simplicity say our tank is only 6" tall. If we have
used a half a tank of fuel we now have used 3" of fuel and have a 9"
drop to the carb. So, 9 x .022 = .198 lbs of fuel pressure. Less
than a quarter of a pound.
2. You need to pick 6 throttle positions and be able to repeat the
positions. Use idle, 1500, 2000, 2500, 3000, and wide open throttle.
With the carb set as best as you can get it, make a stop block that
you can put in the throttle so you can accurately repeat each
position. The rpm will change when you adjust the carb down the
road. We simply need to be able to repeat the position. I use a
piece of wood that has a hole drilled through it that is the
throttle shafts diameter. Split the piece of wood in the center of
the hole. The length of the wood will vary for each throttle setting.
3. At each throttle setting, use the needle to adjust the carb so
the engine runs that absolute best at each station, irregardless as
to how it runs anywhere else. Make note of the manifold pressure and
egt/or air fuel ratio when the carb is set for each station. Once
you have a single station set perfectly with the needle, turn the
fuel on and let fuel flow out of the carb in to the bowl for 1
minute. Measure the amount and record it next to the egt/air fuel
ratio and manifold pressure reading.
4. Repeat step 3 for all 6 stations, recording manifold pressure and
rpm along with egt/air fuel ratio. Measure fuel flow for each
individual station and record the measurement.
Note: this process will consume about 1 gallon of fuel. You need to
keep the fuel in the tank as close to a constant fuel level as possible.
5. Now that you have made a chart that show the fuel flow out of the
carb at each station where you set the carb so that the engine ran
it's best, you need to set the needle so the carb runs the best at
idle once aging. This will be the permanent setting for the needle.
Idle position to about 1500 rpm is the most important throttle
range. When you are coming down final you cannot have your engine quit.
Likewise if you need to do a go around, you cannot have your engine
stumble when you advance the throttle.
6. Now go back to each throttle position using your blocks of wood
and re-measure the fuel out of the carb. In most cases it will be
less than you originally measured it. So to bring the fuel flow up
the same level you make a vertical mark along the flat of the needle
where the needle goes into the fuel orifice. Just use a black fine line
marker to do this.
Remove the needle. Now use the sharp nail and make a scratch mark
along the horizontal axis of the needle 1/8" on both sides of the
vertical mark. When satisfied with the depth, reinstall the needle
and measure the fuel flow. You want it to be equal to what it was in
steps #3 and 4.
This is the trial and error time consuming part of the job. Be
cautioned that a little scratch for starters is better than a deep
one. It does not take a very deep mark to allow a lot more fuel to flow.
When you are done with each station you will have a series of
scratched that are not connected. You may find that in some areas of
the needle you won't have to do much and in others you will have to
have a deep scratch and you may need to connect the scratches with
another scratch.
The top and bottom ends are critical. For the top end or wide open
throttle, this is where the egt comes in handy. At wide open
throttle, the engine should run about 50 to 100 degrees rich of
peak. When you throttle back to 75% (23 inches of manifold pressure)
power the egt should rise. Bear in mind that the rpm's vs. manifold
pressure will be different on the ground than in the air with a
loaded propeller.
When set correctly, you should be able to see a steady rise in the
egt from idle to just before full power. At full power, the egt
should dip slightly.
When you are in cruise mode with your VW, you want to run at 23" of manifold
pressure, regardless of rpm. This is 75% power and is the best way
to tell if you have the correct prop for your aircraft. Generally,
higher speed aircraft like the KR, Sonerai and Sonex use a 52" to
54" diameter prop. You will usually see a cruise rpm of about 3000
to 3200 rpm and 23 inches of manifold pressure. Slower aircraft like
the Preceptor Pups, use a diameter of 60" to 62" and corresponding
2800 to 3000 rpm at 23 inches of manifold pressure.
Note: in the event that the needle is rich at the bottom end instead
of lean over the range, you will have to go to the next smallest
needle and start the procedure again. It is very difficult to make a
needle leaner with out adding material to the needle.
On POSA style carbs equipped with mixture control, set the mixture
control so that is just shy of being full rich when doing the above
needle work. In the event that you need to make the carburetor
slightly richer, you can do so without having to go through the
entire measure, scratch, measure, scratch scenario all over again.
As you burn off fuel, the fuel pressure is less so you may need to
go "over rich" to compensate for less pressure.
The air/fuel ratio meter should read as follows:
Cold start to warm idle 8:1 0 800 rpm
Idle 12:1 800 1000 rpm
Mid range 16:1 1000 2500 rpm
Cruise @23 inches of mp 14:1 2700 to 3300 rpm
Take off 12:1 to 13:1 Wide open throttle
Steve Bennett
Just my 2 bits worth; fuel boils at 150*. Being a witches brew of
hydrocarbons, it will start to boil at a "low" temperature but not
completely
boil or vaporize until 450*.
If the engine is still rich at the bottom install the next size smaller
needle. Would you not want to install the next size latger needle to allow
less fuel to flow?
Dale Davies
What I am using is a TB Injector from ROTEC . Is it a carburetor? or an
injector? All I know so far is that it has been working on the ground better
then expected. The only adjustments needed was idle mixture and idle speed.
Power at WOT was better as from any float carburetor I tried. Starting the
engine is never a problem, as long as the proper procedure is followed.
My fuel system consists of wing tanks-facet pump-pressure regulator-throttle
body. The pressure regulator only opens up when it senses air flow. And it
works. There is no needle setting for mixture control.
Richard Sohn
N2071U
http://www.fairpoint.net/~res12/home.html
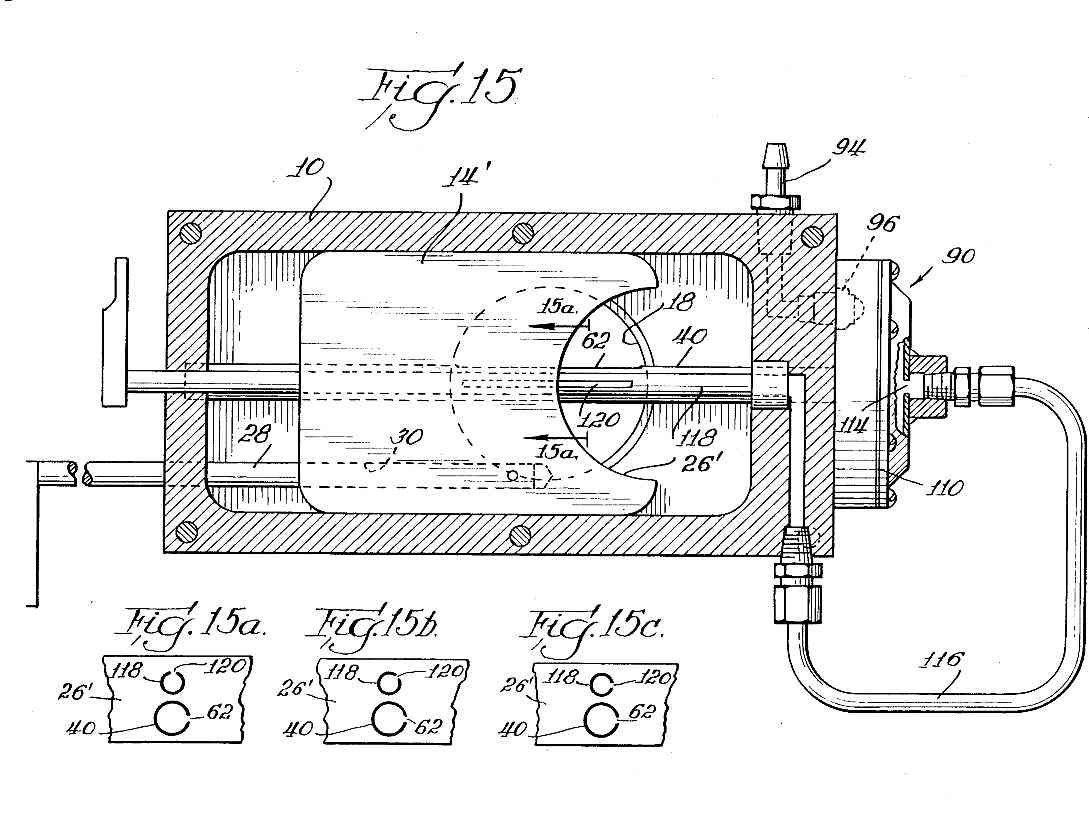
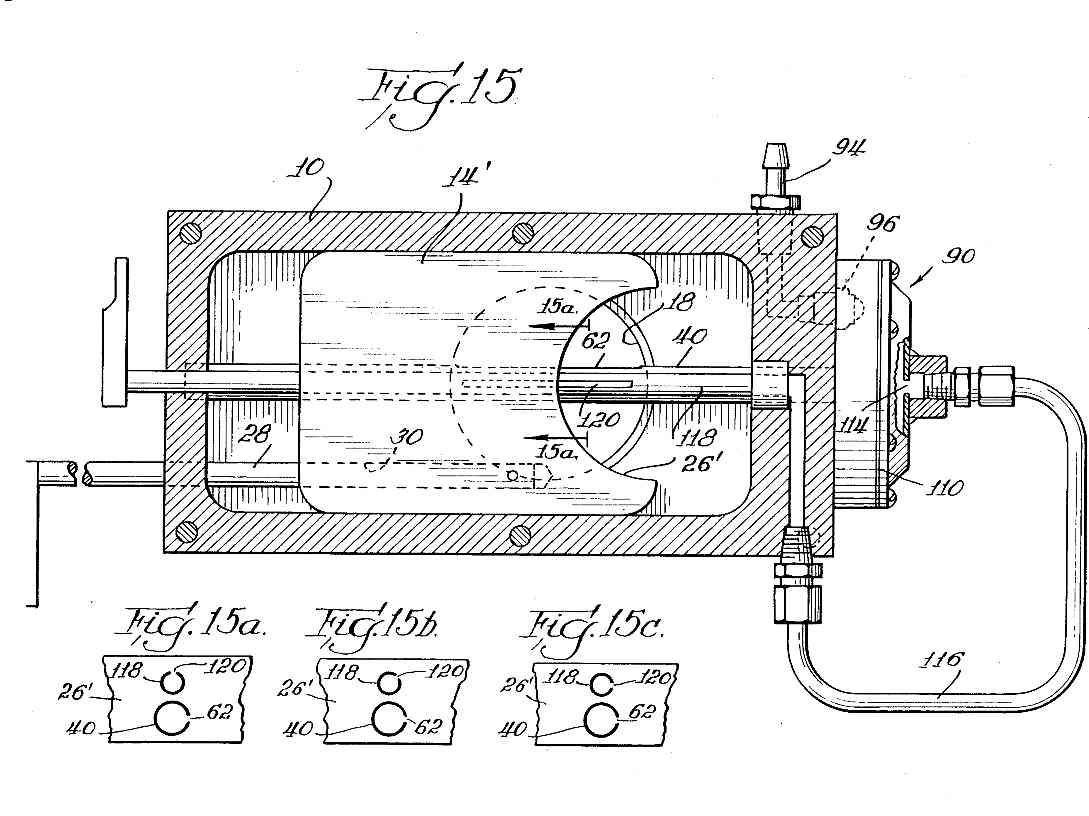
It is a carb and it is a copy of the American Ellison.
I don't know how they get away with that as the Ellison is patented.
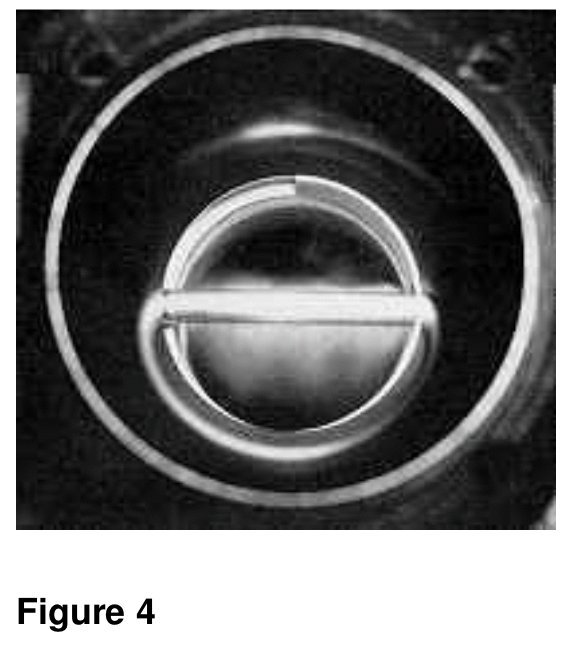
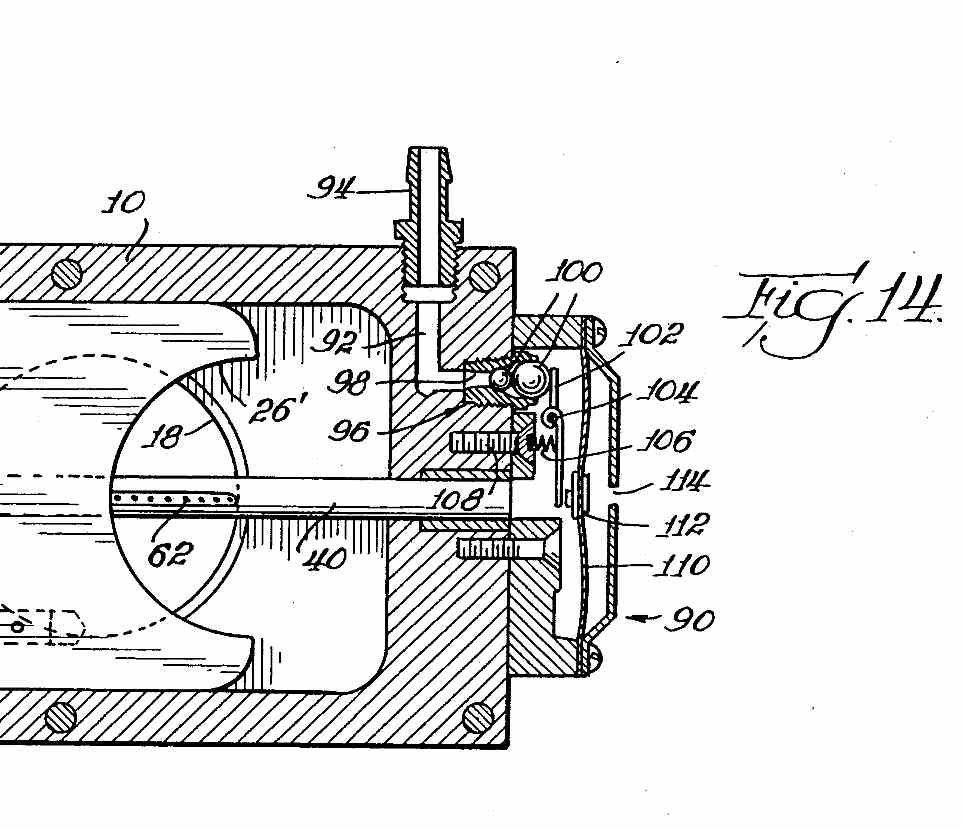
Here is a copy of the patent and some other stuff on the Ellison.
I'll send some more stuff shortly.
------------------------------------------------------------------
Here it is. One thing all very low pressure carbs have in common is susceptibility to
vapor lock. Any air bubbles are bad news. Read the Langford pdf.
BTW what makes it a carb and not fuel injection is the amount of fuel flow depends on
the pressure in the venturi. In this case it is the low pressure one one side of the
rotating needle as well as the venturi effect. Very clever idea however.
Paul Lamar
--
The Rotary Engine News Letter. Powered by Linux.
ACRE NL web site.
http://www.rotaryeng.net
You Tube key word PaulLamar2
Copyright 1998-2012 All world wide rights reserved.