Neil, after looking at your cowling, I don't think the regular Glastar
unit would work.  Do you feel the same?  I never built anything like
it, and I can see it's plenty of work.  Im wondering how close the
cowling on an RV is tto a Glastar.  Probably more trouble than it's
worth.

How much do you think the MM would cost? I was thinking of getting
someone around here who would let me cut/fit the parts, and he could
weld with a student(me) under his nose.  I have an old buzzbox tig,
but I'm not verry good.  Tubing is esp difficult, i've heard.  Jack

An engine  mount could cost as much as $1000. Most of that is labor.
If you can do it your self that would be much cheaper of course.

The cooling system  will fit in the stock cowl with the rad mounted on
the cool side. That is what the 3D drawings are all about. To see what
fits
and what does not fit.

Paul Lamar


Jack,
        Cowling.   The thrust line on a glastar is I believe much
higher
than an RV, as I had to keep everything as tight (low) as possible to
keep
the cowl from interfering with the engine. Things like a CLR of 7
inches on
the P port pipes rather than the standard 8 inches.  The oil filter and
generator also had to be mounted on the side of the motor to keep the
overall height down.  I have since walked around the stock cowling and
wandered if I should have just attempted to alter that, but is very
difficult to get alterations even and nothing looks worse than a lop
sided
cowling.

My cowling was made to suit Jeff Doddridge's motor mount and as I have
said
I have a mold.  I never intended to make cowls, but I am prepared to
make a
cowling for you if required, but do allow that freight from here,
Australia,
is very dear, especially as cowls are bulky and freight is on volume
rather
than weight.  Post may be cheaper, but I would expect a freight bill
of up
to $500 as a guess.  Just something to think about.

  MM.  The actual welding and cutting I did in a half day, but that was
after I had spent considerable time in making up a jig. Again that was
specifically for Jeff's engine mount.  I made the jig to ensure I had
the
motor offset and down thrust as close as possible. I really cannot see
any
other way to do it.  Grinding and cutting the tubes was very time
consuming
to get as close as possible for minimum welding.  It is frightening how
quickly the tube shrinks as you grind the tapers each end, and
suddenly it
is too short.  With that in mind you start on the longest, so that if it
suddenly "shrinks" you can use it on a shorter place.  The difficulty in
tube welding is the lack of material so that any excess heat and it
simply
melts leaving a big hole to fill.  That is why a TIG is ideal, as heat
is
easily controlled which is less distortion as well.  Again as I said I
also
have most of the jig work still here with too many photographs to
guide you
if that is how you want to go.
  Any more useless information you want to know, just ask.     Neil
in OZ.


Back on-line.  Over 1 week without service.  Had to put in a new line,
new modem, new wireless, new/used computer.  My driveway is 960 feet.
I'm not fond of snow either.  Thank you Neil , shipping is a bit much.
I'll wait until I understand just what I need.  I'm curious about the
different cooling methods, under the engine and spark plug side.
Under seems to be sooo much larger in capacity.  I'm aware of the
necessity for lotsa cooling for the rotary, and I wouldn't want to do
the job 2 or 3 x's.  Still need to do more work on the fuselage and
wire the wings, and.....Jack

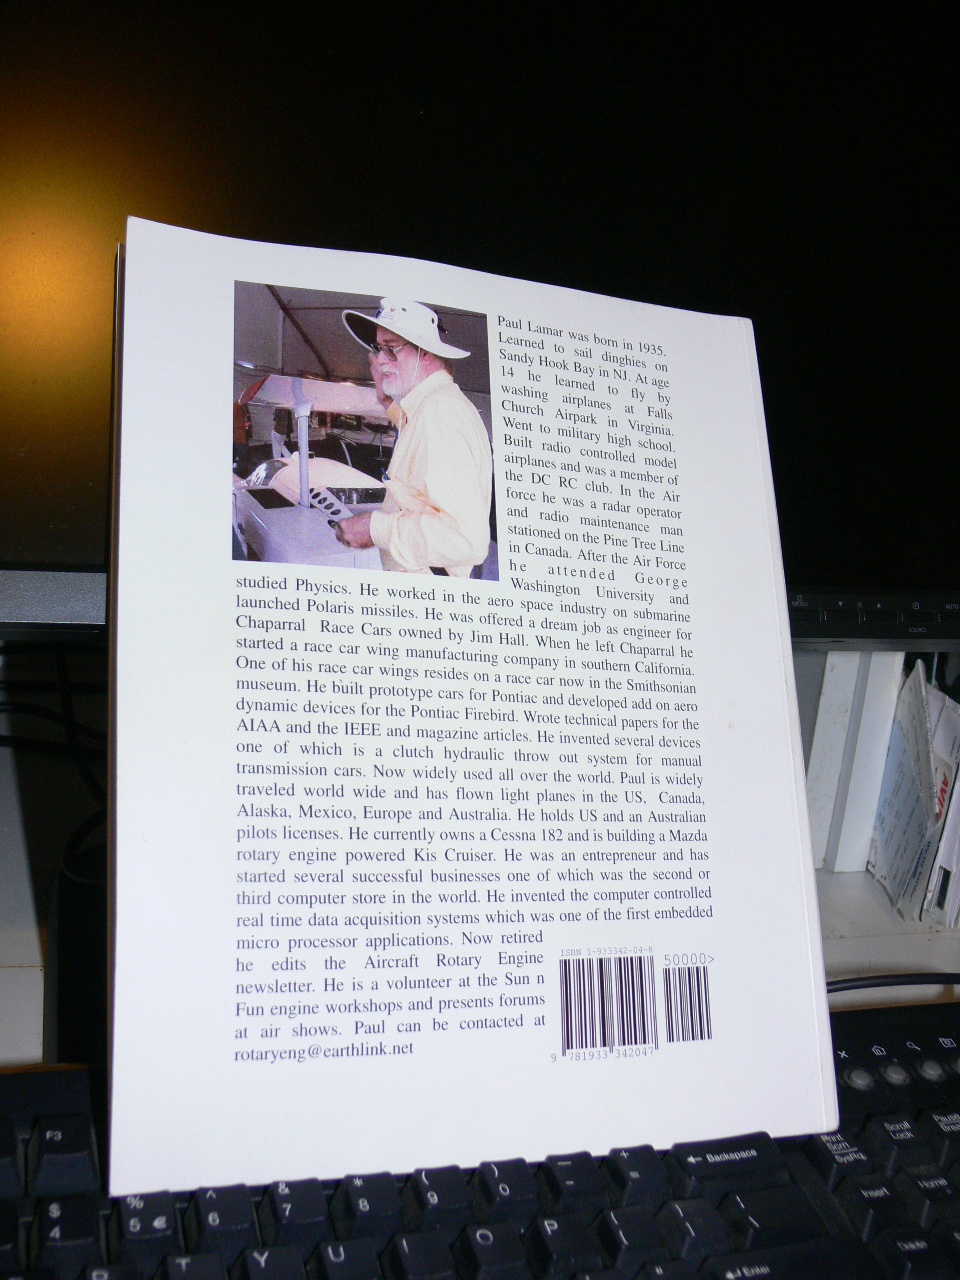
You need my book Jack. How to Cool Your Wankel.

Paul Lamar


--
The Rotary Engine News Letter. Powered by Linux.
ACRE NL web site. http://www.rotaryeng.net
You Tube key word PaulLamar2
Copyright 1998-2012 All world wide rights reserved.