I have a question regarding the stock Mazda oil cooler and cabin heat-

  Can I get enough heat from the oil cooler to duct some into the cabin for
  passengers and defog/ defrost? I have room at the back of the engine
  compartment to mount the oil cooler, and I have the metal adjustable ducts
  from my viking where the muffler heat came in. I have a heater core and
 was
  going to mount it behind the panel, but this seems to be simpler if I can
  get enough heat from it.

  With the metal duct pieces, I can regulate the heat with a cable, or I can
  use the servo motors that came with the RX8 heater core assembly. Either
  way, simple is better.

  Kevin Alderman

  One third of the total cooling comes from the oil. The stock 2nd RX7 gen
  oil cooler
  is very effective for its size.

  I don't know about a Wheeler express. That is a fairly large cabin. Perry
  Mick tried
  that for awhile on his long easy but he did away with it eventually. I
  don't know
  what his reasoning was. The device is below the cockpit.

  Back near the firewall is a tricky place to put the oil cooler from a
  ducting
  standpoint however it has been done before and it worked.

  I think it is worth a try if you can duct the exit in such a fashion as to
  not hurt
  the cooling when you don't need the cabin heat. It is best to mount it
  flat in that
  position so there is a 3 or 4 inch long strait section of exit duct after
  the core.
  Any curvature near the core will restrict the flow.

  If you send me some dimensions of the hard points on the firewall and a
  rough out
  line I can do a better more accurate 3D. A 3D will save you a year of
  starting over
  two or three times. Typical for people trying to do it the old fashion
  trial  and
  error method.

  It is best to use as large a spinner as you can with rotaries as they are
  basically
  round engines.

  This is a Wheeler Express with a 3 rotor but I am not sure about how
  accurate the
  dimensions are.

  Paul Lamar


 Where it is in the photo is where it would need to go, that is above the
 rudder tubing and linkages and I can duct it around the radio stack that
 goes in the middle.  The other alternative is to use the heater core that I
 have. I already made the fiberglass ductwork to mount the heater core under
 the panel, but I dont think I want a potential water source that close to
 my avionics. But, I prefer not to make a big hole in the firewall either.

 The air source would be a NACA scoop on the lower cowl section with SCAT
 hose bringing air in from both sides to the cooler. I will need to do that
 anyway for cooling and then dump the air out the bottom. I have the dampers
 and ducting that came with the Viking that diverted air from the muffler
 cuff into the cabin or overboard.

 If 1/3 of the heat is dissipated through the oil cooler, I assume that the
 other 2/3rds is divided up between water and exhaust. So, there should be a
 relatively equal amount of heat available from either source. I will be
 using a turbo, so an exhaust cuff would be problematic, so I am back to
 water and oil coolers. I have pondered 2 heater cores one under the panel,
 and one behind the back seats. I can add a NACA scoop behind the rear seats
 to provide air or I have a couple of small squirrel cage fans that can
 provide air movement. Might go the fan route so that I can control fan
 speed and therefore the amount of heat.

 I saw an ad for the new diesel 182 in AOPA that had a heat exchanger
 mounted on the firewall and the air ducted through the firewall to the
 cabin. Might make installation a bit easier, just a little ductwork under
 the panel instead of a heater core, valve and ducting.

 Looking for ideas, like you said a few minutes of planning saves months of
 work and re-work.

 Kevin Alderman

 Send me all that stuff and I can put it in the 3D. No cost. Free!!

 I was surprised they put the MM hard points so far in from the skin. That
 makes the
 firewall a good speaker cone for transmitting engine vibration to the
 cockpit
 in the form of sound waves. If it was mine I would move the hard points up
 and  out
 towards the skin. Now is the time to do it. They did that so they could
 save money by
 using an off the shelf Cont. motor mount.

 Here is the gallon of gas total heat balance for most IC engines. 30% out
 in net HP.
 50% out in the exhaust. 20% for the cooling system. In the case of the
 rotary 13% for
 the water rad and 7% for the oil cooler. The rotary is a not quite that
 good with 28%
 net HP out. The 50% in the exhaust is why turbo compound works so well.

 NACA scoops don't work in applications where there is significant
 resistance to the
 internal air flow. Try to use the stock cowl openings or put a vertical
 opening scoop
 on the bottom of the cowl. They see slip stream full dynamic pressure. You
 will see
 this in my book.

 Paul Lamar


The engine mount was my doing- there have been issues with the castering
nose wheel and broken props. The issue is not limited to the Express but
many planes with the straight tube nose gear and the castering wheel. The
issue seems to come from the big nut that holds the wheel assy on and the
small wheel. More than one have collapsed when the nut contacts the
pavement. My viking had retractable gear which I have found absolutely will
not fit inside the wings. However, I have not decided yet if I will keep my
nose gear. This will require the installation of a linkage to steer the
nose wheel, which is not terribly difficult. I have the wing retract
cylinders from the viking and configured in a push/pull configuration would
make steering linkage easy. Mount it, bleed it and done. The thing about
the engine mount is that the nose gear mounts to it with one big bolt. 2
small brackets go on the firewall that I need to lock in place to keep it
from retracting. Or, I could fold the nose wheel up. Undecided, but the
nose gear fits the engine mount.

What I did to alleviate the vibration issue was done on the inside and the
outside. If you look closely behind the cooler, you will see a long brace
that was glassed onto the firewall before the SS plate was put on. Then I
had to rivet another rectangular cover for the bracing. On the inside, I
ran some rather large gussets with 3x the amount of glass lays called for
in the manual. For 22 years I built bridges and multi story buildings-
structural is my cup of tea. Having said that, I think I could take the fly
bridge off of my boat and weigh it and find that it has more glass in it
than my plane. The fiberglass hull on my Hatteras is over an inch thick,
and when you compare the plane to it the plane is like paper. I never had
to design a bridge to be as light as possible. Different concept.

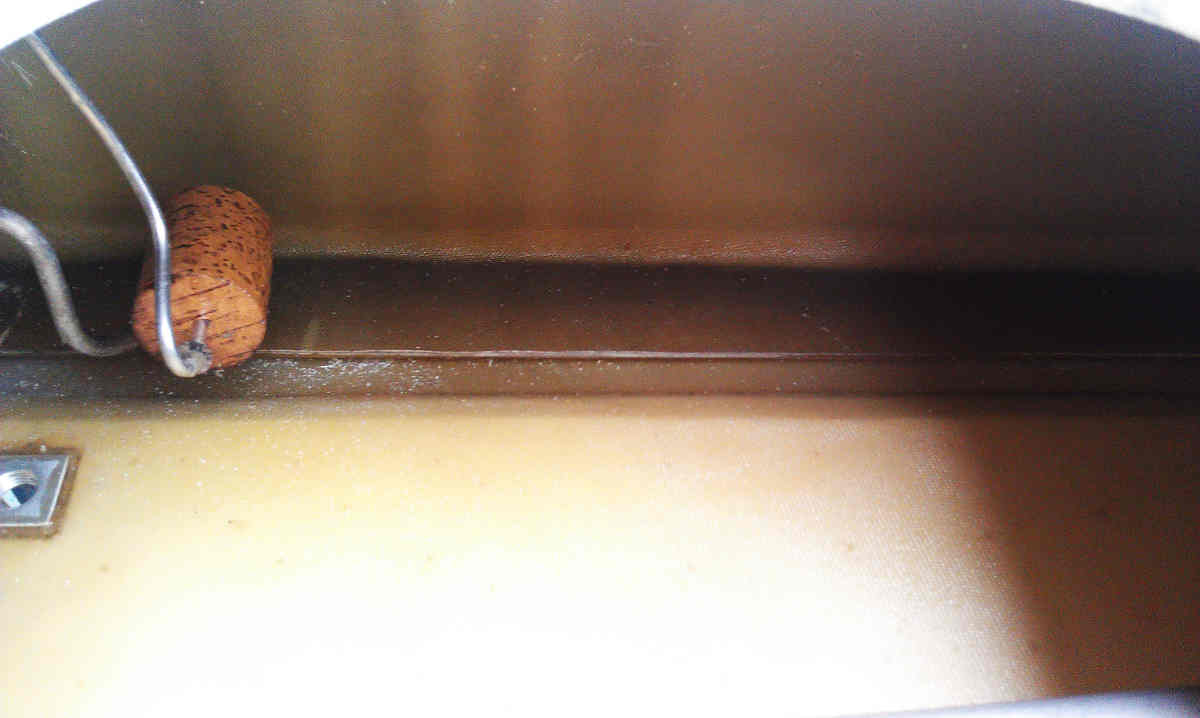
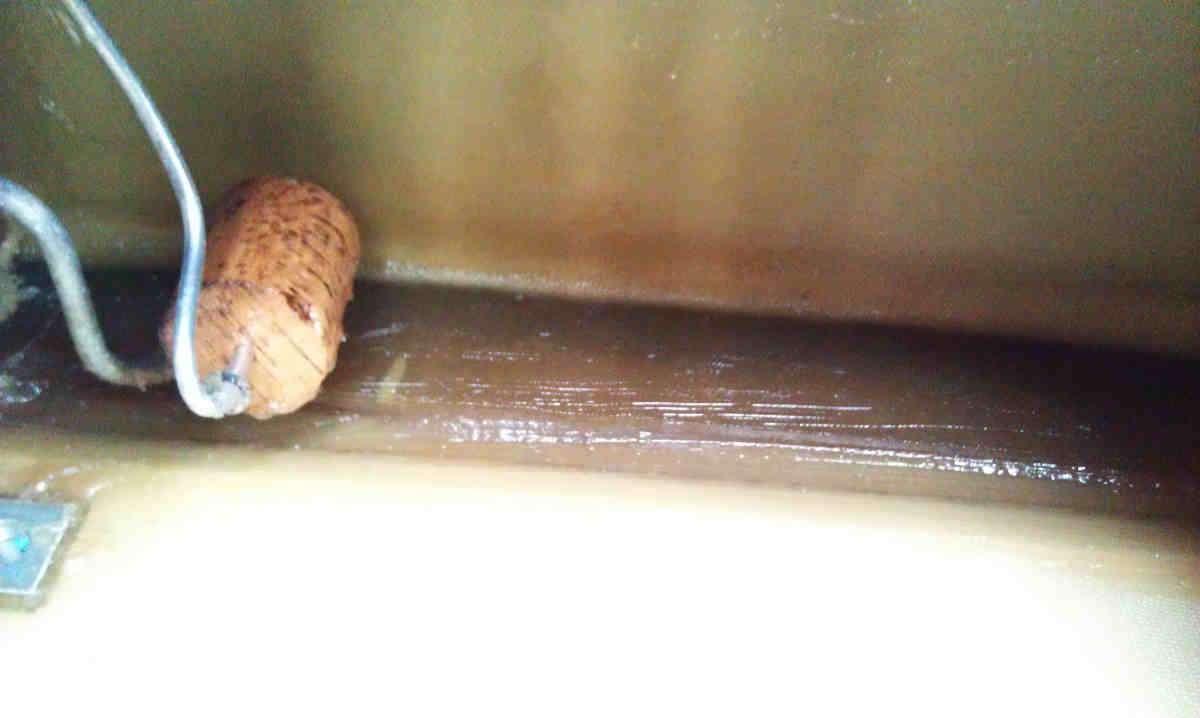
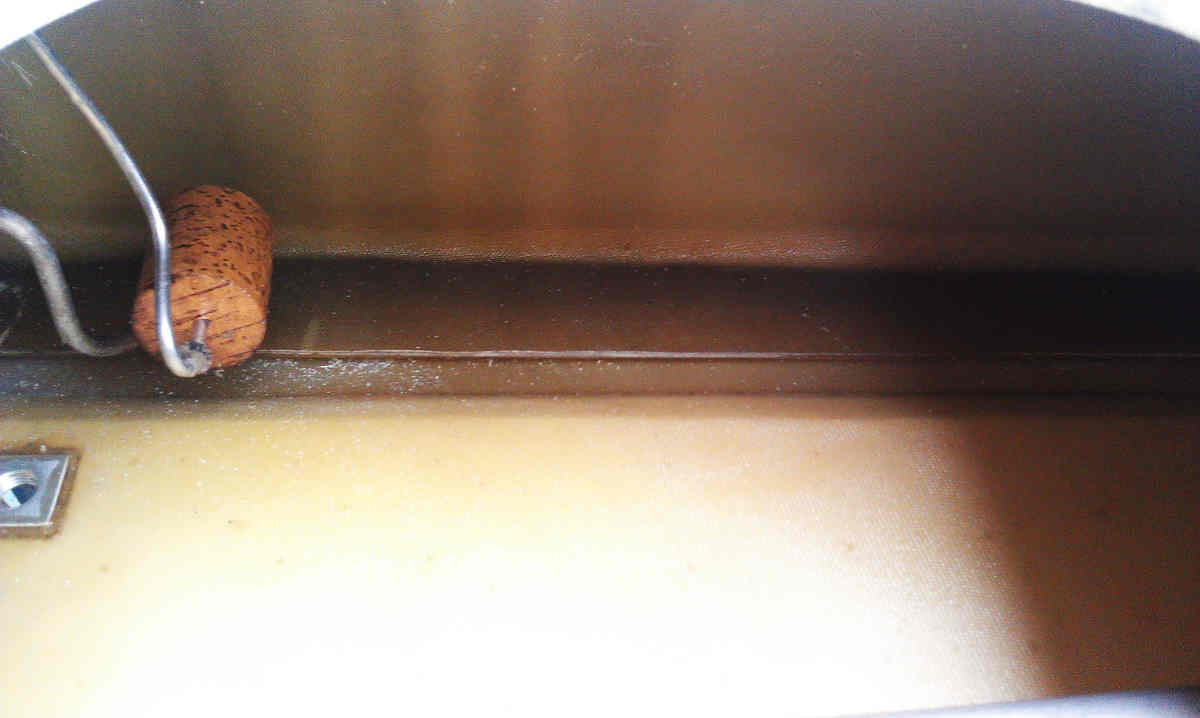
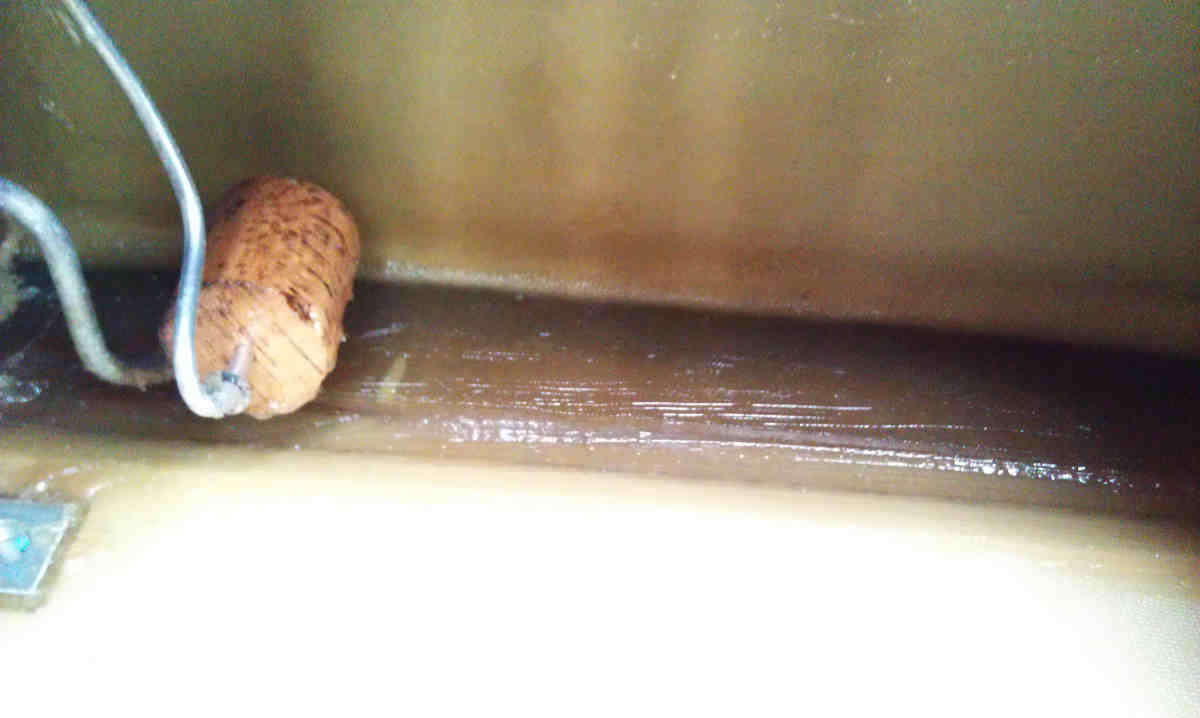
I spent all day today making holes in my wings to seal them up. When I
bought the plane I read the entire assembly manual. When I got to the part
where the wings are closed out I was concerned that it would be all but
impossible to get a sealed tank with the way the wings were completed. And
it turns out that my concerns were well founded. I mixed resin and cabosil
to fill the void, and tomorrow I will coat the entire tank inside with
epoxy. Then to the other wing.

I have another question, but I will start another email chain.

Kevin Alderman


--
The Rotary Engine News Letter. Powered by Linux.
ACRE NL web site. http://www.rotaryeng.net
You Tube key word PaulLamar2
Copyright 1998-2012 All world wide rights reserved.