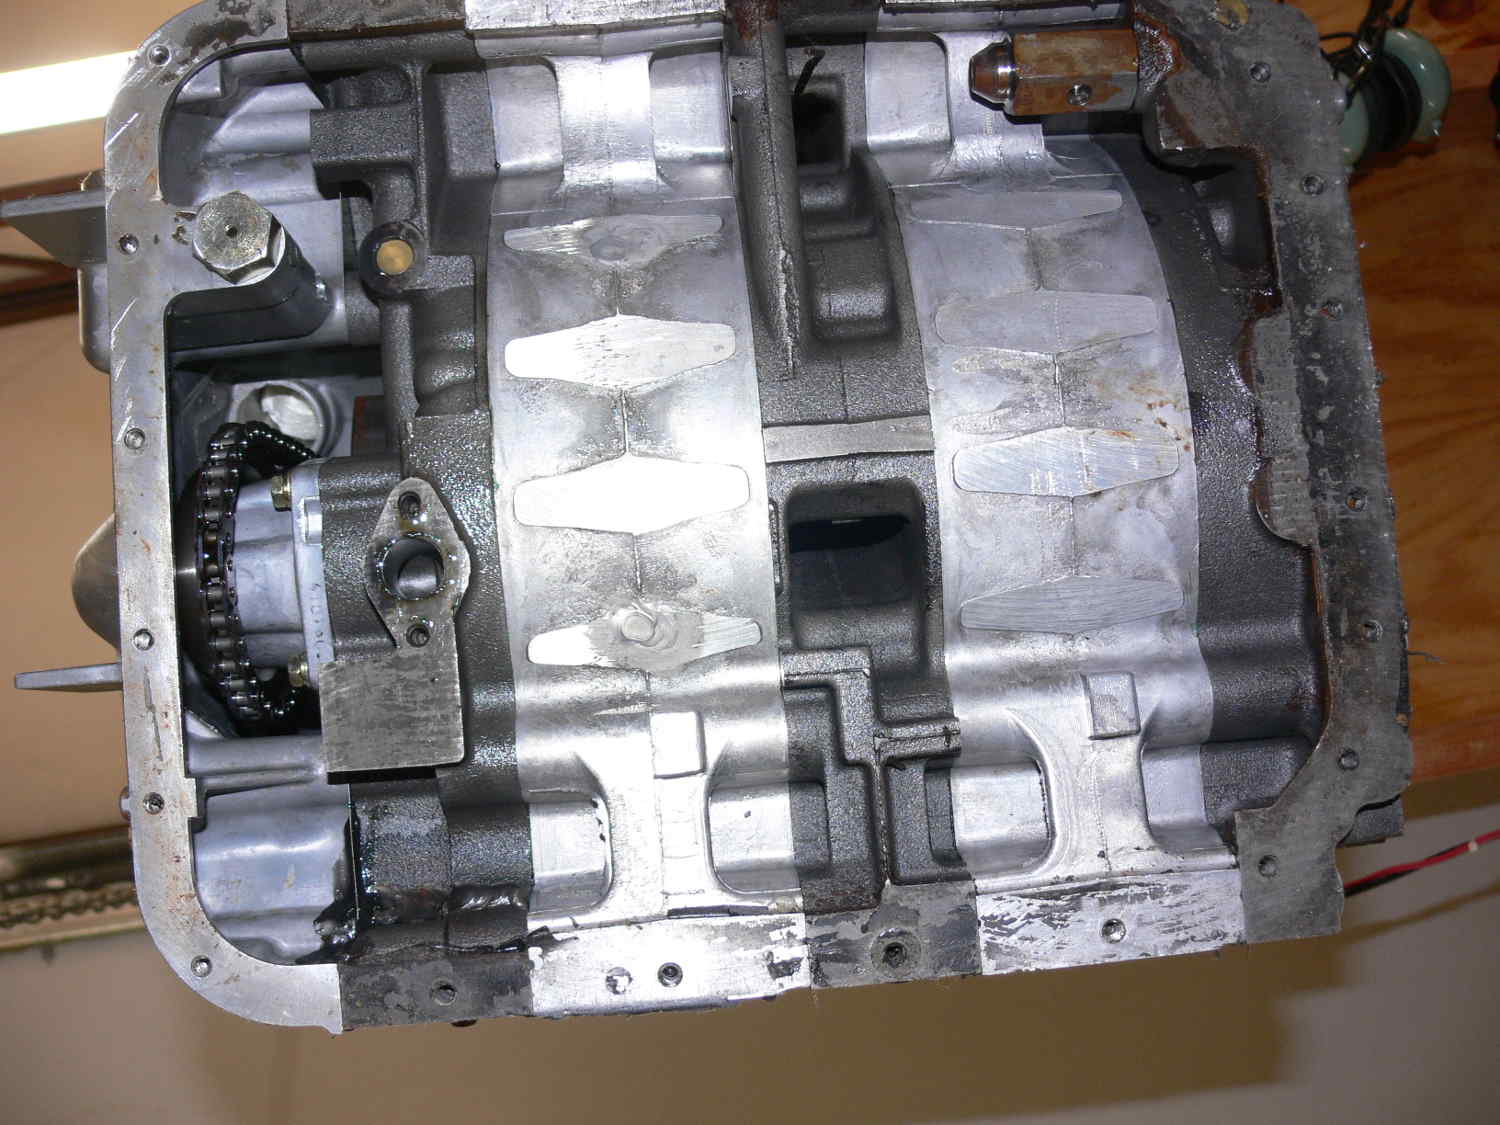
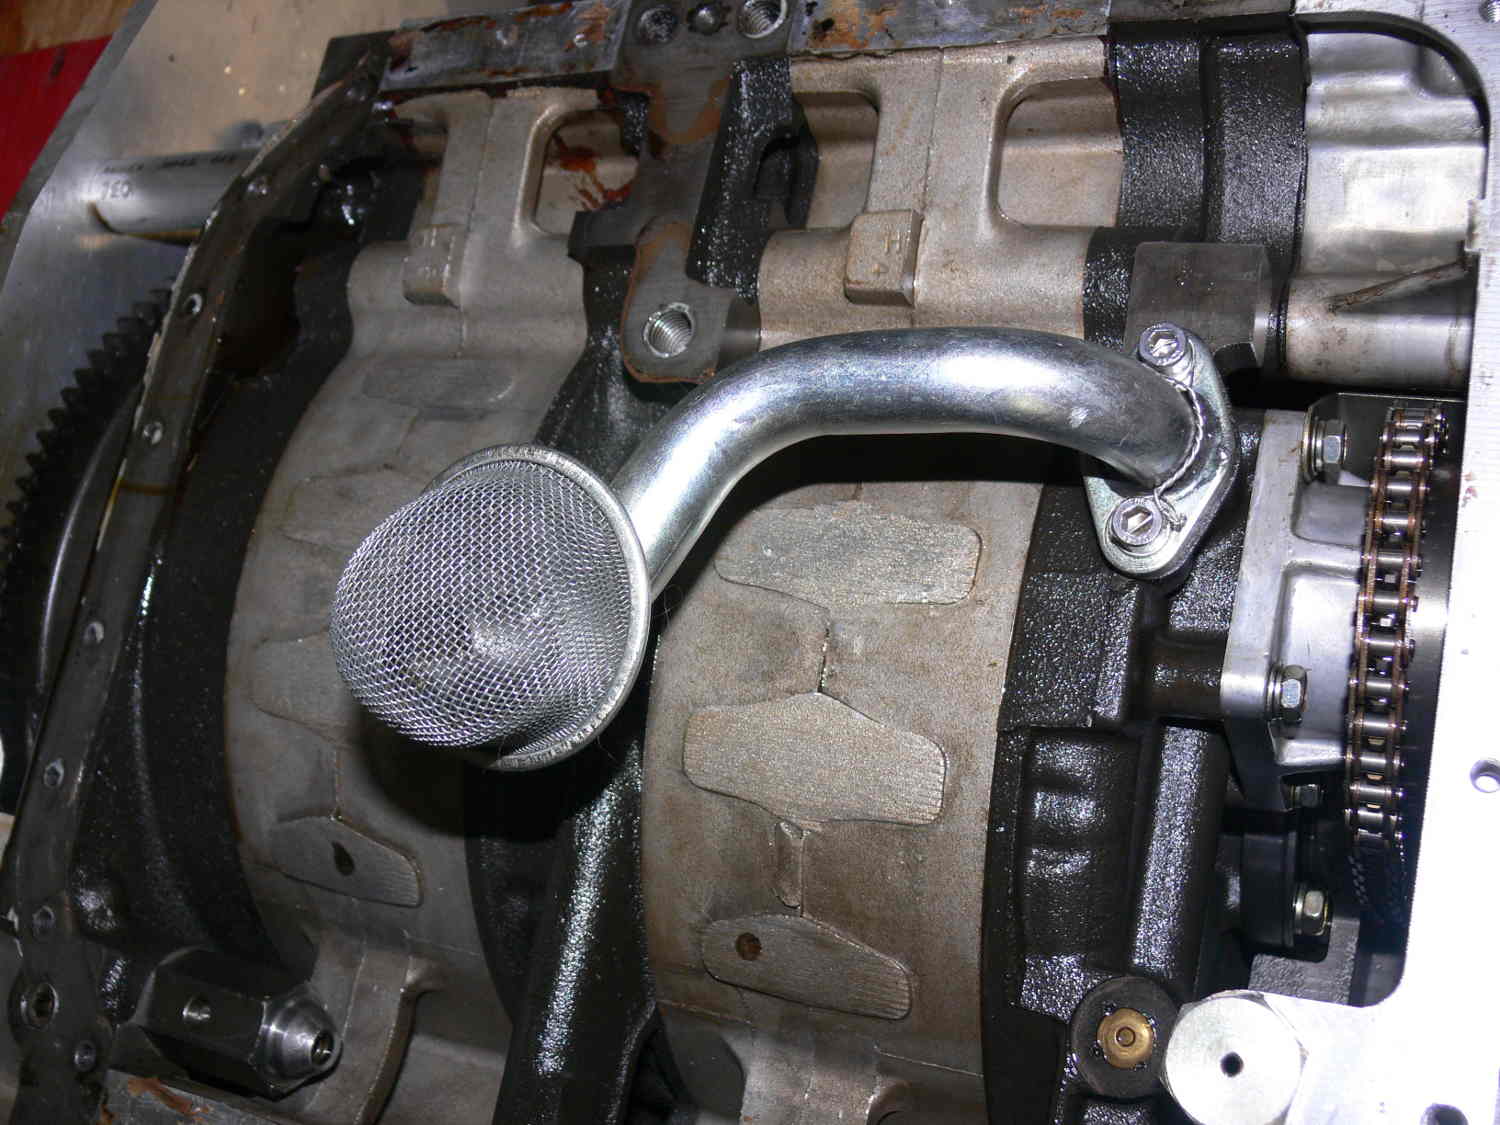
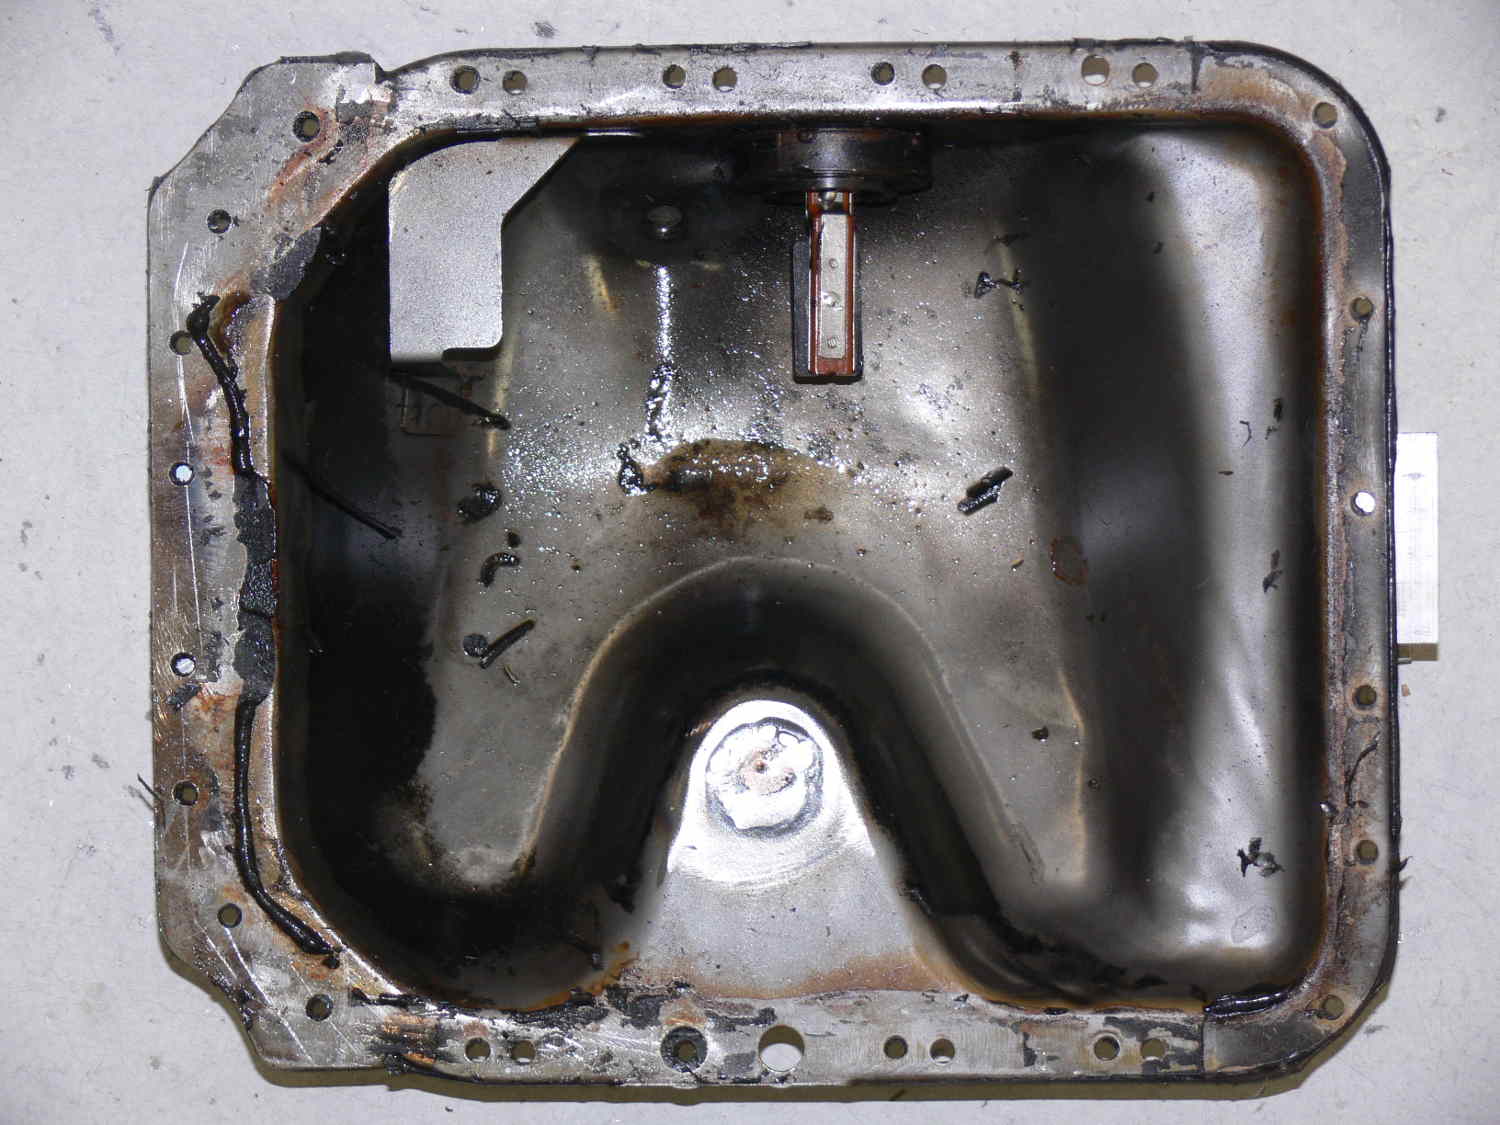
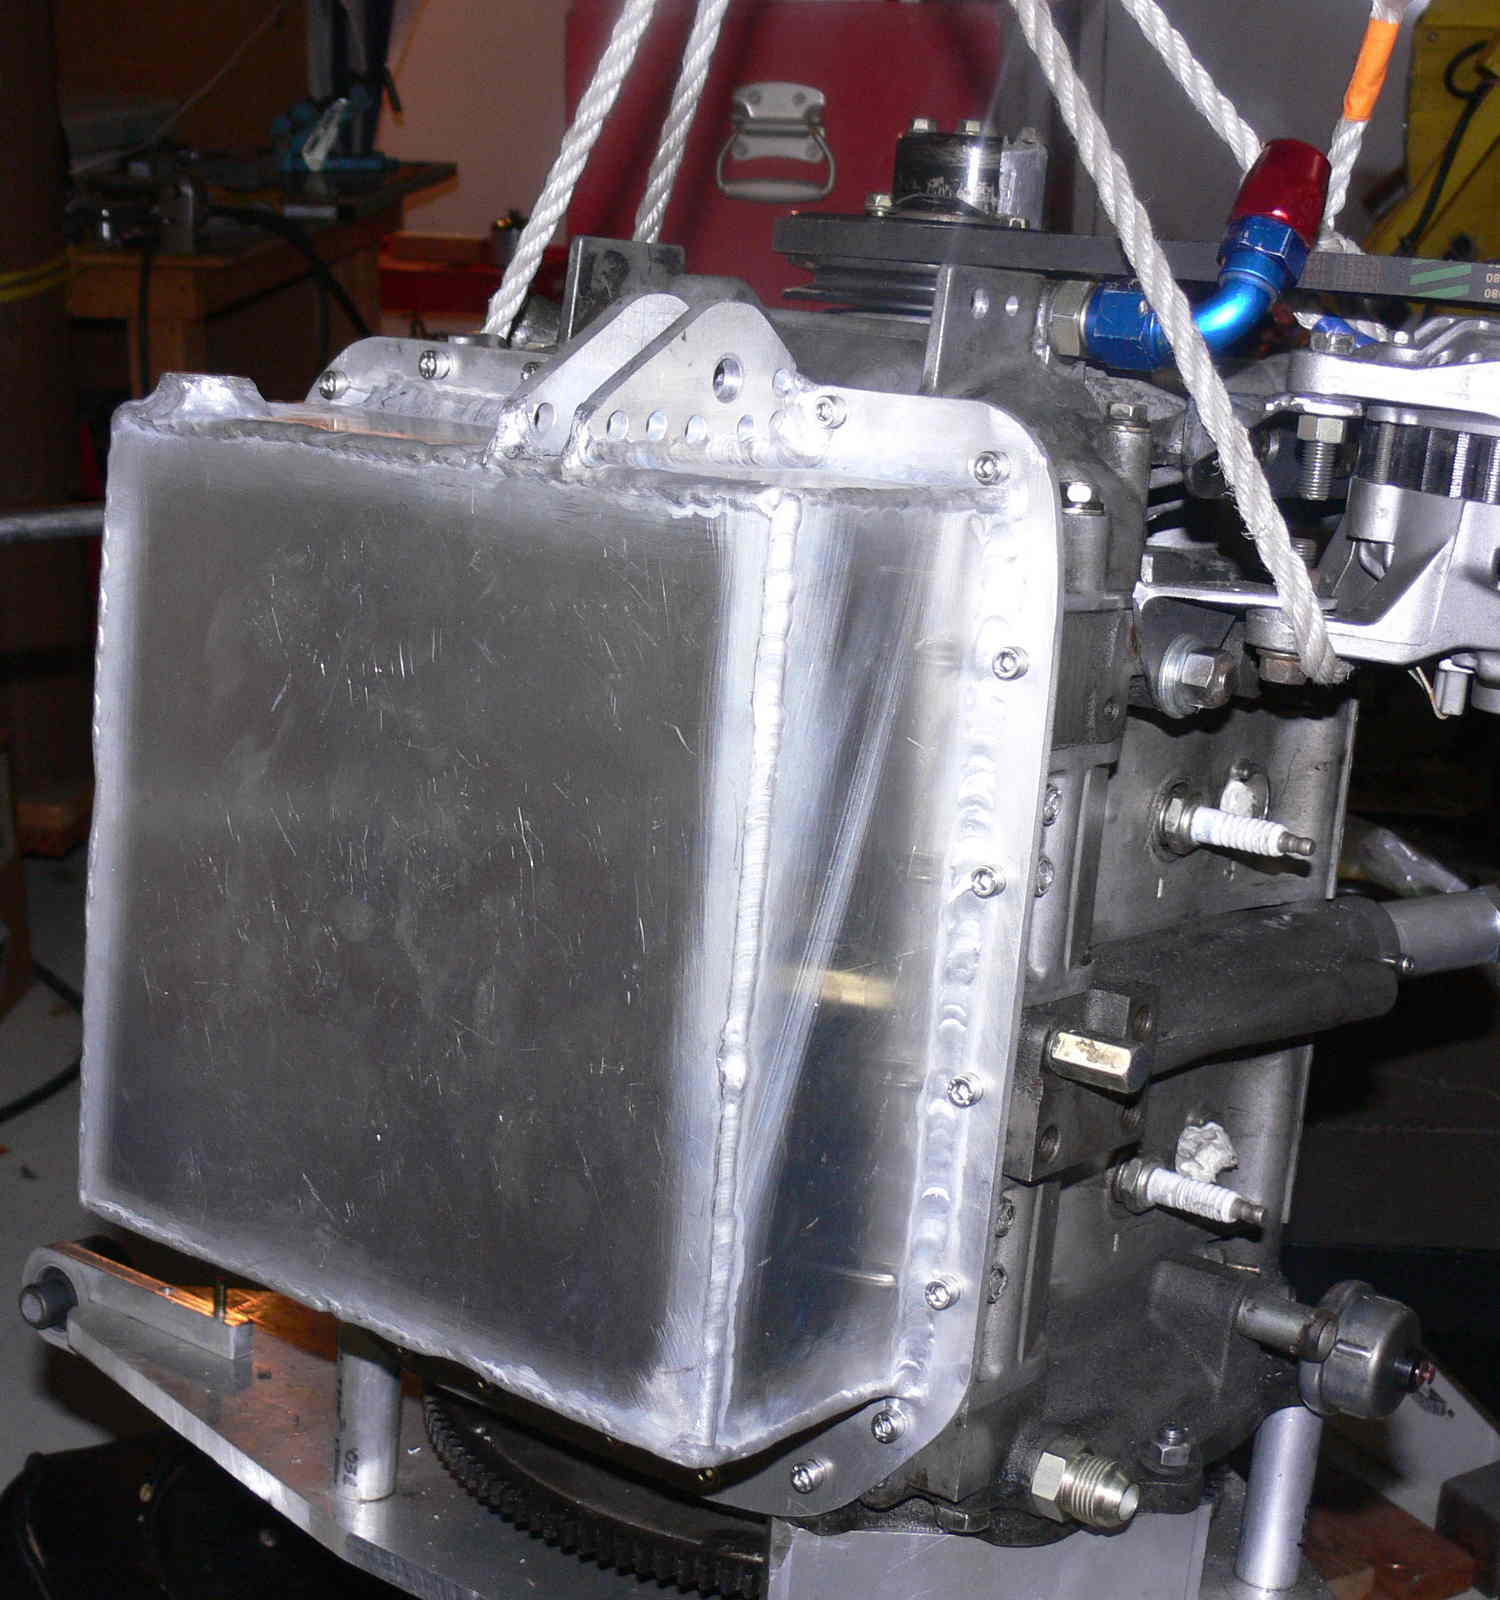
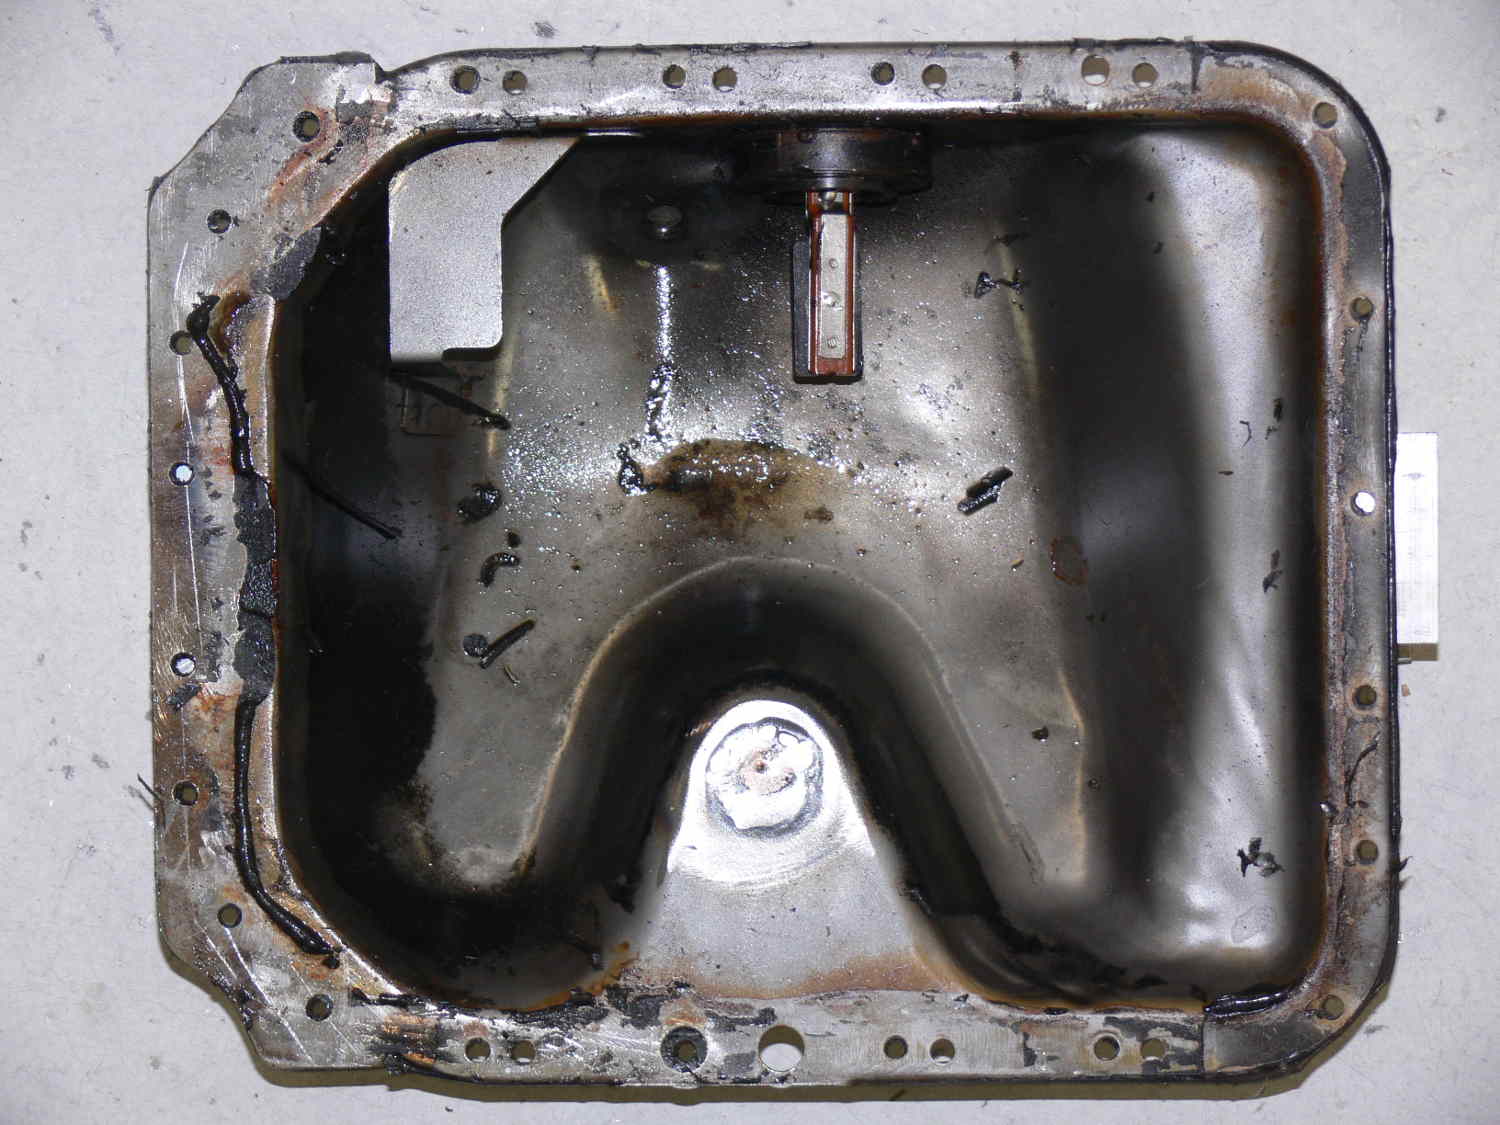
By now all you guys have your oil pans or will have them shortly.
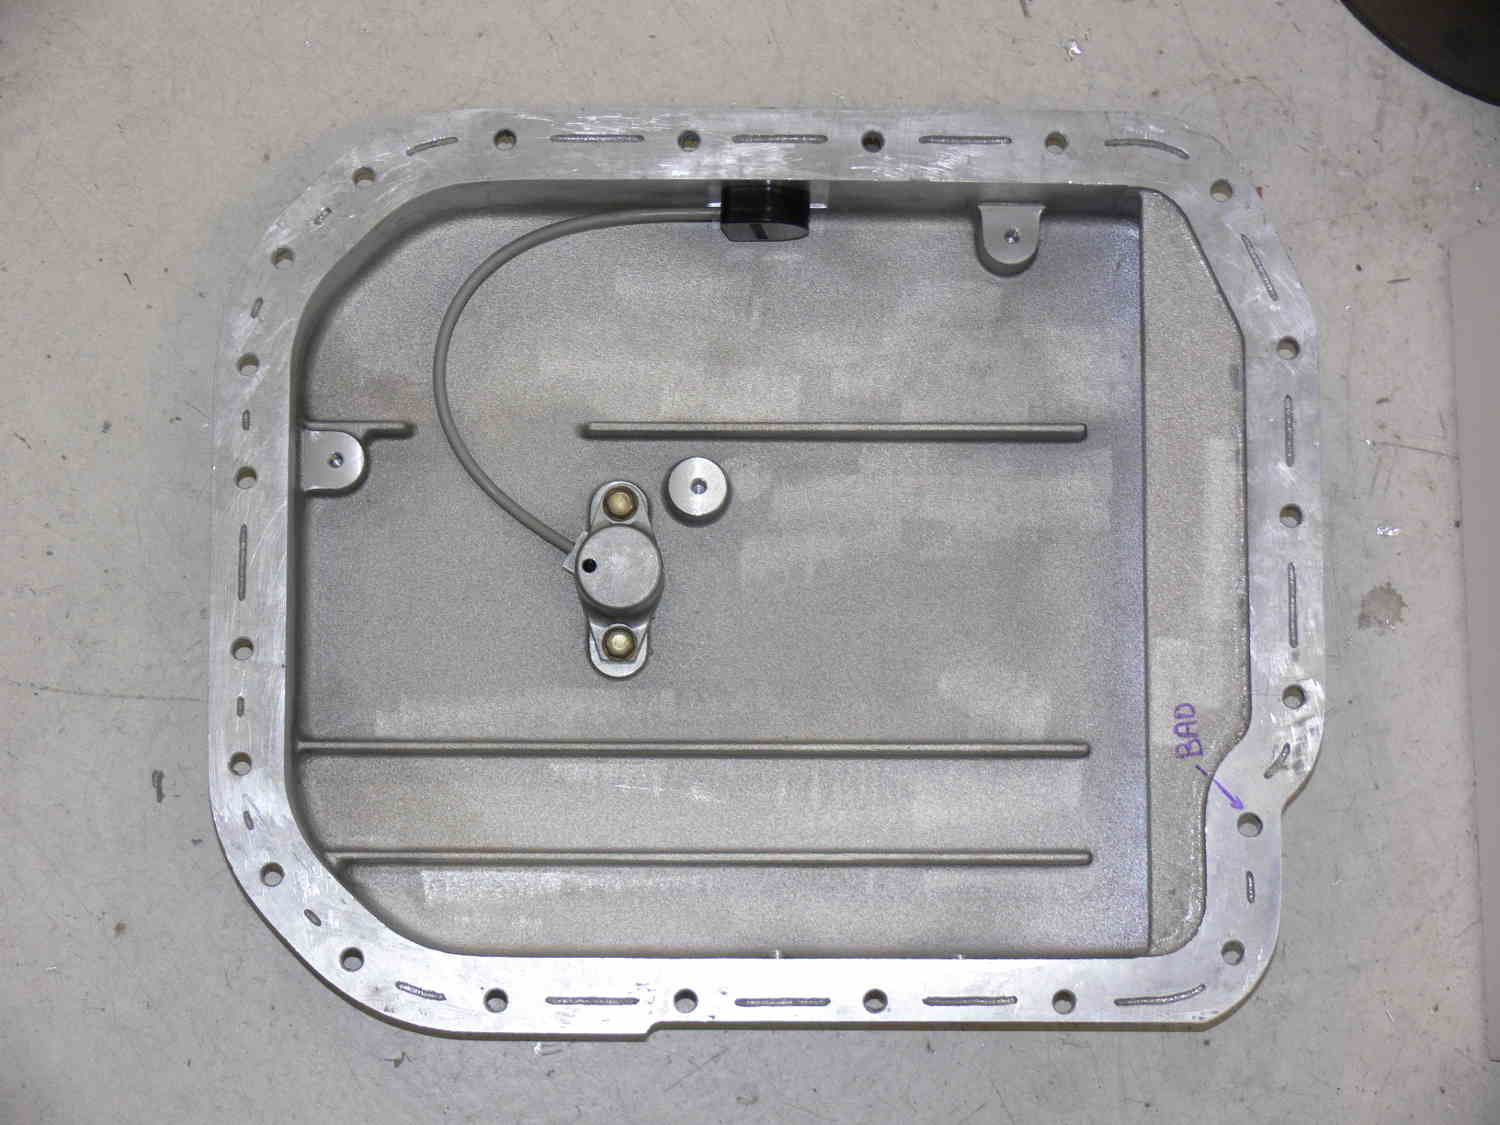
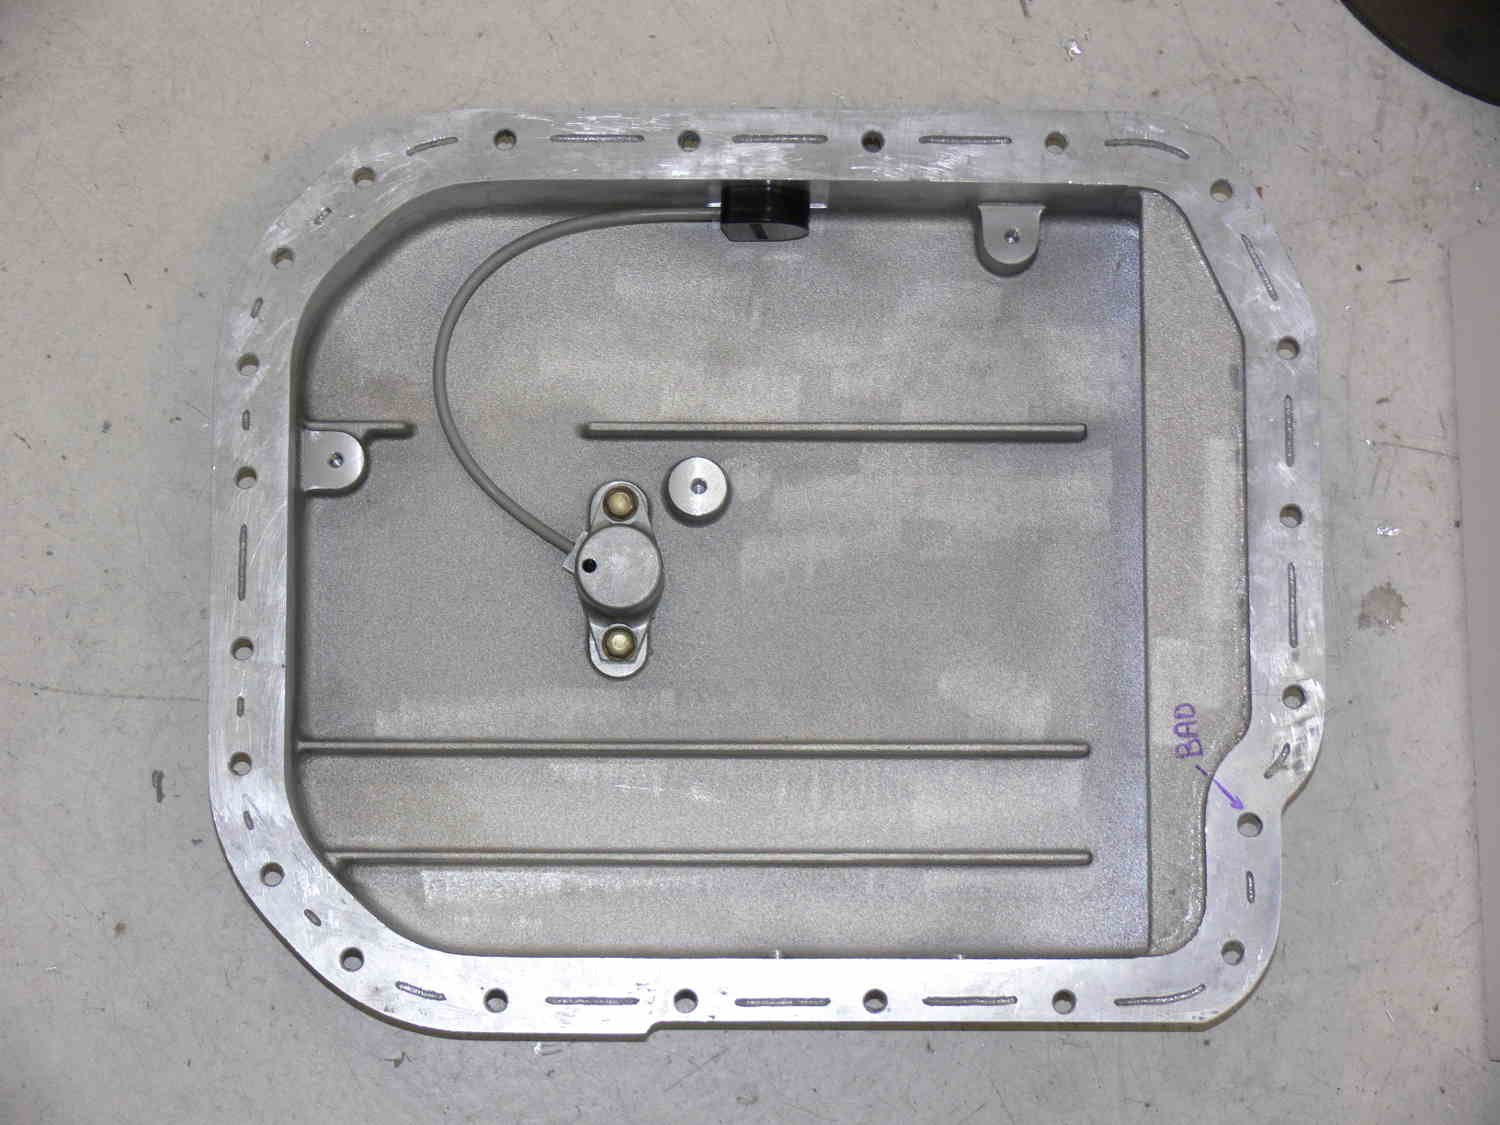
Be careful about drilling the holes. It is easy to screw up.
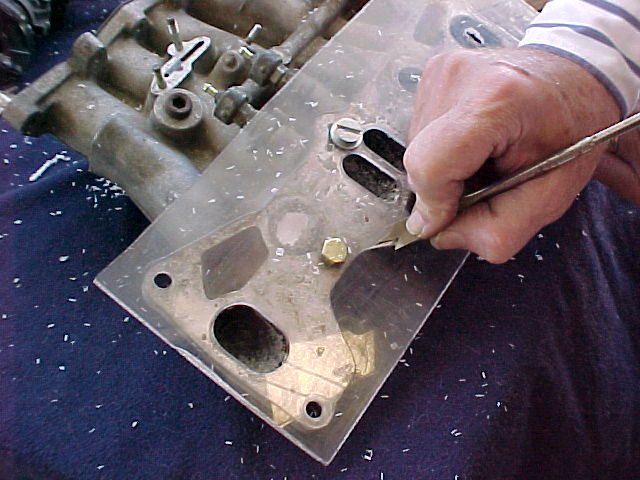
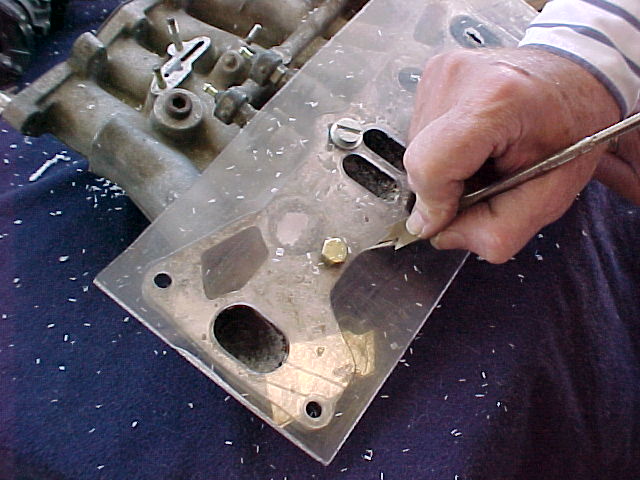
Get some transparent lexan from home depot and make a template
of your steel pan if you have one or the bottom of your engine.
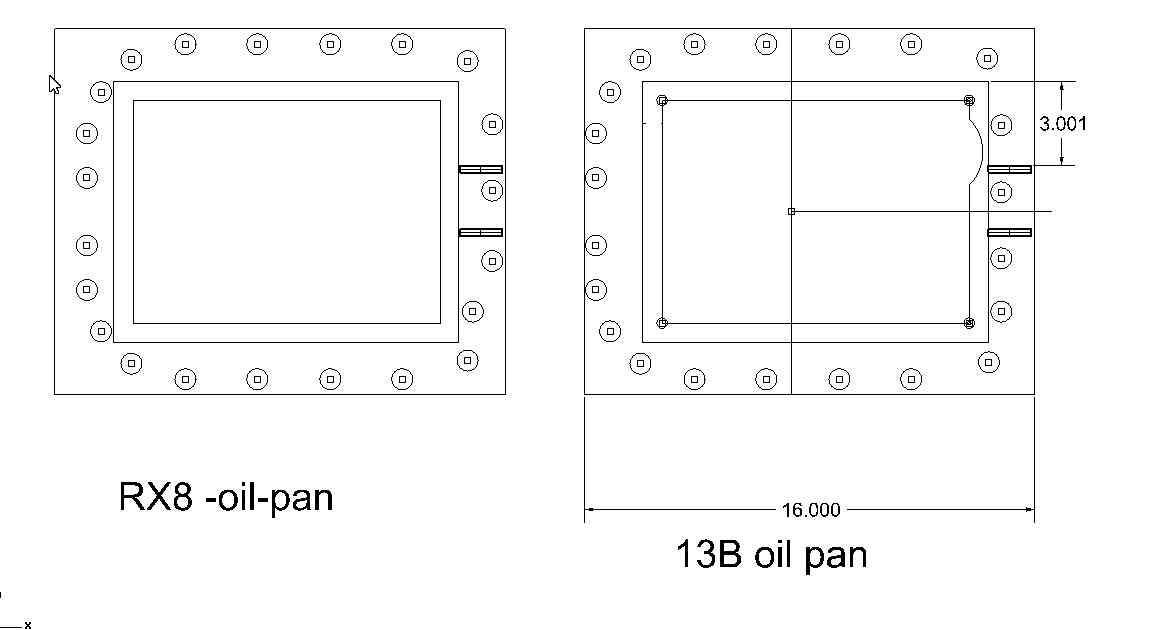
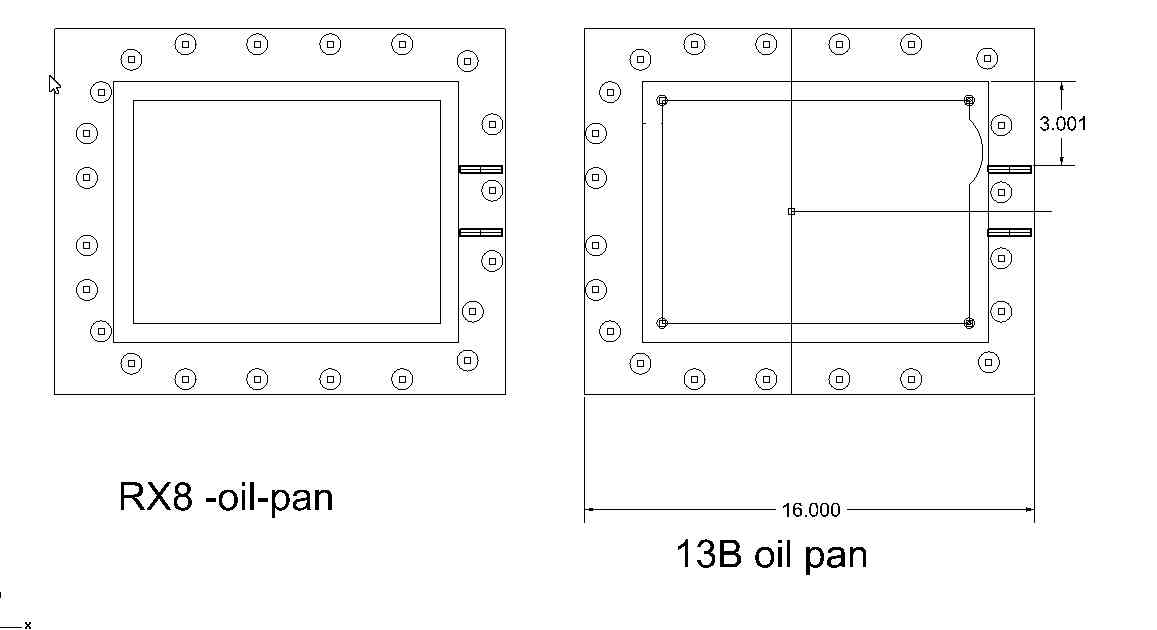
There are several different hole patterns and they are not
symmetrical from side to side so mark your template top and bottom.
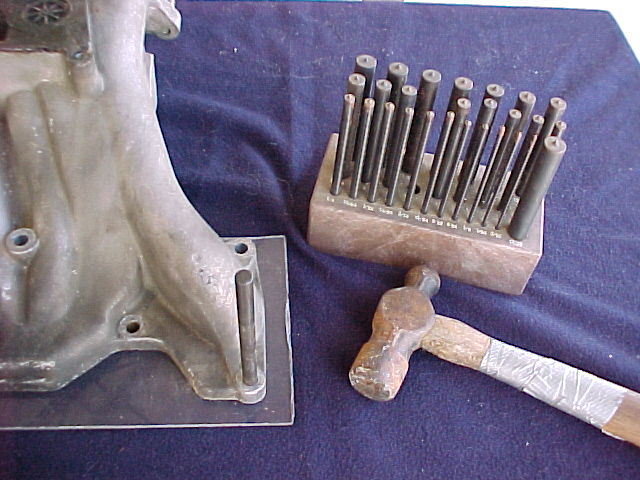
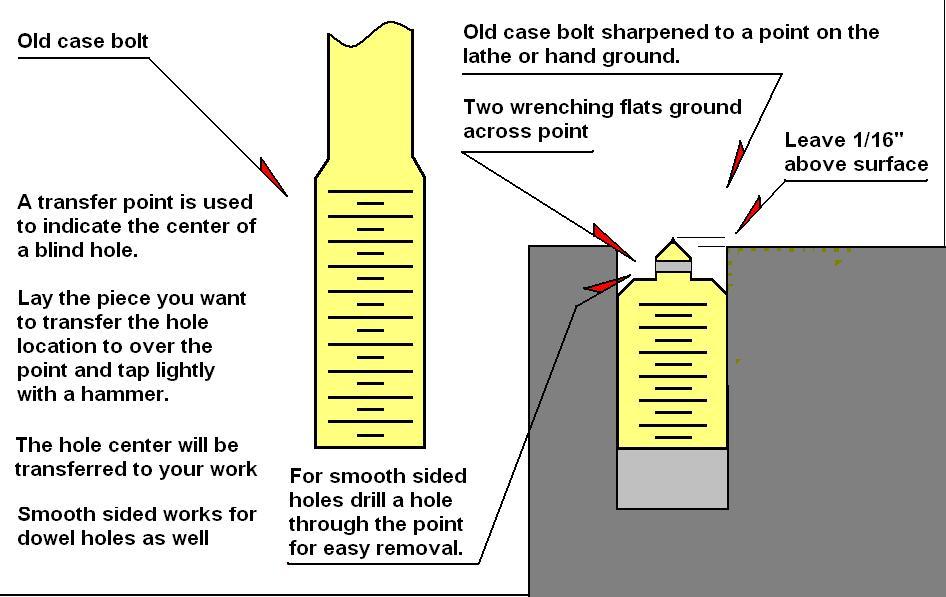
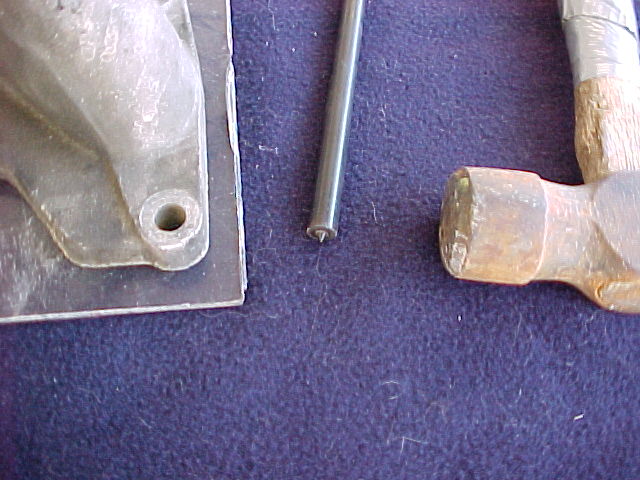
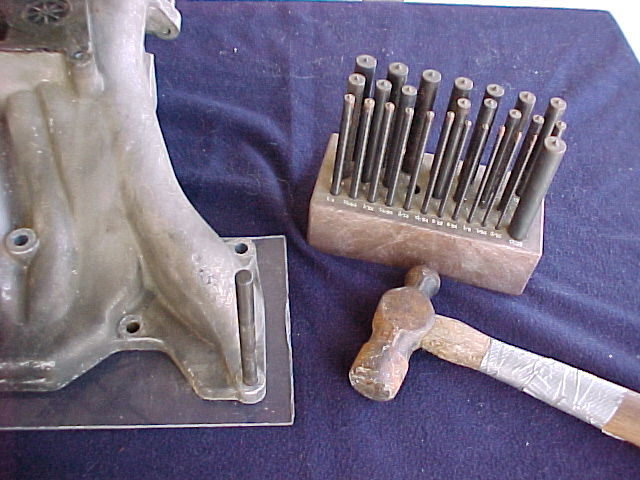
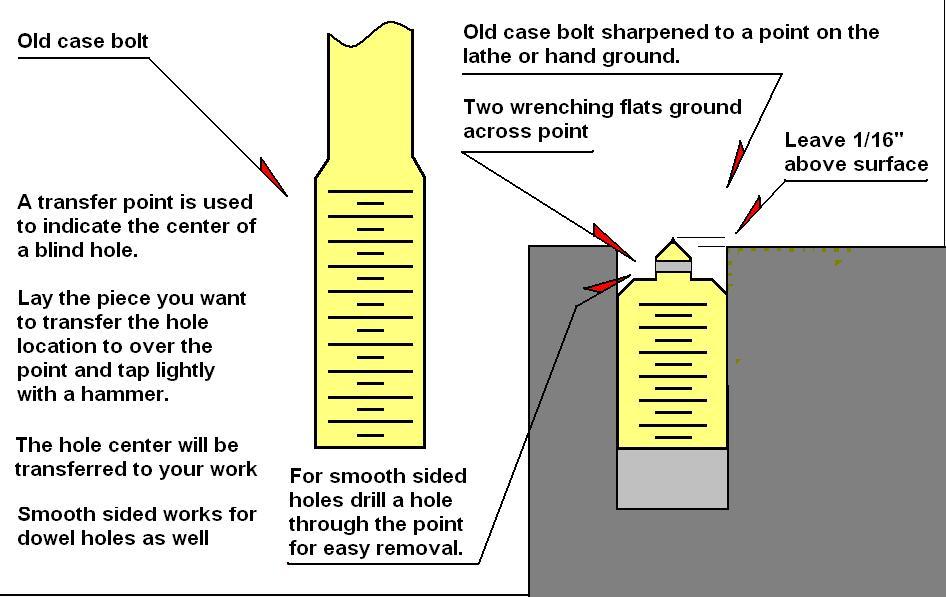
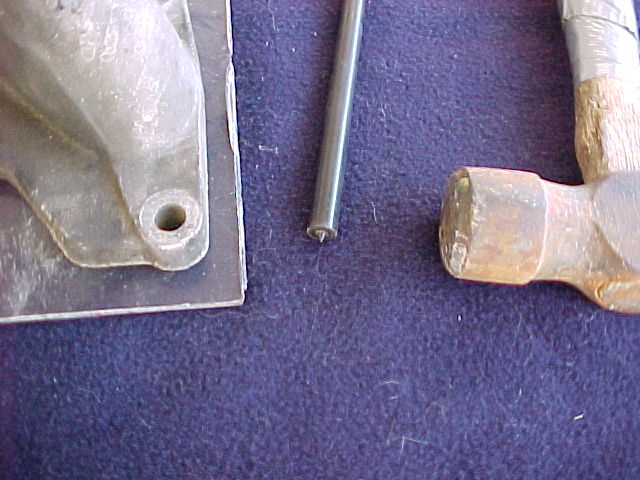
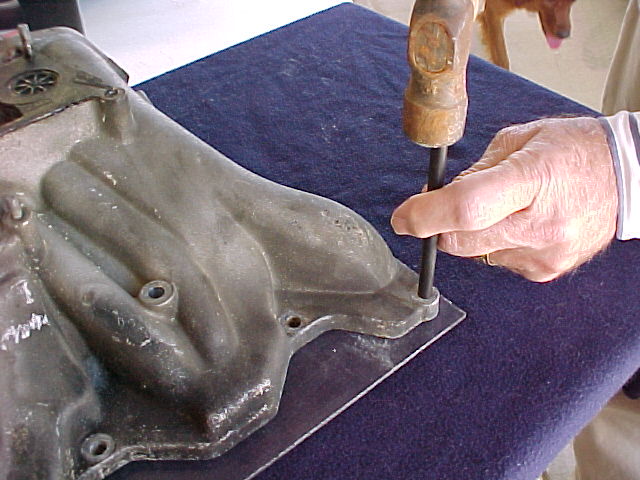
Transfer punches are great but they cost a lot and you don't find
them at home depot.
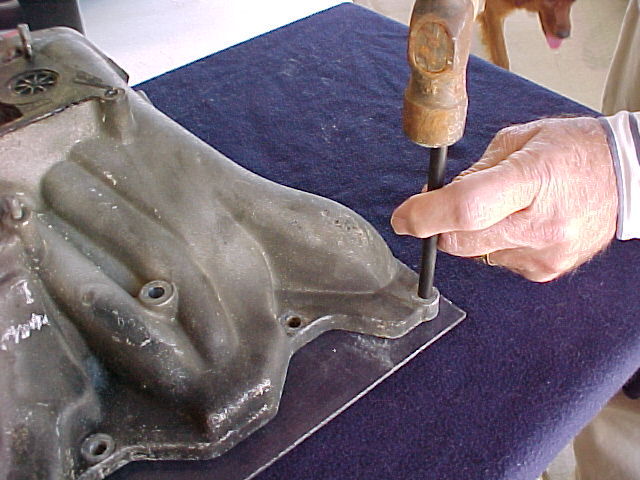
So carefully use a center punch in the middle of the hole with
the lexan clamped to the steel pan. You can also drill two
wide spaced holes and temporarily bolt the lexan to the engine.
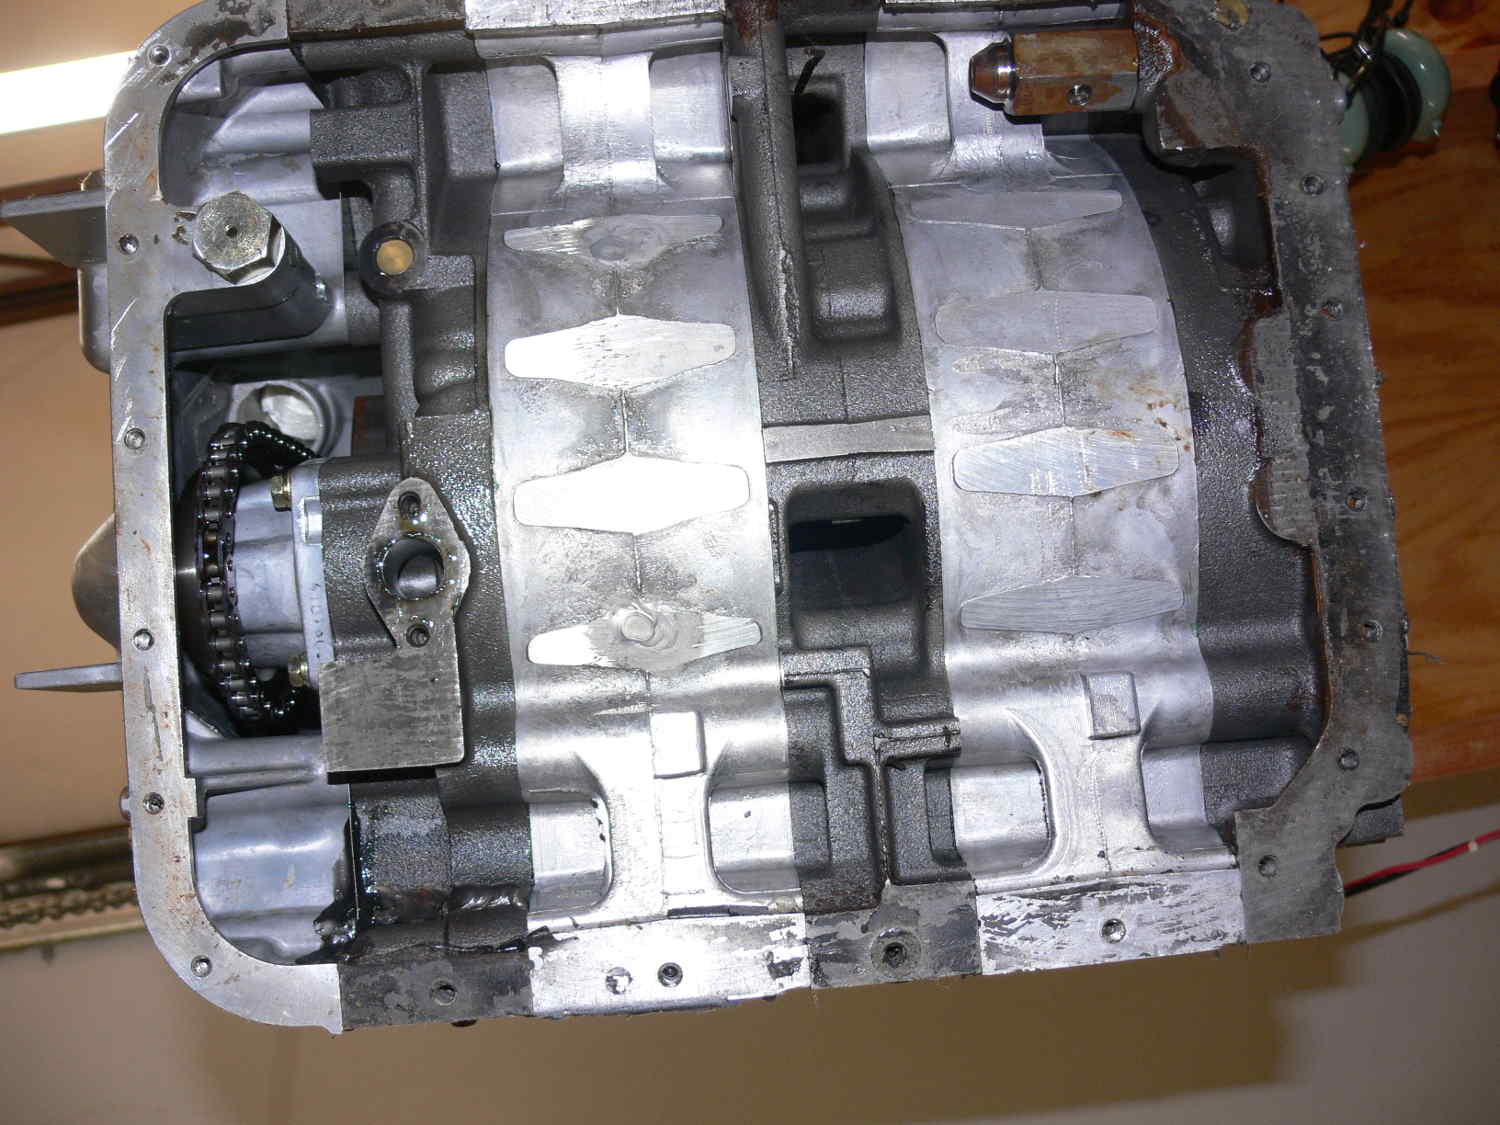
The pressure regulator on the 13B sticks down below the top
plate of the pan so make sure it clears the pan wall while the
near by holes are as far from the pan wall as possible.
The pressure regulator on the RX8 is above the top part
of the pan so it is no problem.
To get the best clamping pressure on the pan bolts buy some 1/2
inch wide 1/4 thick steel bar from home depot. Buy new longer
metric socket head screws from Mac Master carr. Match drill the
holes. Use the steel bar under the bolt head of the screws. Steel
is 3 times stiffer than aluminum so the pressure between screws
is more uniform. Your more likely to get a leak free joint the
first time. If you object to the weight of the steel home depot
also has extruded aluminum channel about a 1/2 wide by a 1/2
high. The socket head metric screws will fit in there fine.
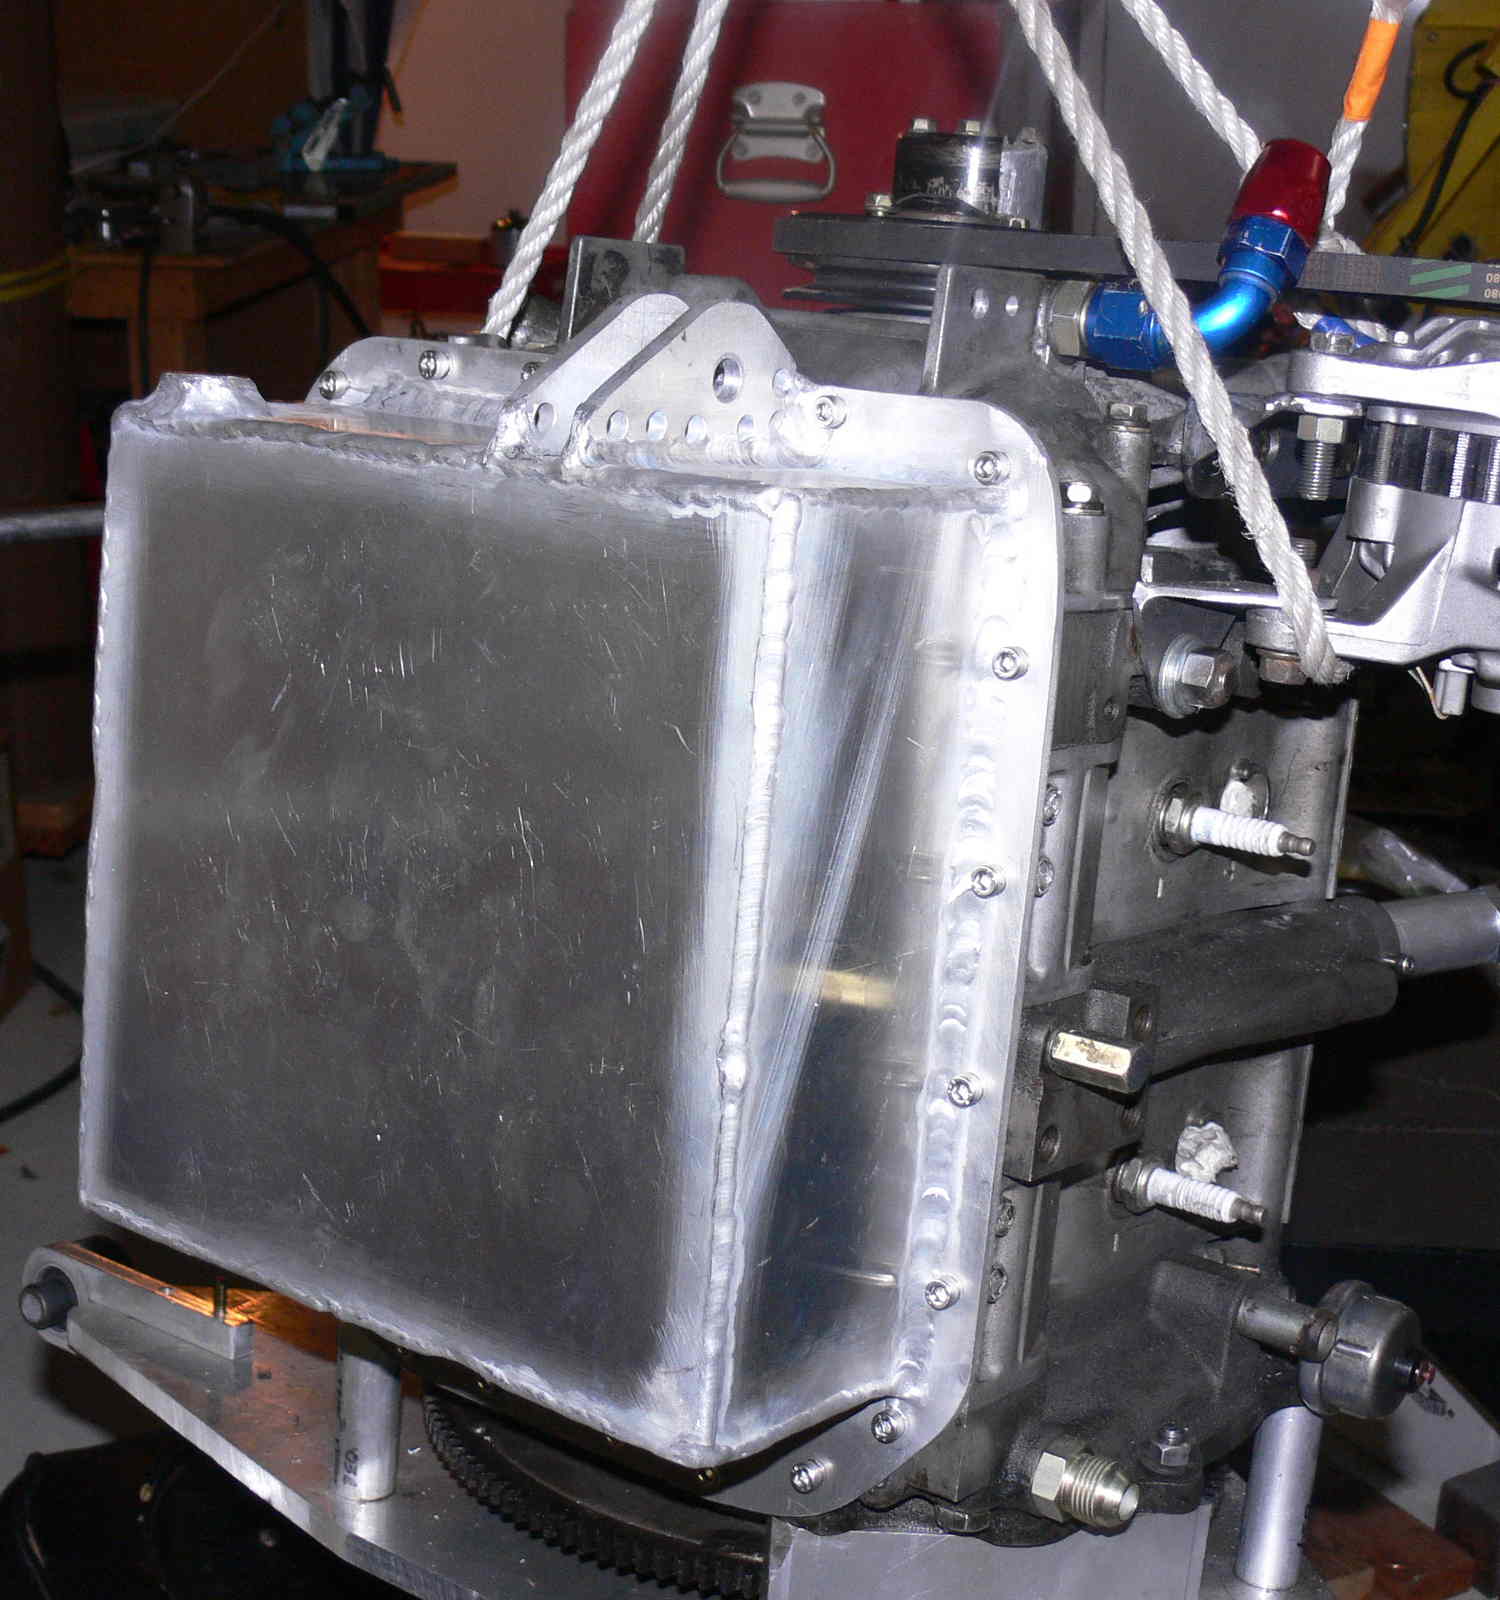
Better than nothing. If we made the flange any thicker it would
be impossible to weld on my 175 amp welder.
BTW the need for a an air oil separator plate is an urban myth.
The pan is lighter with out it. By the time the cooling oil out
of the rotors gets to the oil pan it must go through several
passages in the center housing. That is left over thinking from
crank shaft days.
Paul Lamar