I have not heard any bad things about RX8 tension bolts so far
but it might be a good idea if you have an RX8 engine to remove
the bolts one at a time and coat them with silicone rubber.
Then replace them after you accomplish that for each one.
Do this one at a time so you don't affect the stock sealing between
end housings and rotor housings.
13b engine tension bolts would vibrate and fatigue if you ran
the engine at high power at a fixed RPM.
One step up from this was to replace all the stock 10 mm (.394") bolts
with half inch bolts. It take a special drill jig to drill out the
end housings. Mazdatrix has such a drill jig.
The latest trick, with custom aluminum end housing, is use a long
steel rod threaded on both ends and use nuts on both ends.
This removes the bending loads due to vibration on the threaded portion
of the tension bolts screwed into the front end housing.
If you want your engine to last more than 15 years install Iannetti
ceramic
apex seals. Projected life for the ceramic apex seals is then
20,000 hours.
Not 2,000 hours.....20,000 hours!
However I have no idea how long the side seals would last.
My suggestion is use Mobil 1 fully synthetic oil in the sump.
I have years of experience with this oil in my street cars and
the engines last over 300,000 miles while a lot of
the stuff on the engine failed and had to be replaced.
Of course mix 2 cycle oil with the fuel to lube the seals.
Paul Lamar
Paul,
I do agree with the silicone trick, this was done on Norton's to very
good effect, a good blob of medium to low modulus silicone near the
centre area of the engine raised the failure events to > 20,000
miles of
high speed work, we did have a resonance at around 7000 rpm and if the
bike was worked in a zone close to this a engine stud would let go
within around 200 miles, failures tended to be on the overrun or just
commencing of.
Bob
That is interesting. I did not the Norton suffered from the same
problem.
When we go up to a half inch several good things happen. The resonant
frequency goes
way up and the bolts are a slip fit in rotor housings absolutely
stopping them from
vibrating. They also act as 17 locating dowels. Late 280 HP turbo 3rd
gen 13B's cracked the
rear housings around the upper dowel pins until Mazda beefed that
area up.
The torque from the front rotor was twisting the entire engine.
They are also stiffer in tension helping the housing to housing sealing
in theory.
Paul Lamar
Paul,
Yes we changed to high grade stainless studs,
_rolled threads_. 7 mm
pitch ( odd size I know) we set inspection criteria to ensure the thread
rolls kept a good surface finish in the thread root and a nice radius,
the stud would fail about the anchor end 2 thread in, and from memory
95% of failures at the stud to anchor end / case end, the nut end
occasionally let go, and the nut and part of the stud would wipe out
Hal affect sensor.
We tried multi engine dowels, all helped but from my memory this
silicone mod was a eureka moment and gave the best fix.
If you clamped the old air cooled down too tight the exhaust area due to
temperature used to compress down, and relax the nuts in that zone, and
also crush the housing enough for us to always measure the housing near
the hot side area for clearance measurements on any rebuilds.
Bob
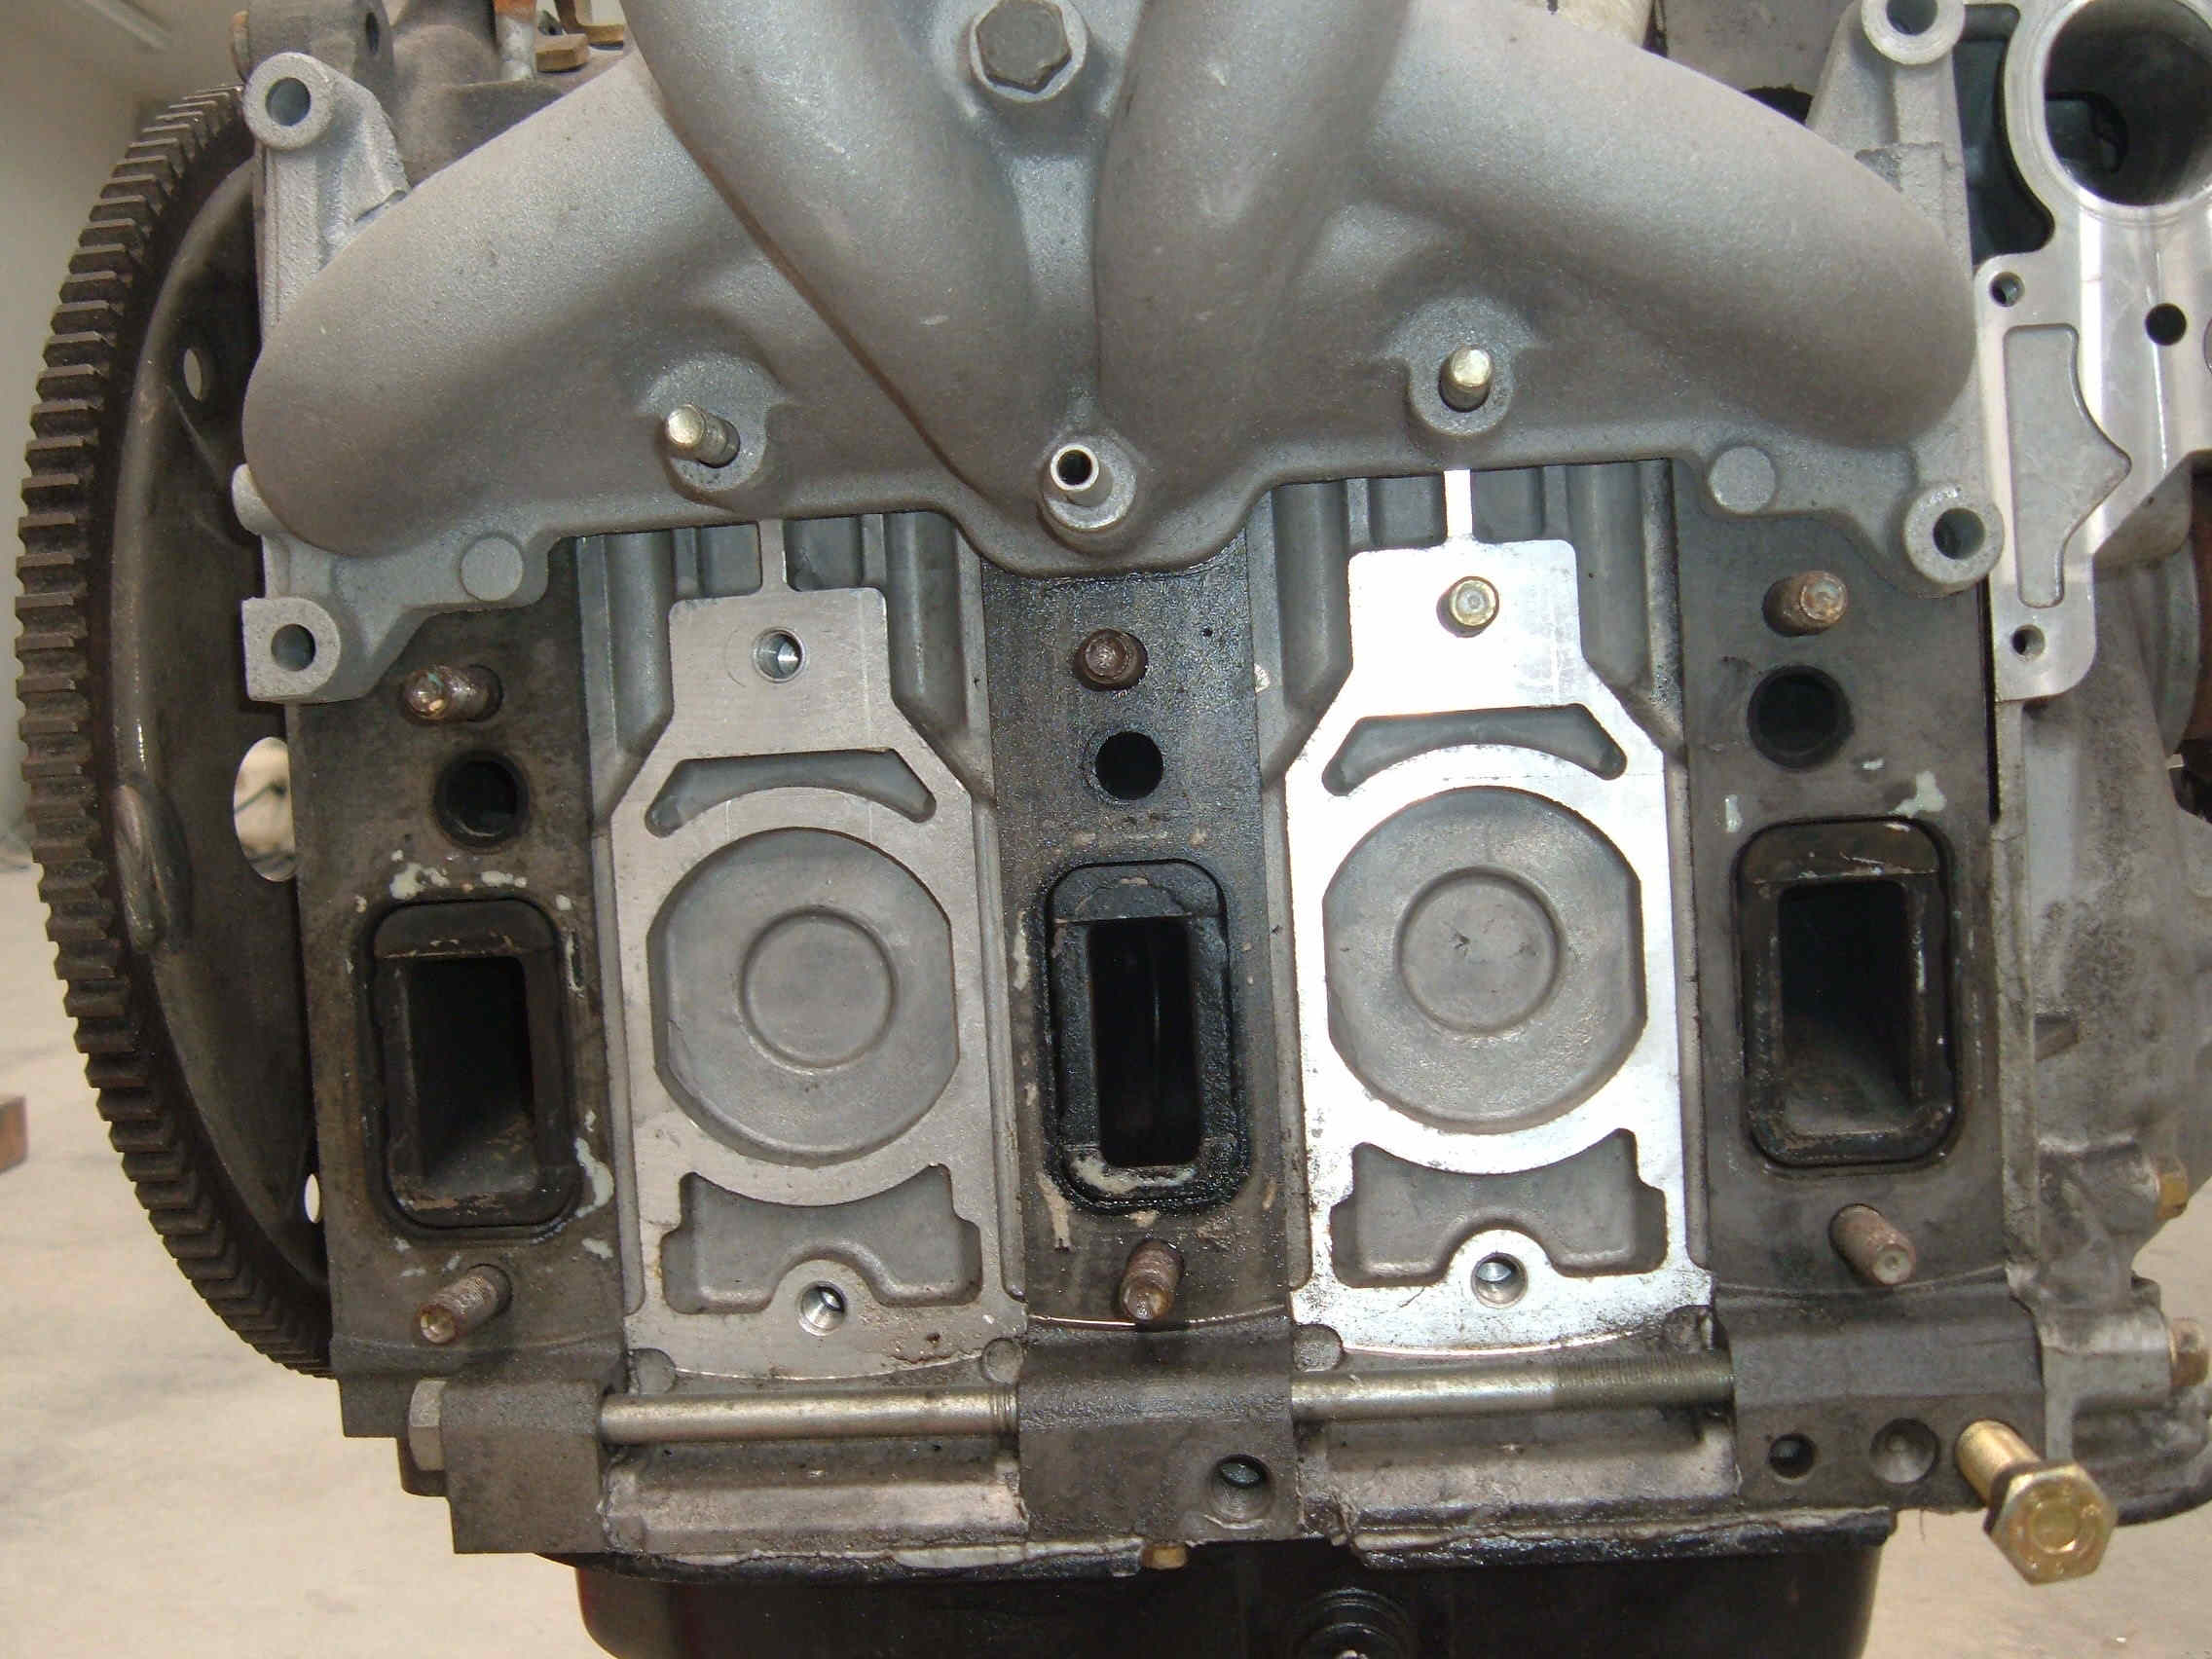
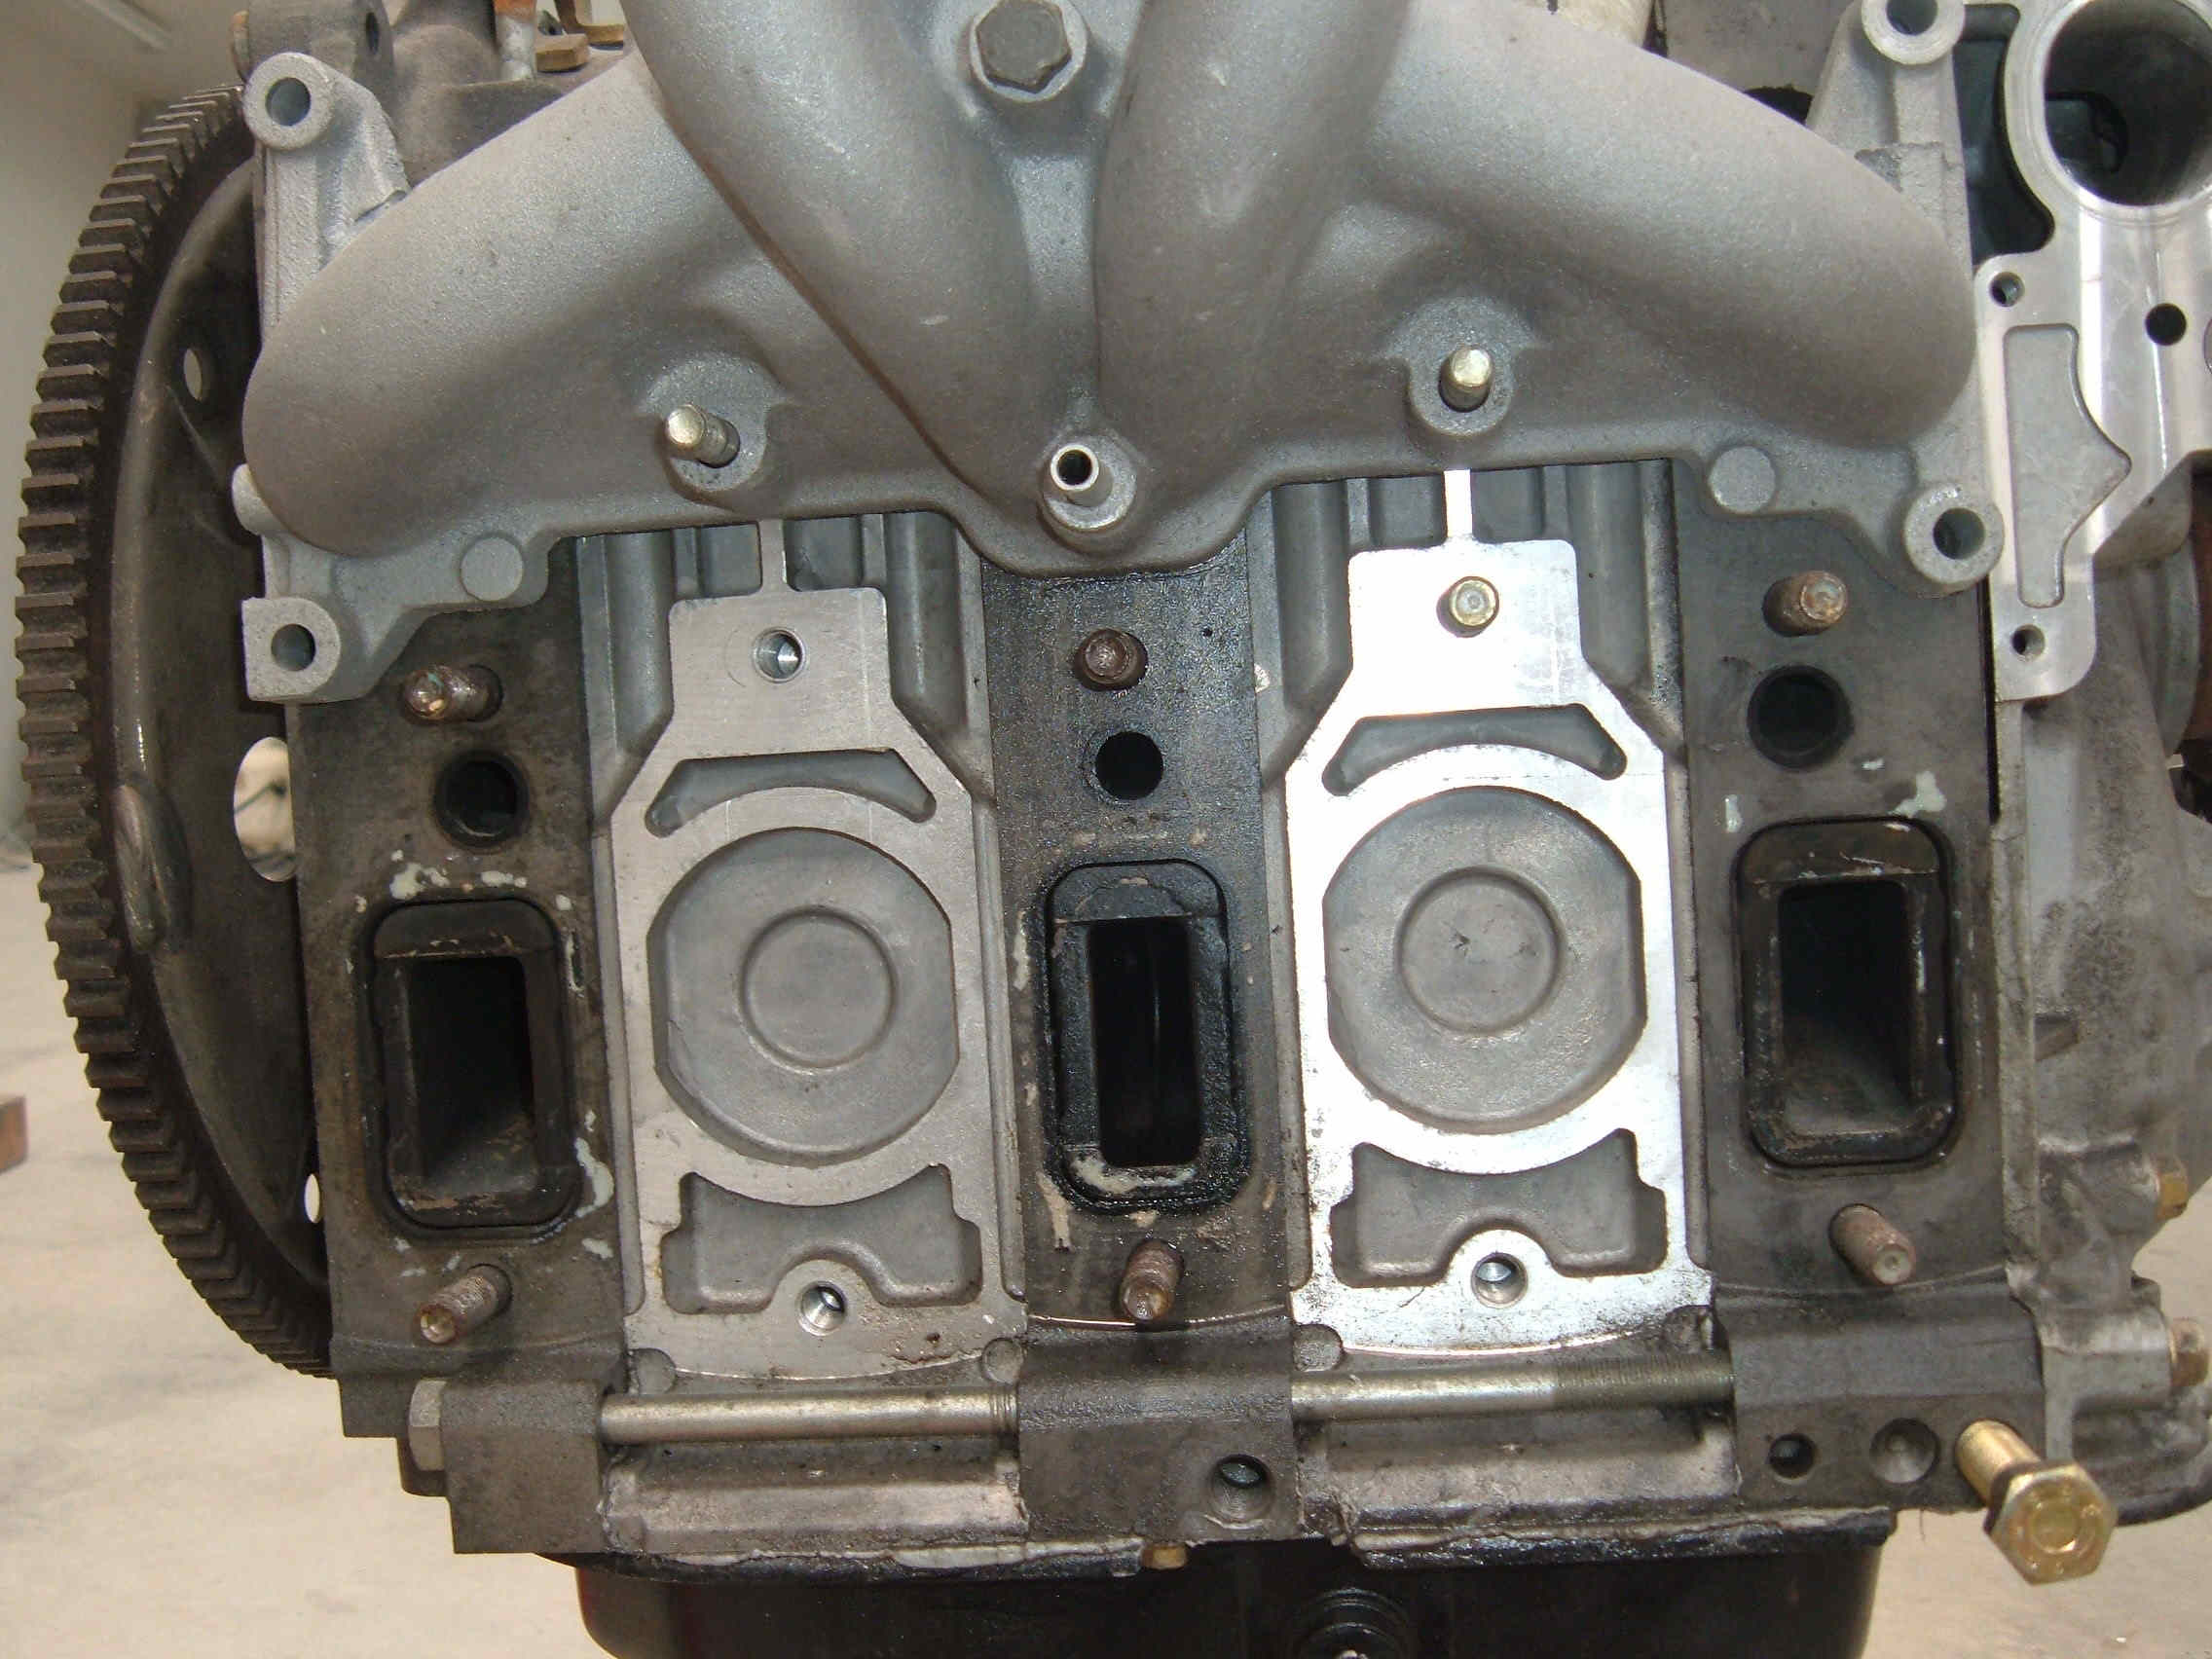
One of the things happening with high power turbo RX8 side exhaust port
engines
is the side housing is expanding into the side seals causing the seals
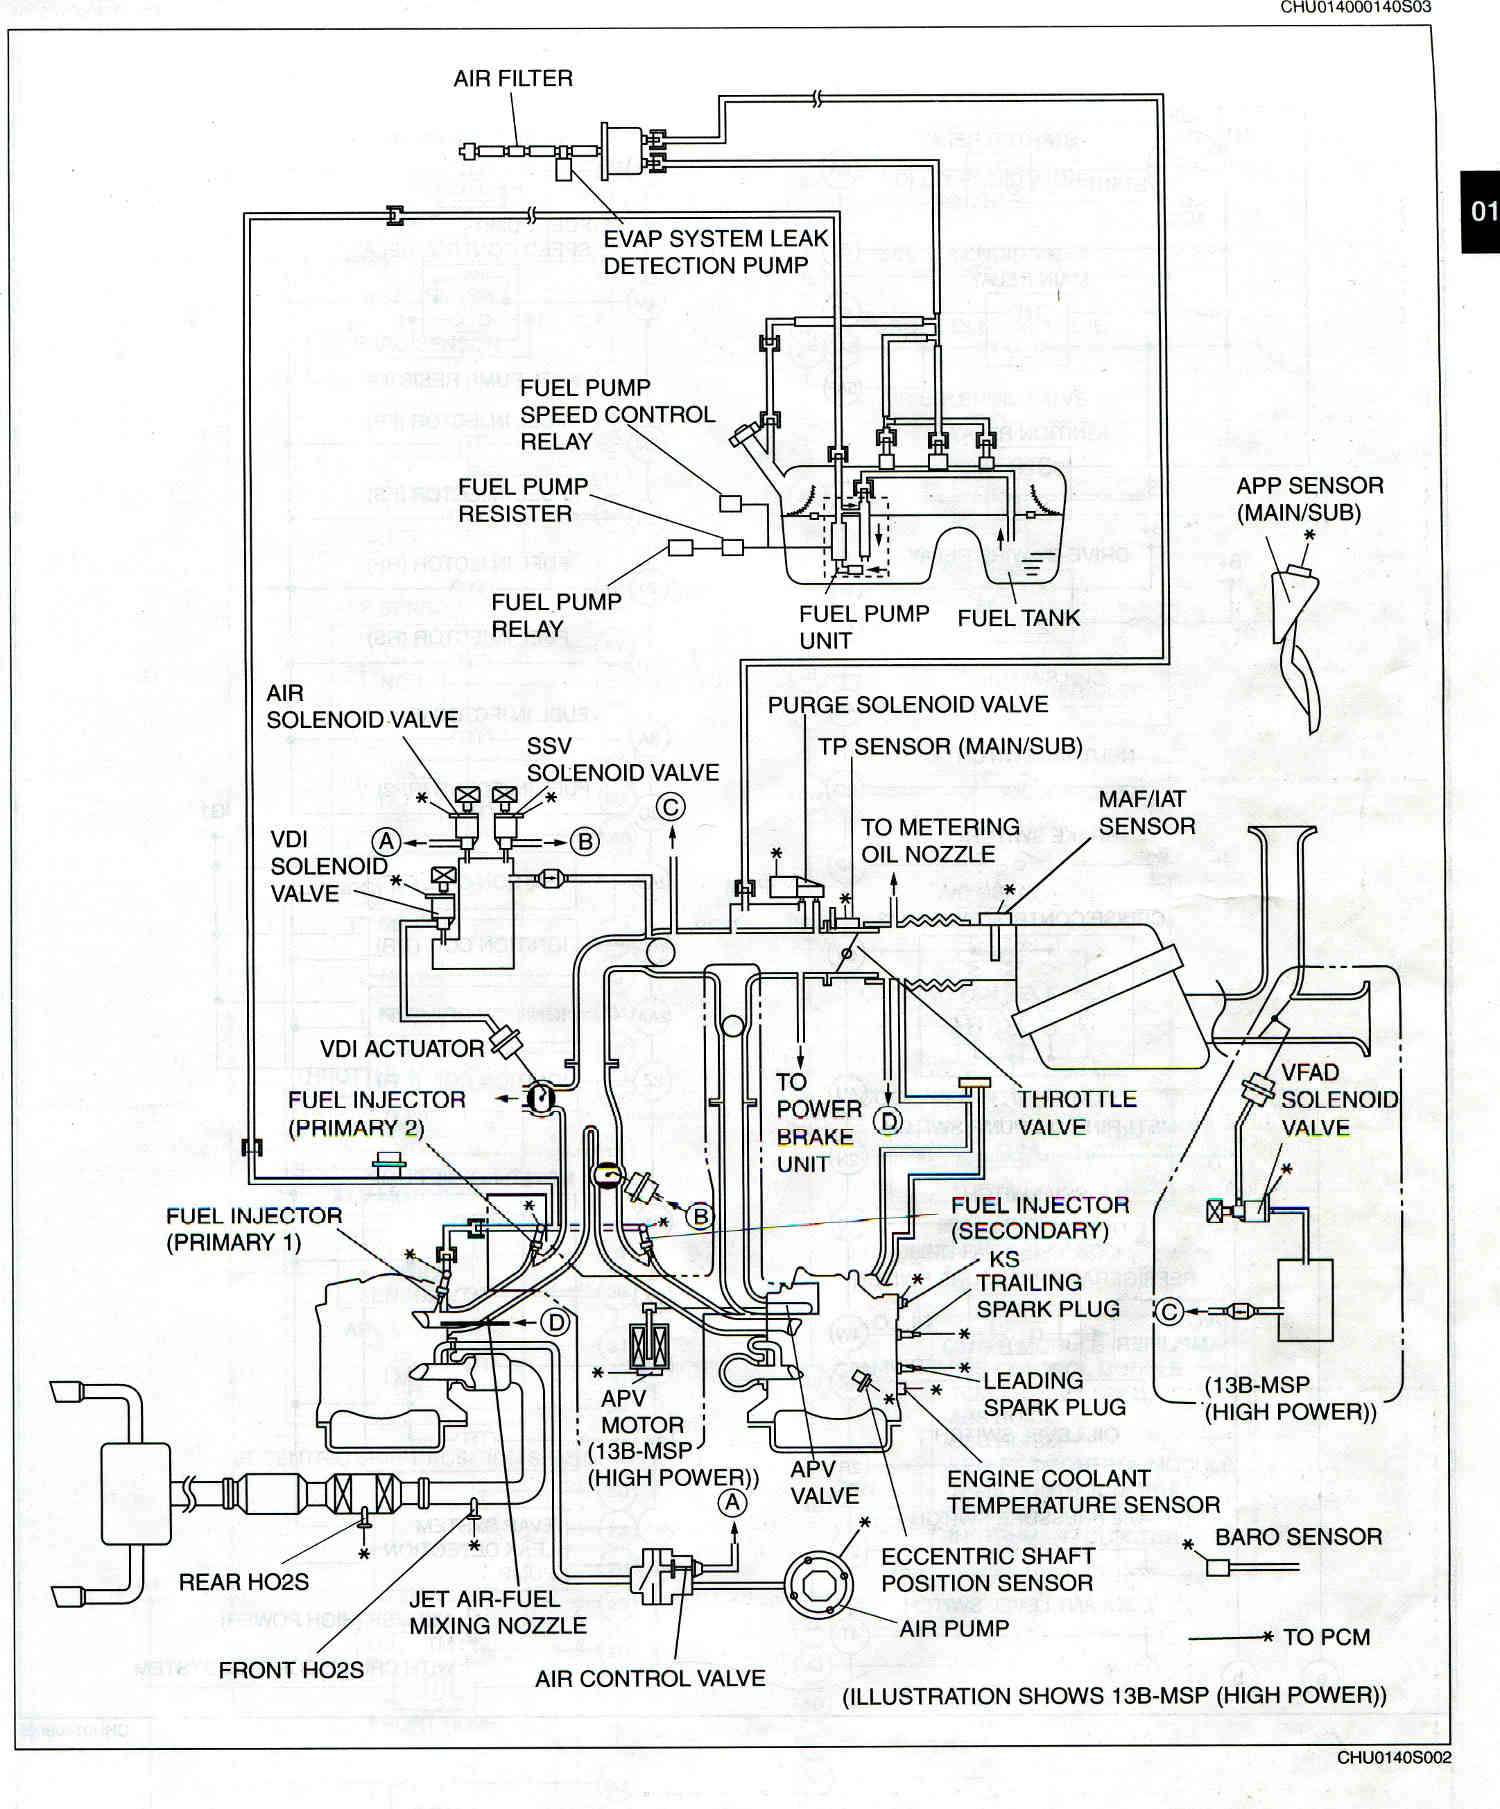
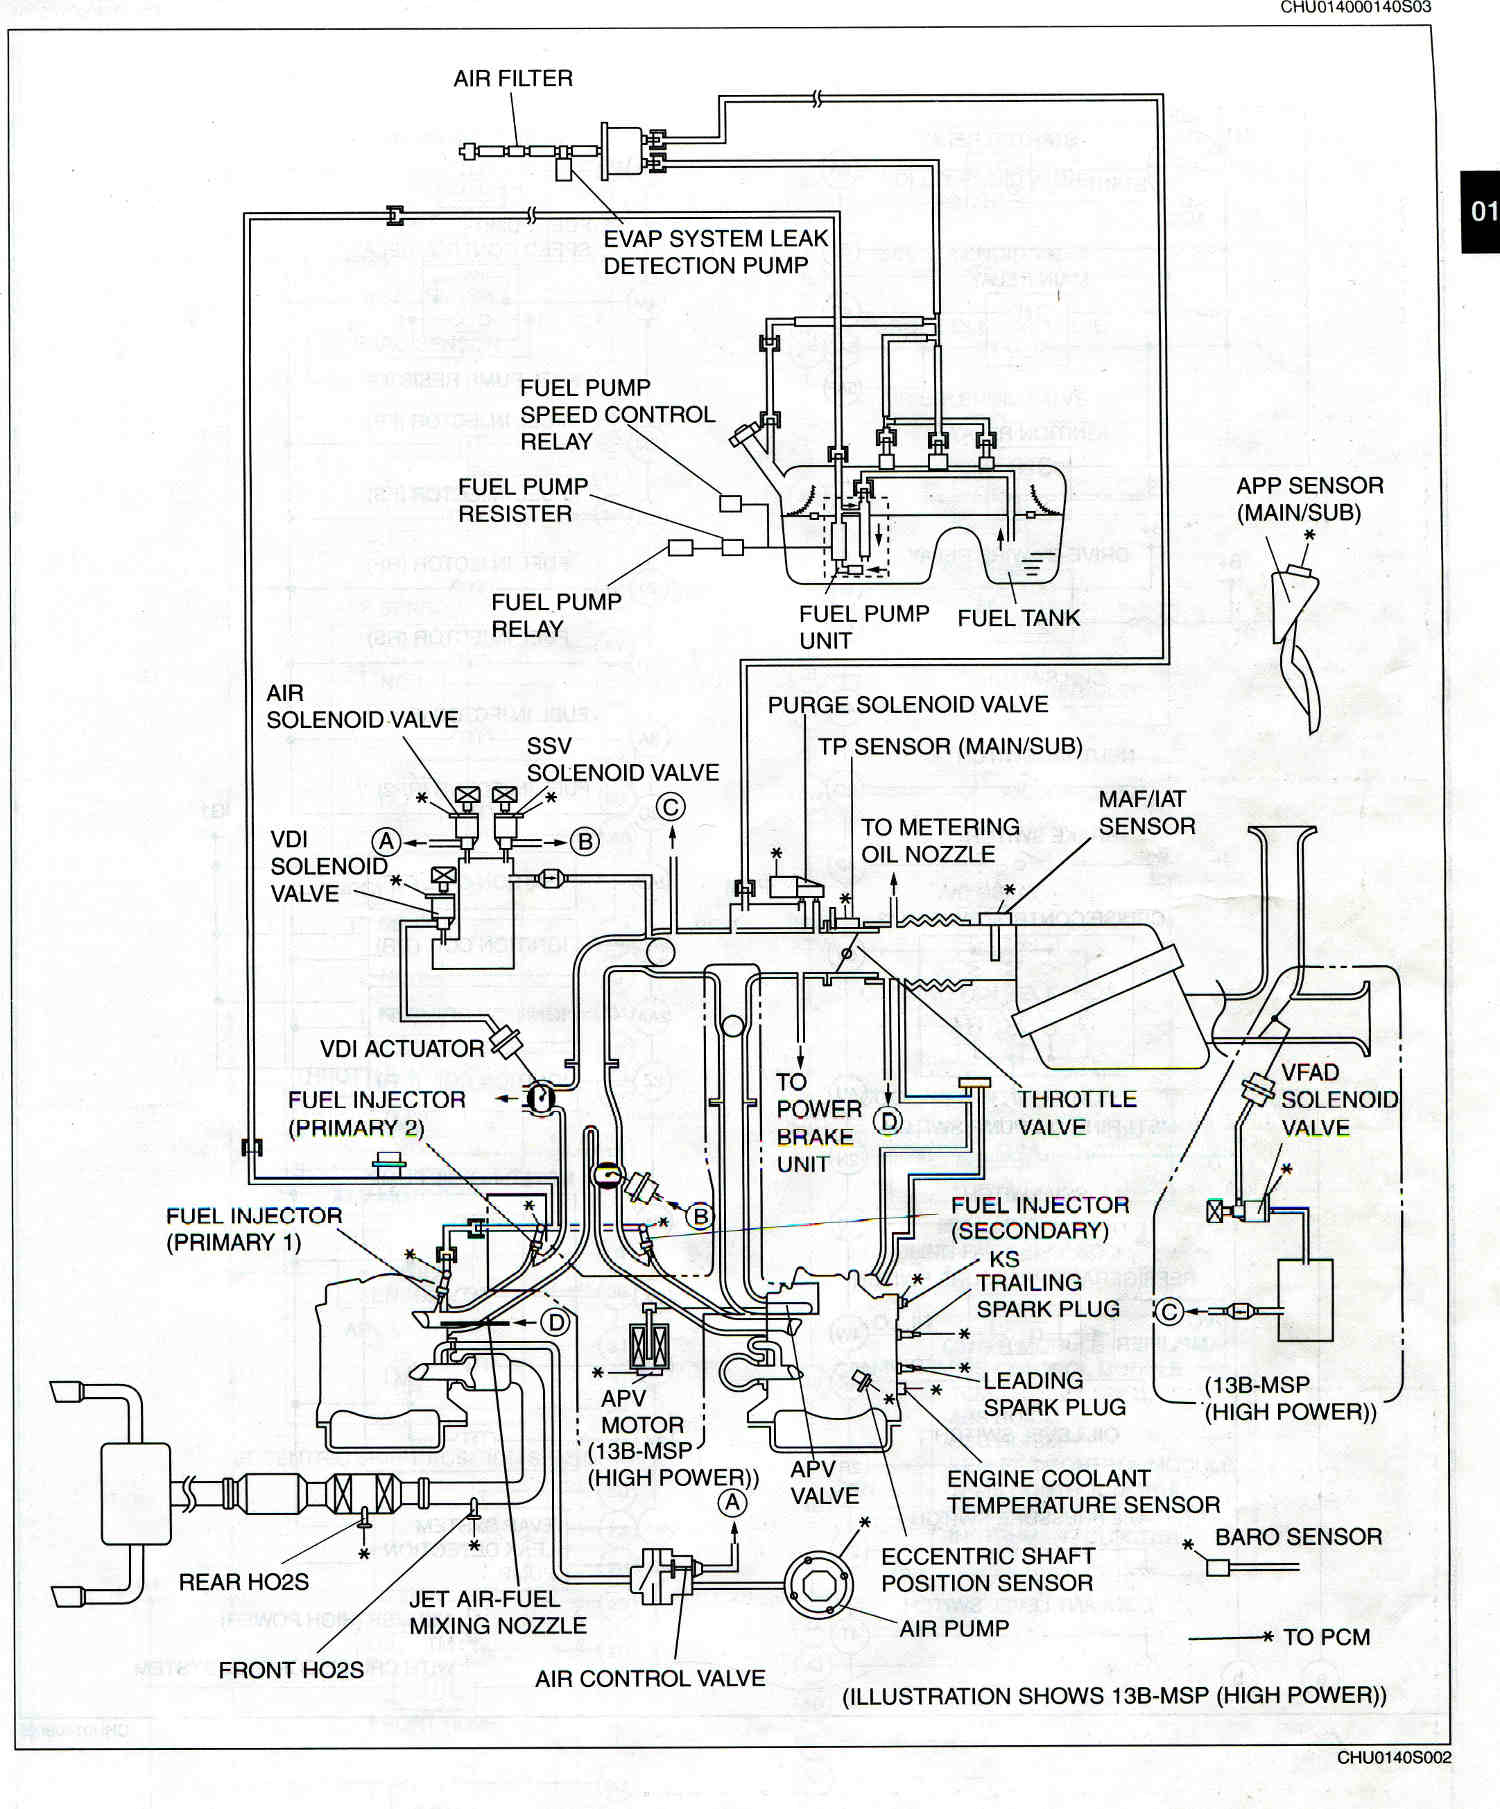
to catch on the side exhaust. In the stock engine there is a hole
for cool air and an air pump. This is controlled by the computer.
Only under start up conditions is cool air forced into the hole.
The holes are blocked off when a custom turbo exhaust manifold
is fabricated.
Possibler fixes for this problem on high power RX8 engines.
Fix 1. Pump cool air into the hole above the exhaust port and that will
cool
It.
Fix 2. Grind half a dozen cooling fins on a 3/4 thick steel after
market exhaust
flange 3/16 wide 1/4 inch center to center 1/2 inch deep.
One way to do this is make a .75" dia spindle that holds a half dozen Makiti
cut off disks spaced 3/16 inch apart.
Use that in an end mill or NC mill to grind the fins the long way in
the flange.
Use a soft copper gasket to transfer the heat out of the center and end
housings and into the new fined exhaust flange. That will cool the end
housings in the area of the exhaust ports reducing the expansion.
It won't take much cooling. A 200 F temperature reduction will make a
big improvement.
3rd fix. Removes the side seal springs.
Replace with steel wire just large enough to bring
the top of the side seals to the rotor surface .
Blanchard surface grind the rotor and the side seals .010".
Ten thousands of an inch on each side. Remove the burs on the
side seals with a belt sander and replace side seal springs.
Paul Lamar.
The Rotary Engine News Letter. Powered by Linux.
ACRE NL web site.
http://www.rotaryeng.net
You Tube
http://tinyurl.com/beqqxas
Copyright 1998-2013 All world wide rights reserved.