ARDUINO boards/chips are programmed with a bootloader. The developers
of the ARDUINO finally implemented the STK500V2 communications protocol.
This protocol is supported by Atmel and of course by BASCOM.
Select the ARDUINO STK500V2 programmer in BASCOM programmer options to
use this communications protocol.
A board like the MEGA2560 R3 uses this communications protocol and
probably all newer AVR based ARDUINO boards will support this protocol.
BASCOM AVR is superior to Arduino IDE. Bascom is simpler and much more
flexible. In fact, Bascom is the language used by the majority of hobbyists.
C is more for professionals.
https://www.youtube.com/watch?v=Ppdpp4pqeQc$regfile = "attiny26.dat"
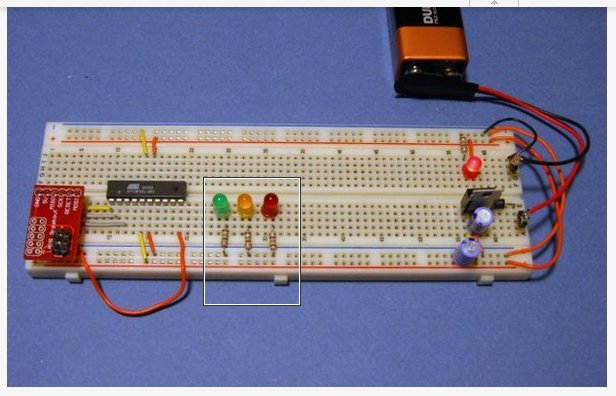
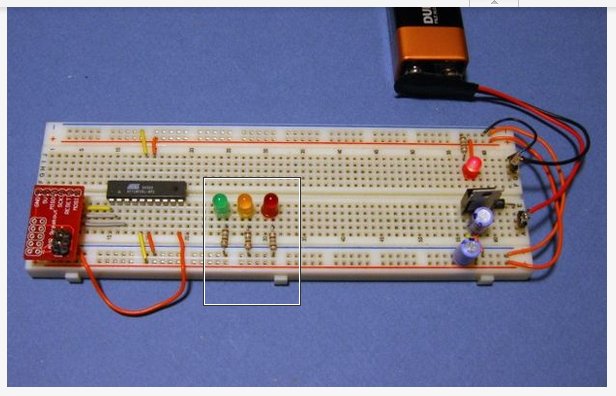
Simple blink program. Think of the LED's as injectors.
$crystal = 1000000
$hwstack = 32
$swstack = 8
$framesize = 24
Config PORTA = Output
Config PORTB = Output
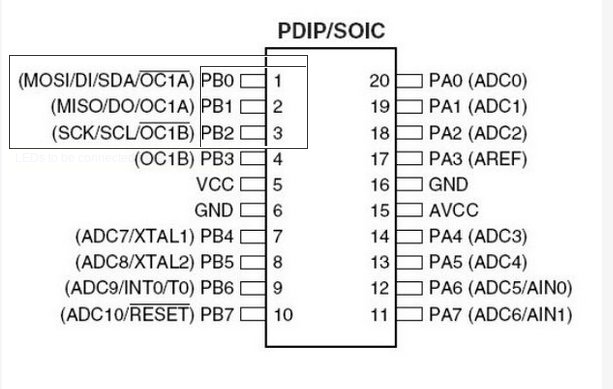
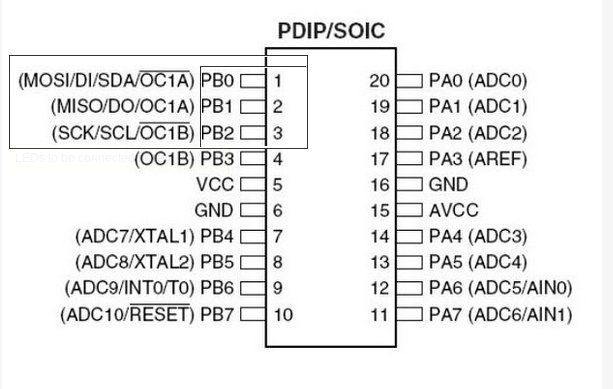
RED Alias PORTB.0
YEL Alias PORTB.1
GRN Alias PORTB.2
Begin:
Red = 1 : Yel = 0 : Grn = 0
Wait 1
Red = 0 : Yel = 1 : Grn = 0
Wait 1
Red = 0 : Yel = 0 : Grn = 1
Wait 1
Goto Begin
The first section sets up the chip, then we need to configure the two
ports. A port can be an INPUT or an OUTPUT. Since we want to run some
LEDs, we set the port to be an OUTPUT. May as well define them all at
one time... so we did.
The next section is where we define the pin names. I don't know about
you... but I would forget which pin the RED LED was connected to, or the
green, or the yellow. I don't feel like typing in *PORTB.0* for the
first pin every time... so we told the software that it's name was
"RED". Now all we need to do is reference it by it's name.
Once defined, if we make them equal a "1" the LED will turn ON, and if
we make it equal to a "0" it would turn OFF. The next series of lines
defines how we want the LEDs to be set, then waits 1 second. (The
*WAIT*
command.)
After we change the state of the LEDs 3 times... we jump back to the
beginning and do it all over again... over and over.
This is simple enough for every one and a simple open source EFI is very
doable.
Paul Lamar
------------------------------------------------------------------------
A programing language can be over whelming at first glance.
The way to proceed is cherry pick only the instructions you need
to do the job. Here is a book on the Bascom language.
You need to know:
1. How to set a bit in a port that turns on an injector
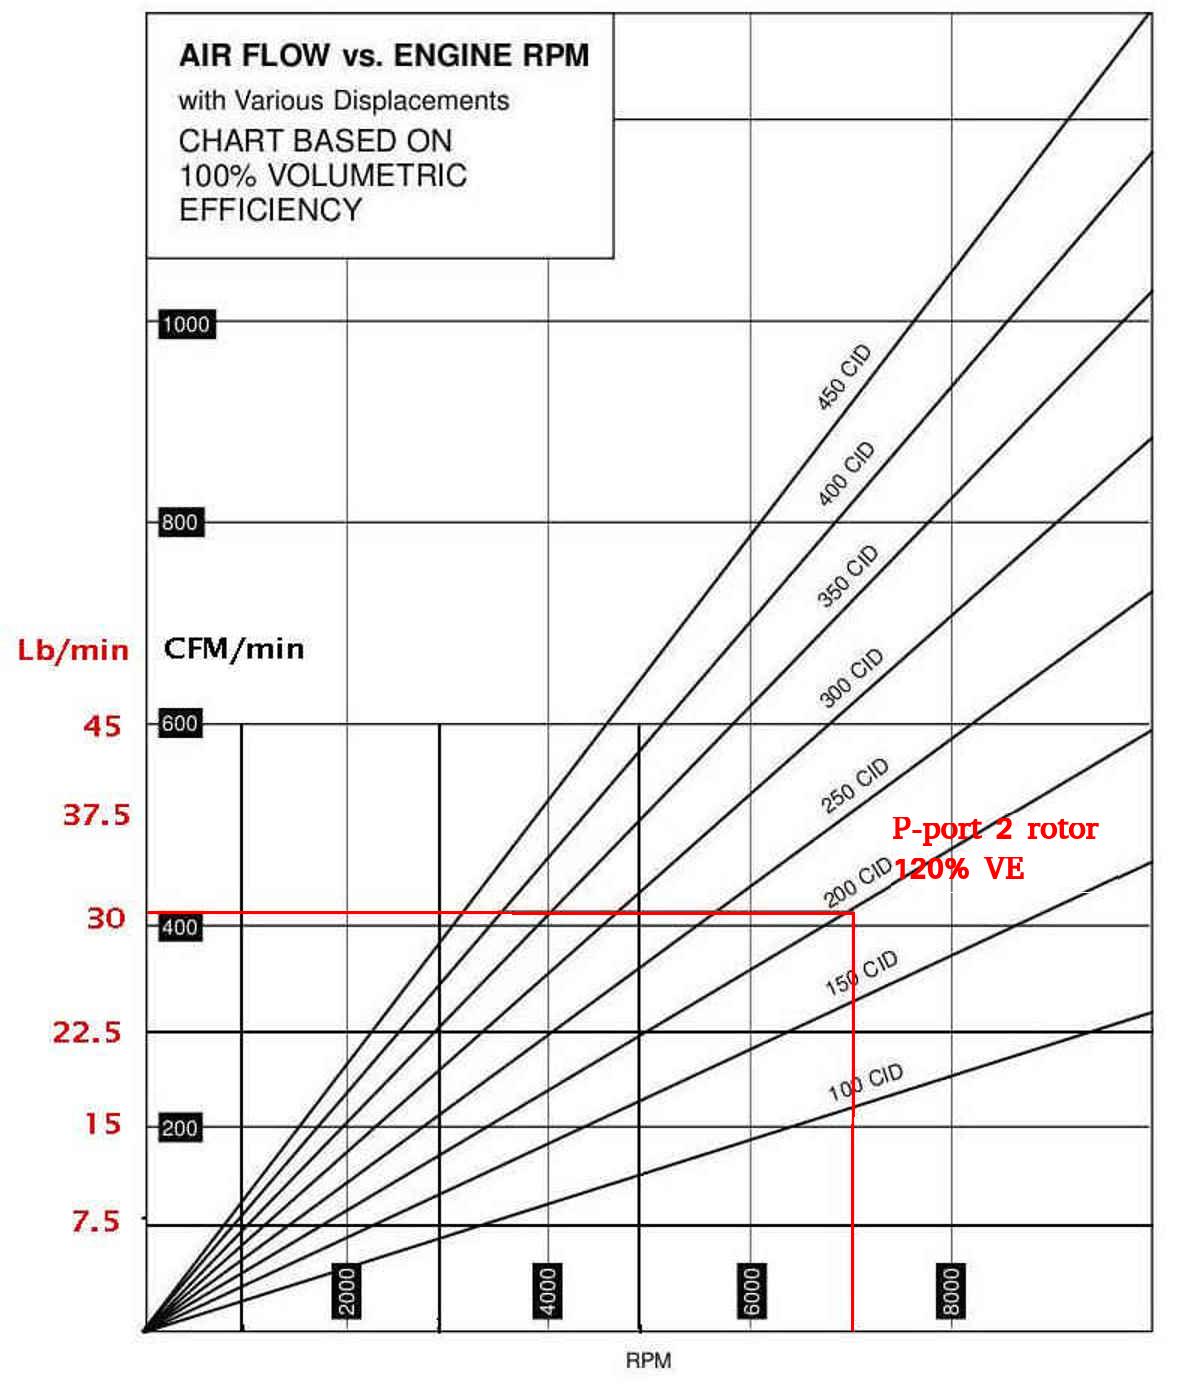
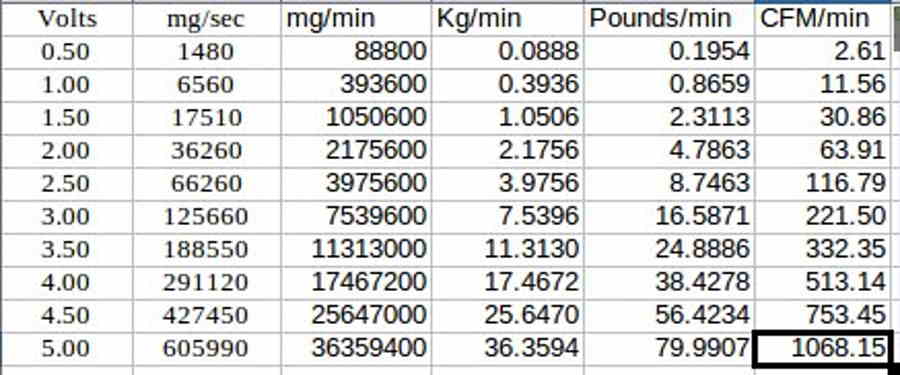
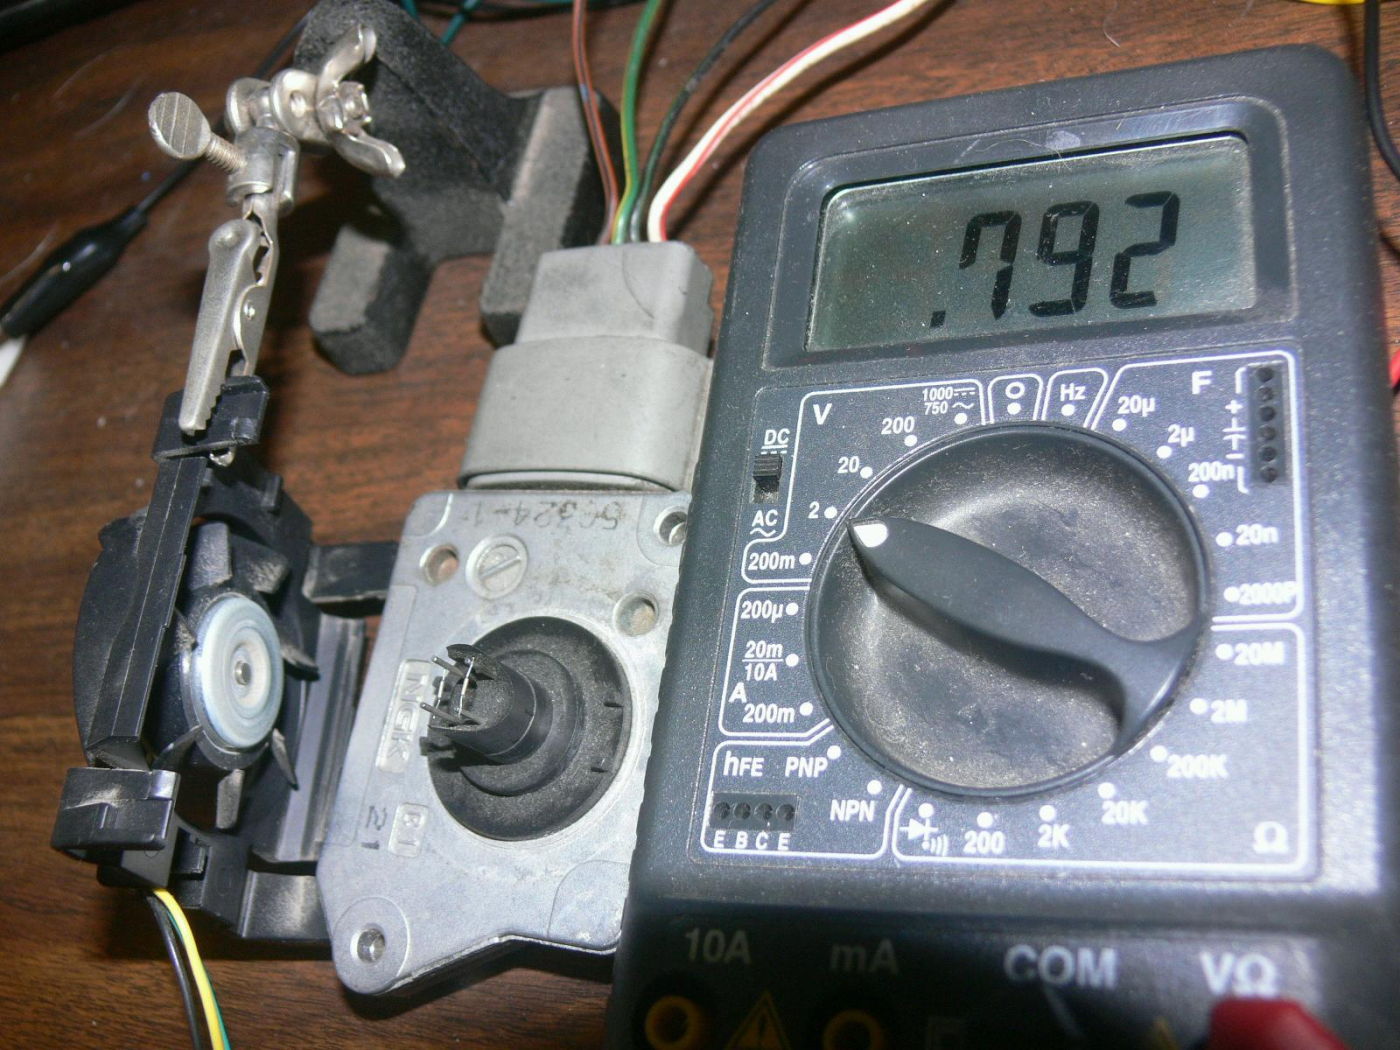
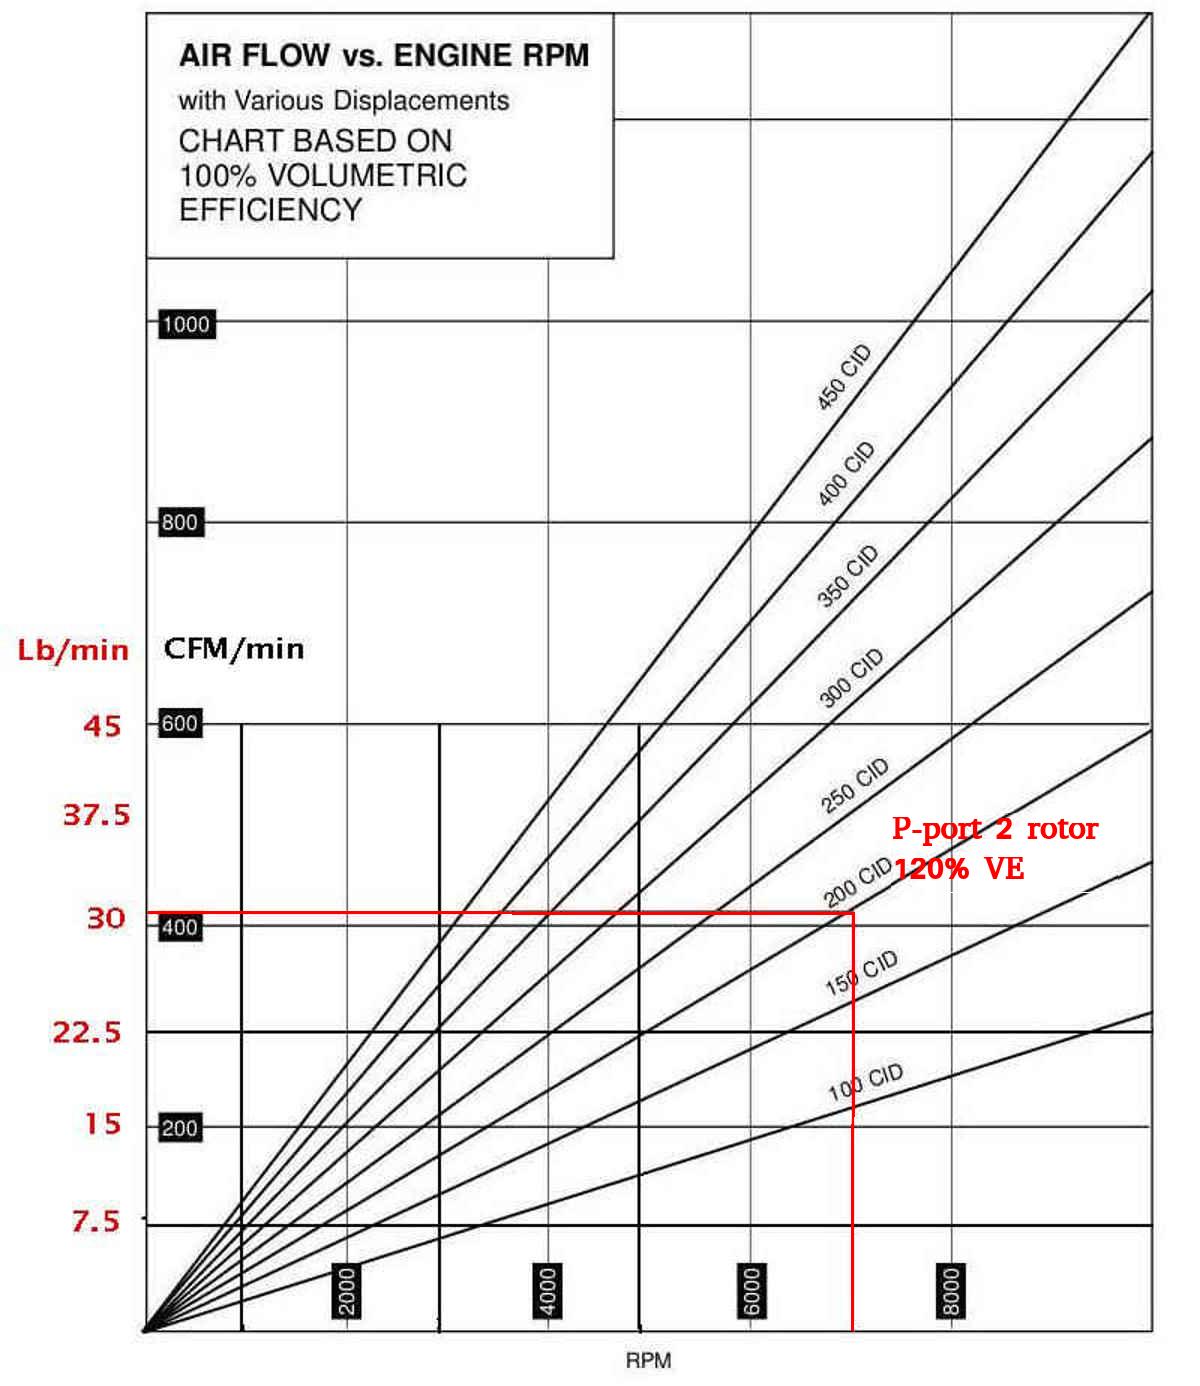
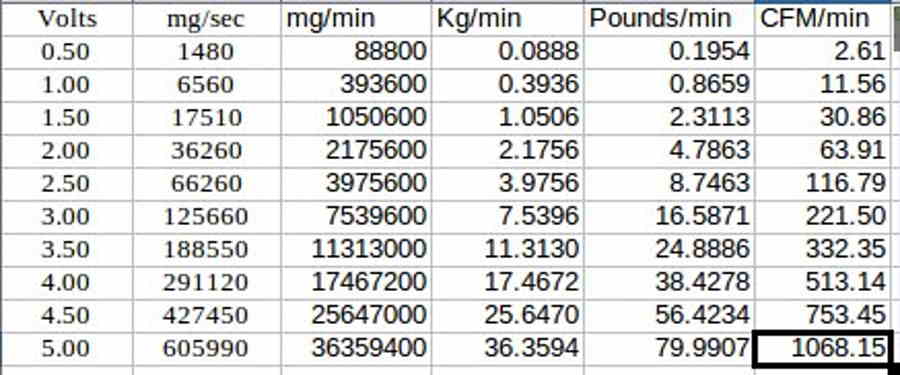
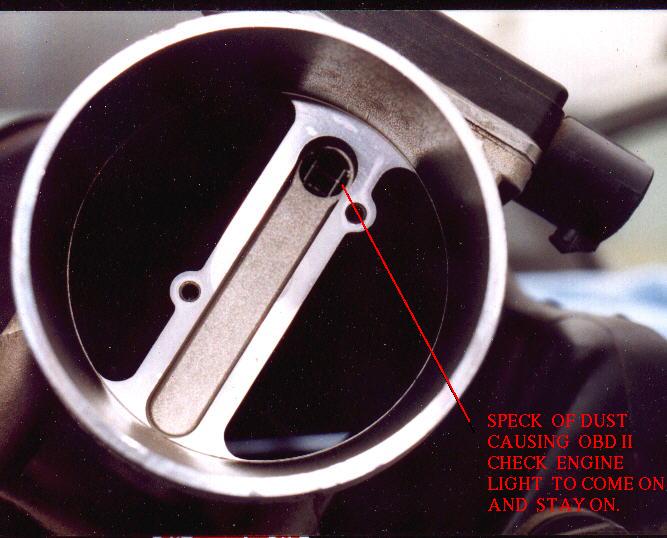
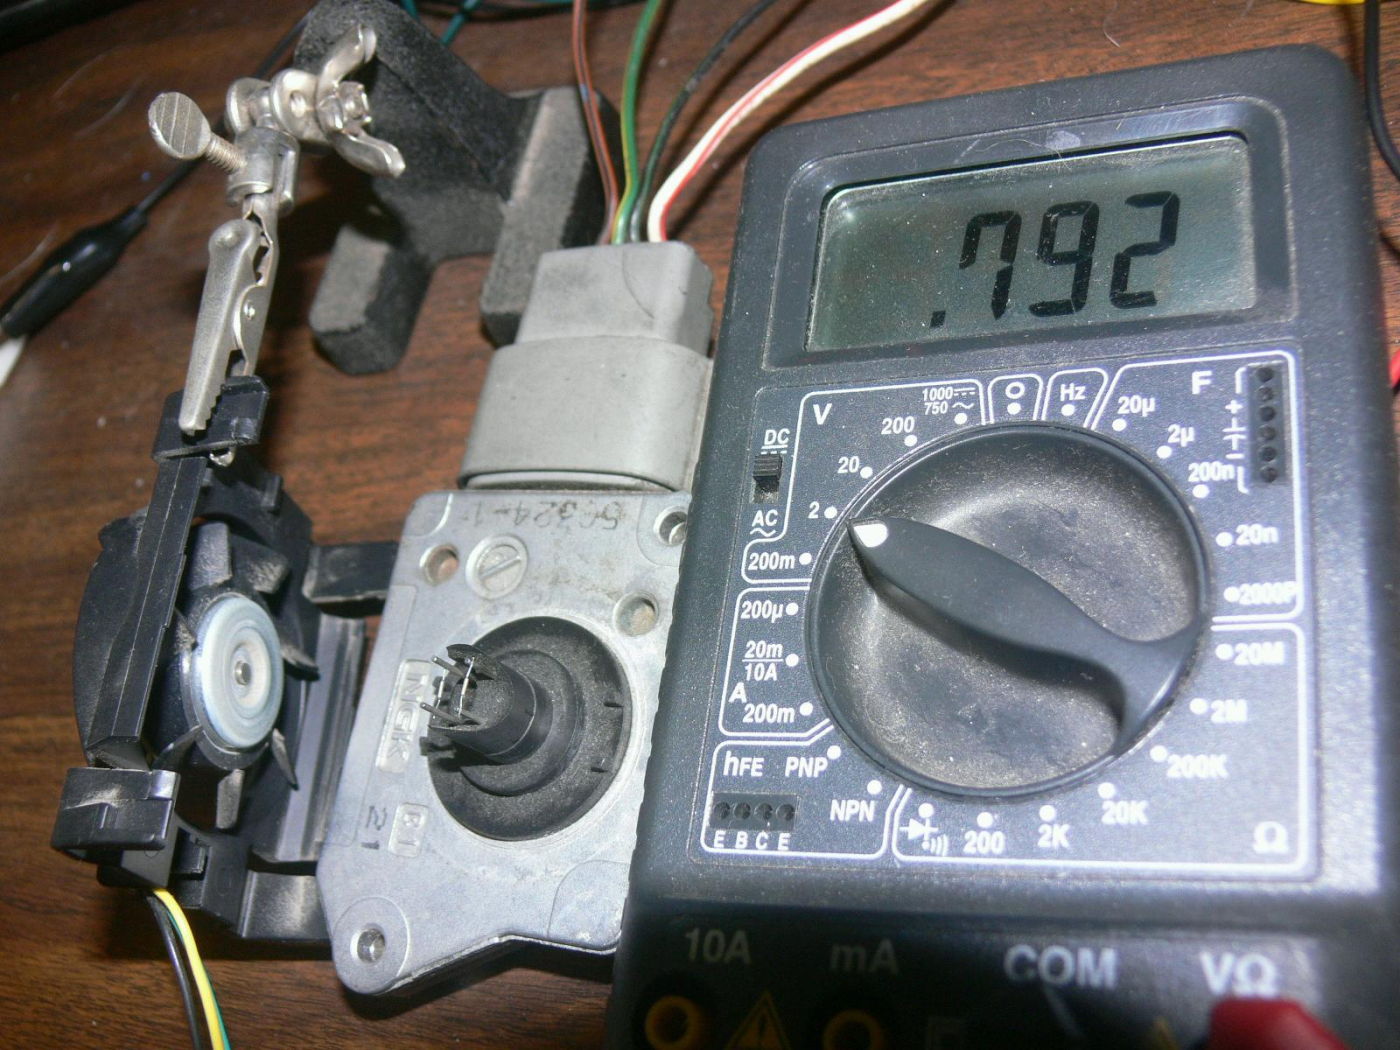
2. How to read an analog value in from a MASS airflow sensor
3. How to use WAIT as a delay to keep the injector on
for a specific time. See the program source code above.
4. How to handle hardware interrupts.
This basically is all you need and a little math for a simple EFI that will
run the engine. You also need a stand alone ignition of course.
If you put a potentiometer in parallel with the mass air flow sensor
that will provide a leaning function. Just like the leaning control
on aircraft engines. When the pot knob is set to full rich
the injector width is set for about 10 pounds of air to one
pound of fuel. When full lean it should be about 18 to 1.
To keep it simple the program checks the mass airflow every half second
and adjust the mixture over and over again.
The simple way to do this is use an external 50 cent CMOS 555 osc
oscillating at two cycles per second (2 Hertz in the silly French system :))
and connect it to a hardware interrupt pin. It is not timed fuel injection.
It is called batch mode and works fine for an aircraft engine.
Tracy's EFI system was batch mode.
Paul Lamar
The Rotary Engine News Letter. Powered by Linux.
ACRE NL web site.
http://www.rotaryeng.net
You Tube
http://tinyurl.com/beqqxas
Copyright 1998-2014 All world wide rights reserved.